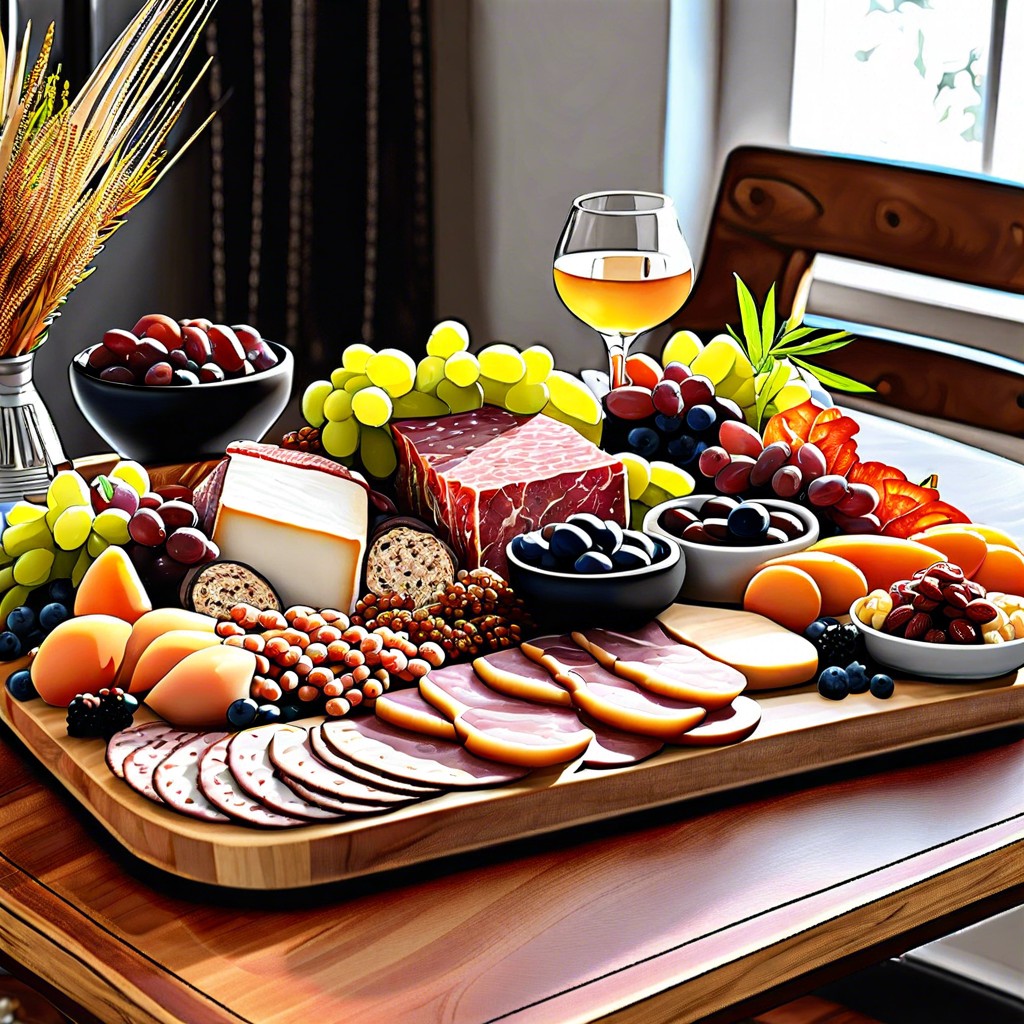
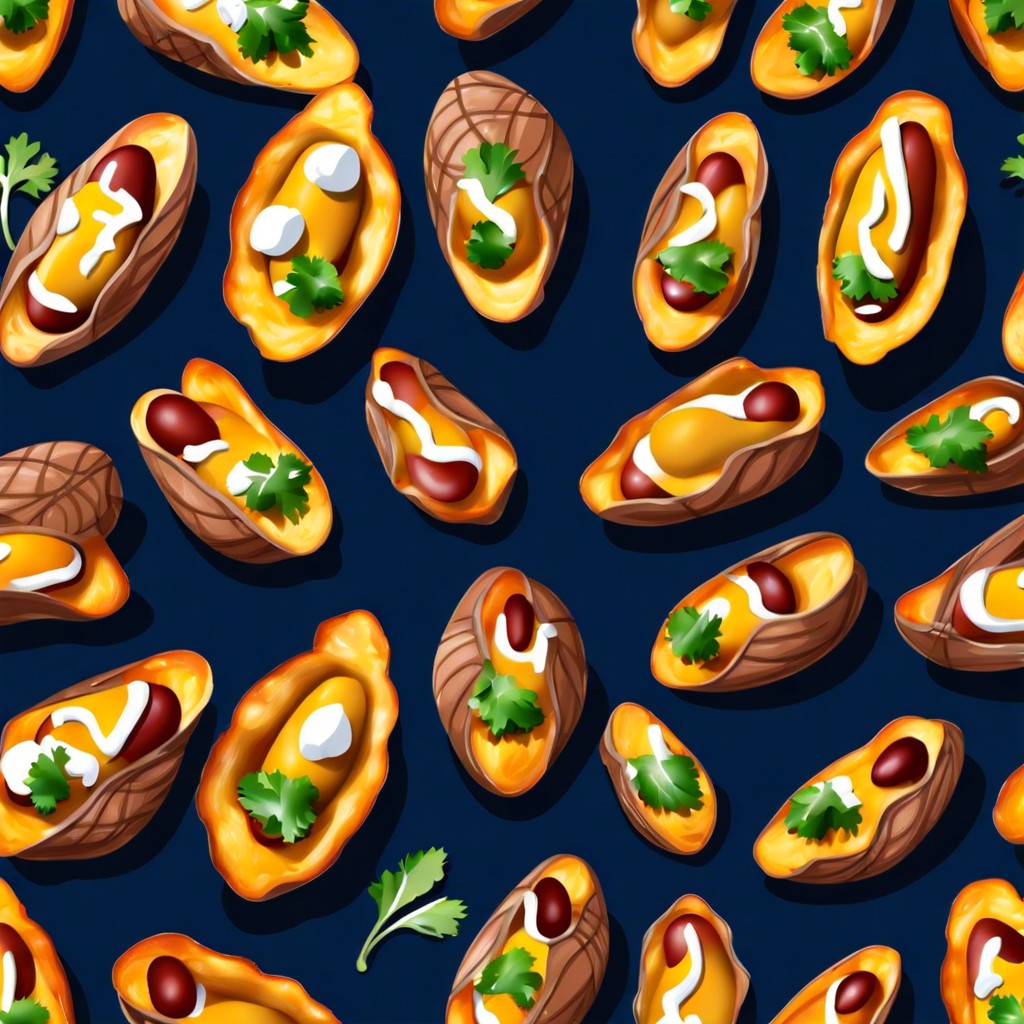
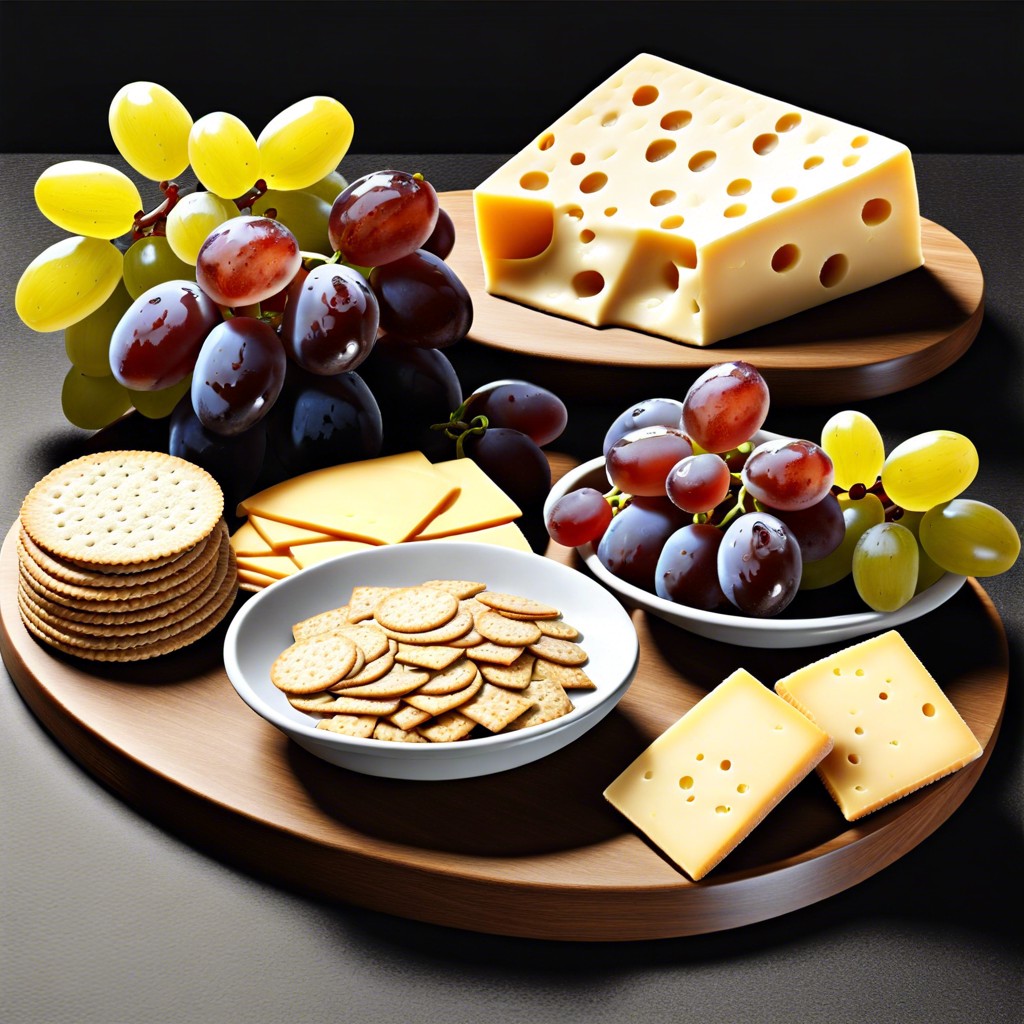
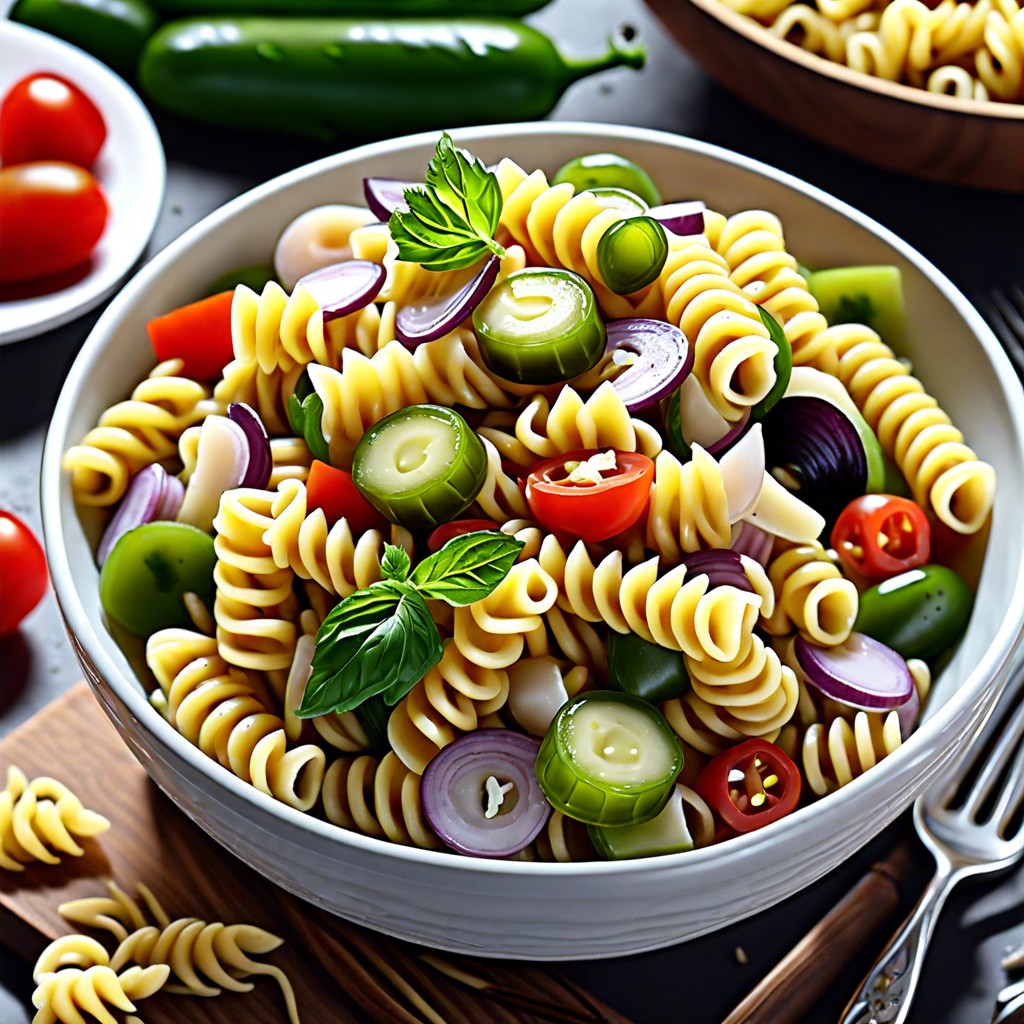
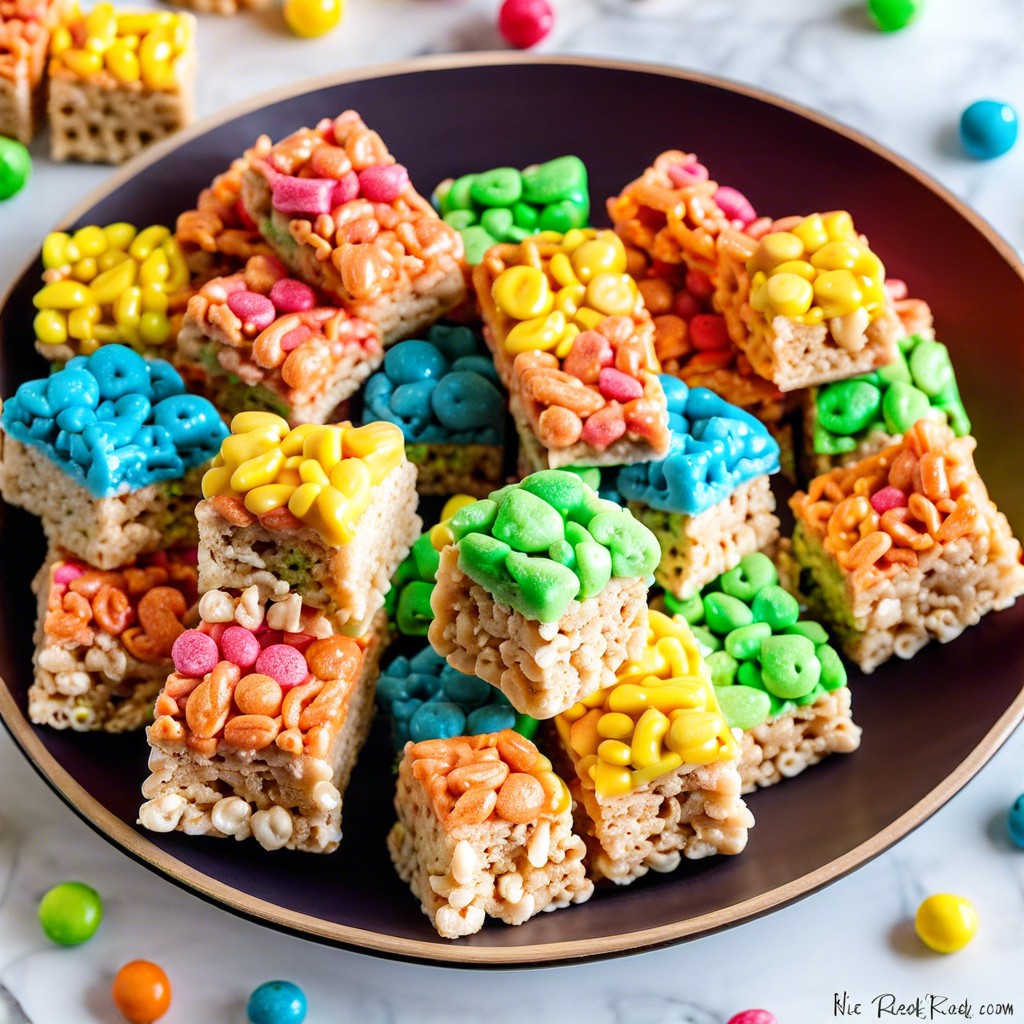
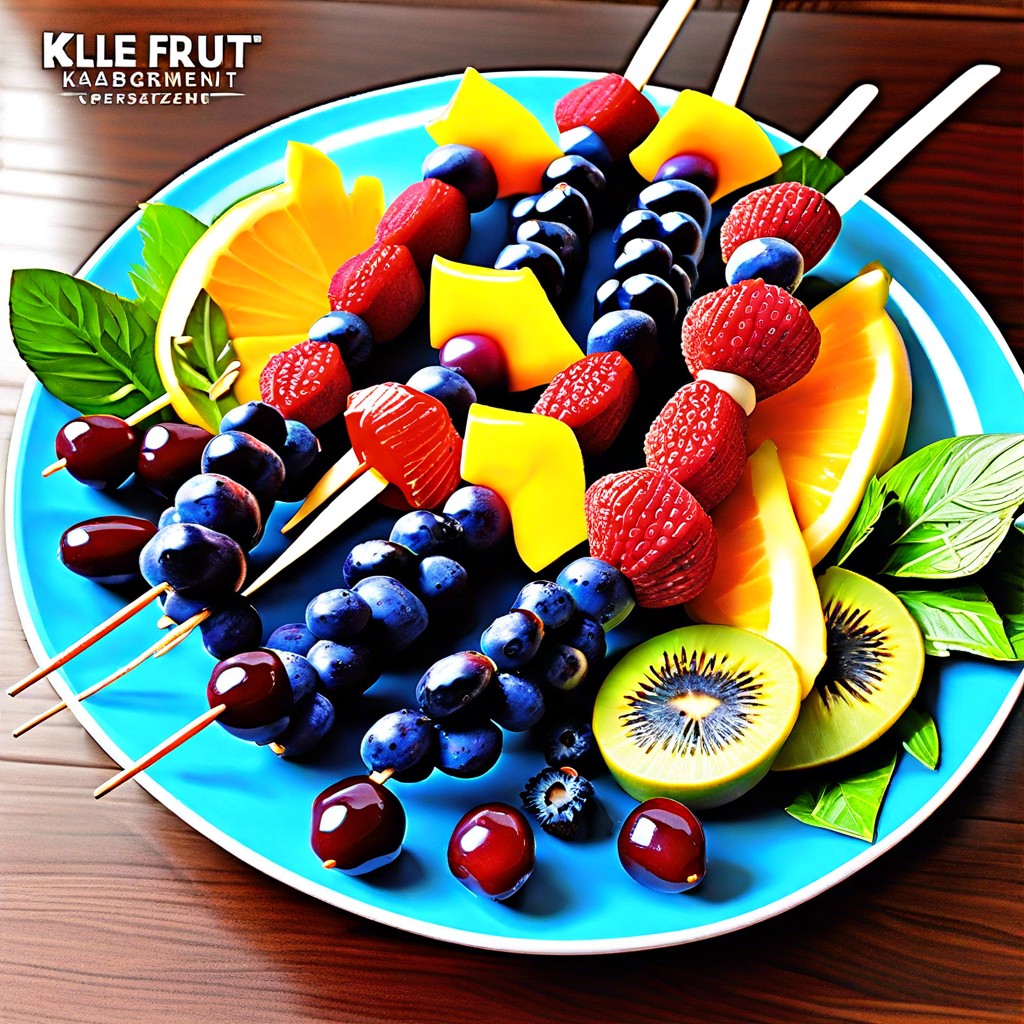
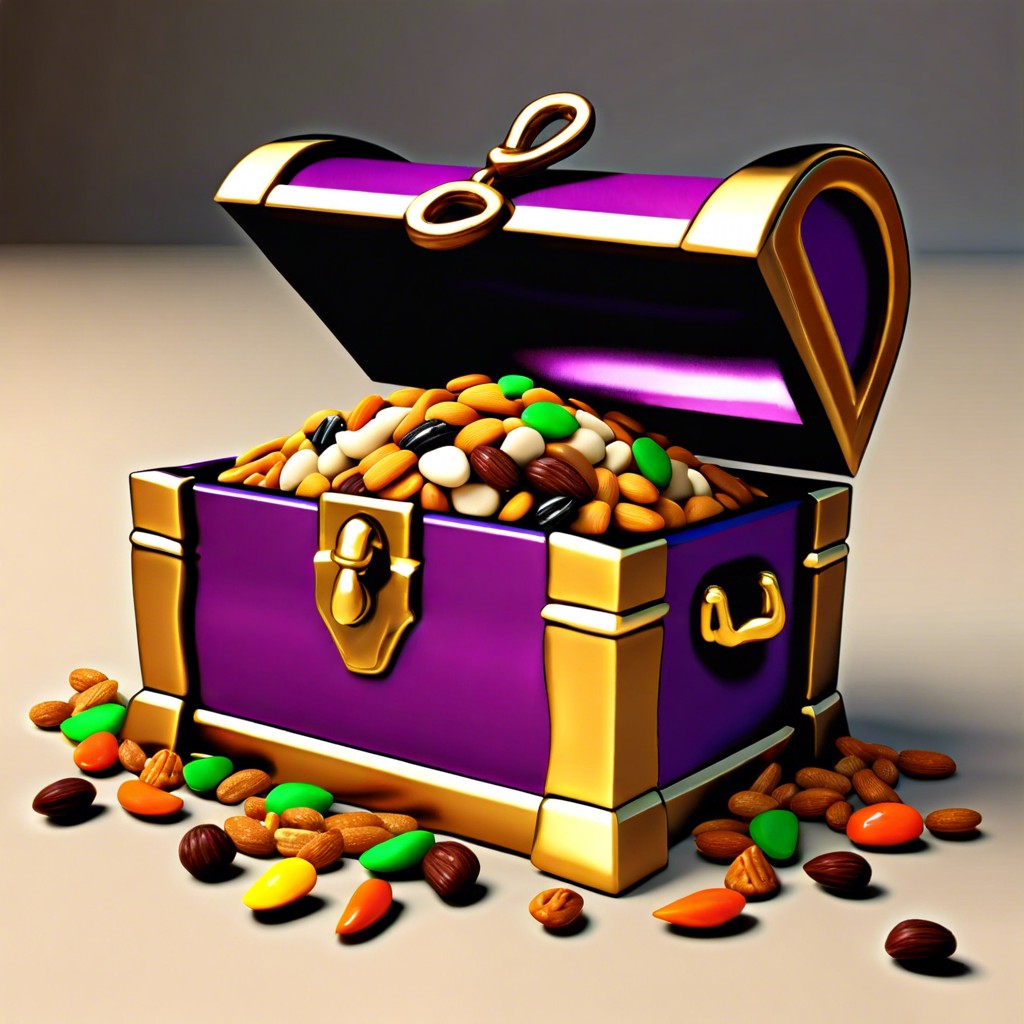
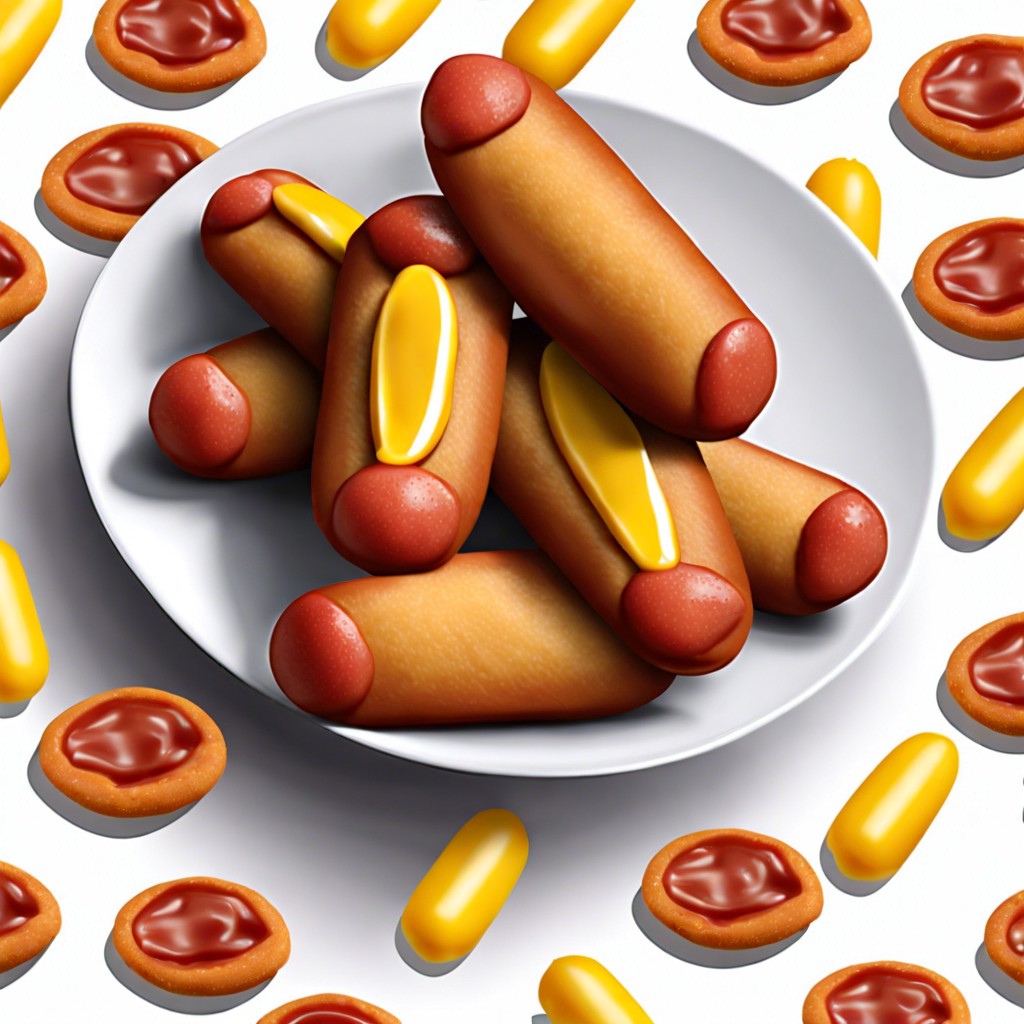
Big Platters
17 Mouthwatering Snack Tray Ideas (Making the Perfect Platter)
Looking for ideas on how to load up the perfect snack tray? Be it for a party, a family gathering,…
24 Easy and Healthy Snack Dinner Ideas
Sometimes you don’t feel like prepping a full-blown dinner. It’s one of those times. And a good set of snacks…
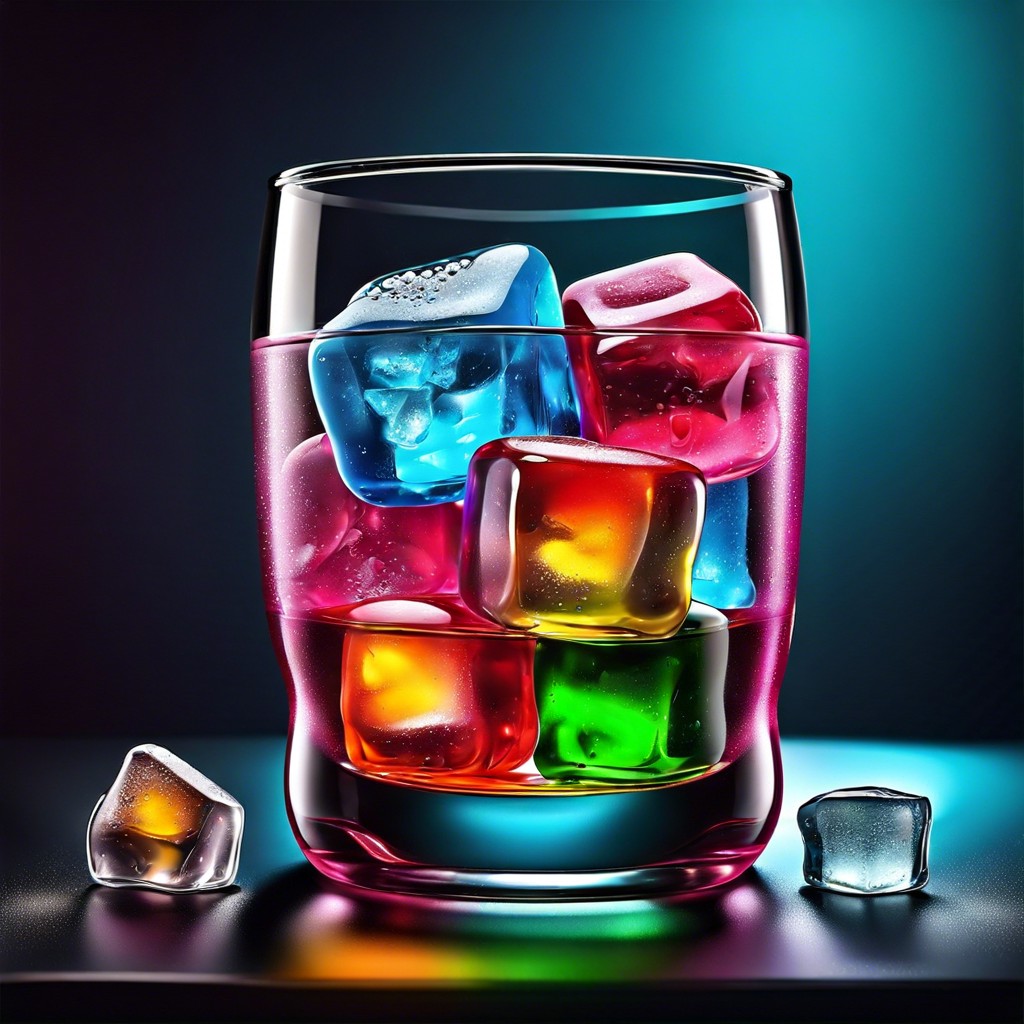
Quick Snack
15 Noah’s Ark Snack Ideas for Fun Themed Parties
Discover playful and creative Noah’s Ark-themed snack ideas perfect for any themed party or event. Animal Crackers Boat: Serve Animal…
15 Sleepover Snacks Ideas for a Fun Night In
Discover a variety of fun and easy snack ideas perfect for your next sleepover party. Rainbow Popcorn Mix Add a…
15 Easy Thanksgiving Appetizers: Fresh Ideas for Your Holiday Spread
Discover quick and delicious Thanksgiving appetizer ideas that are sure to impress your guests and ease your kitchen stress. Cranberry…
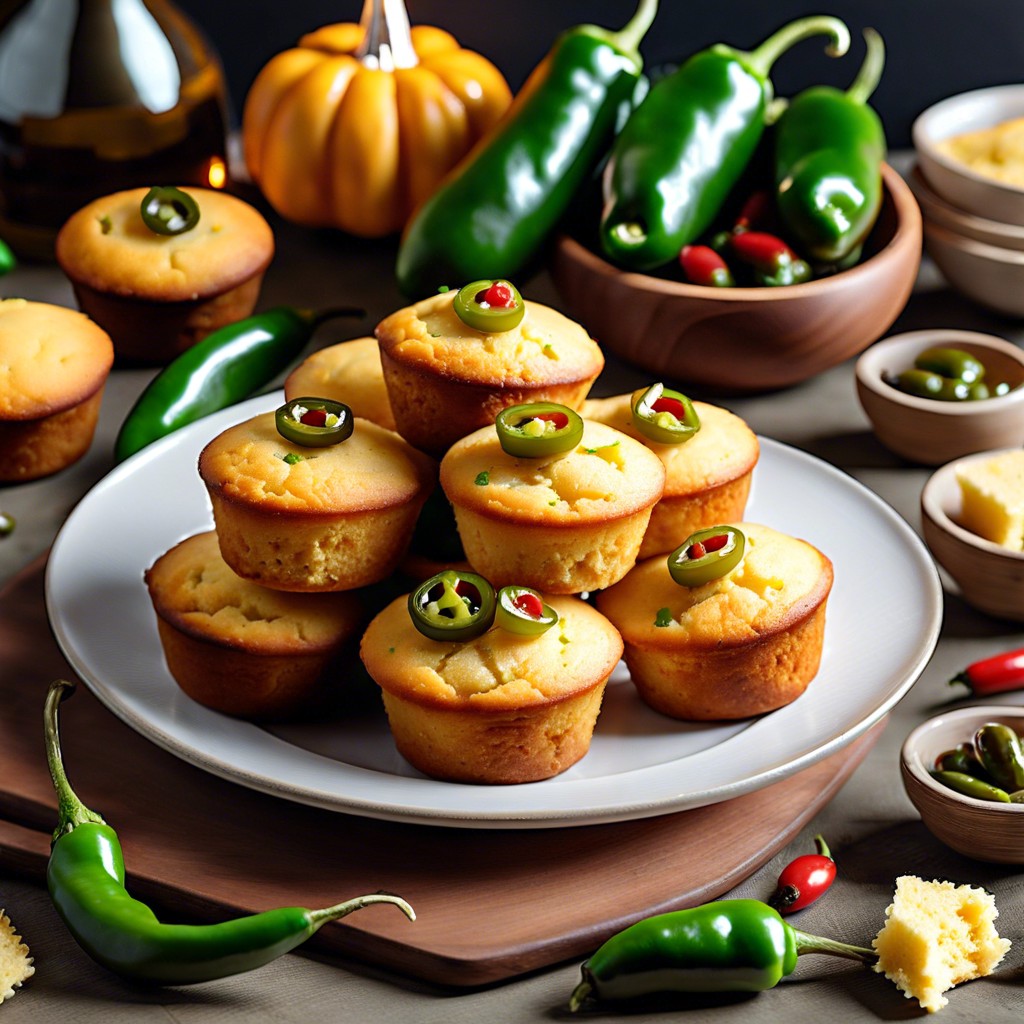
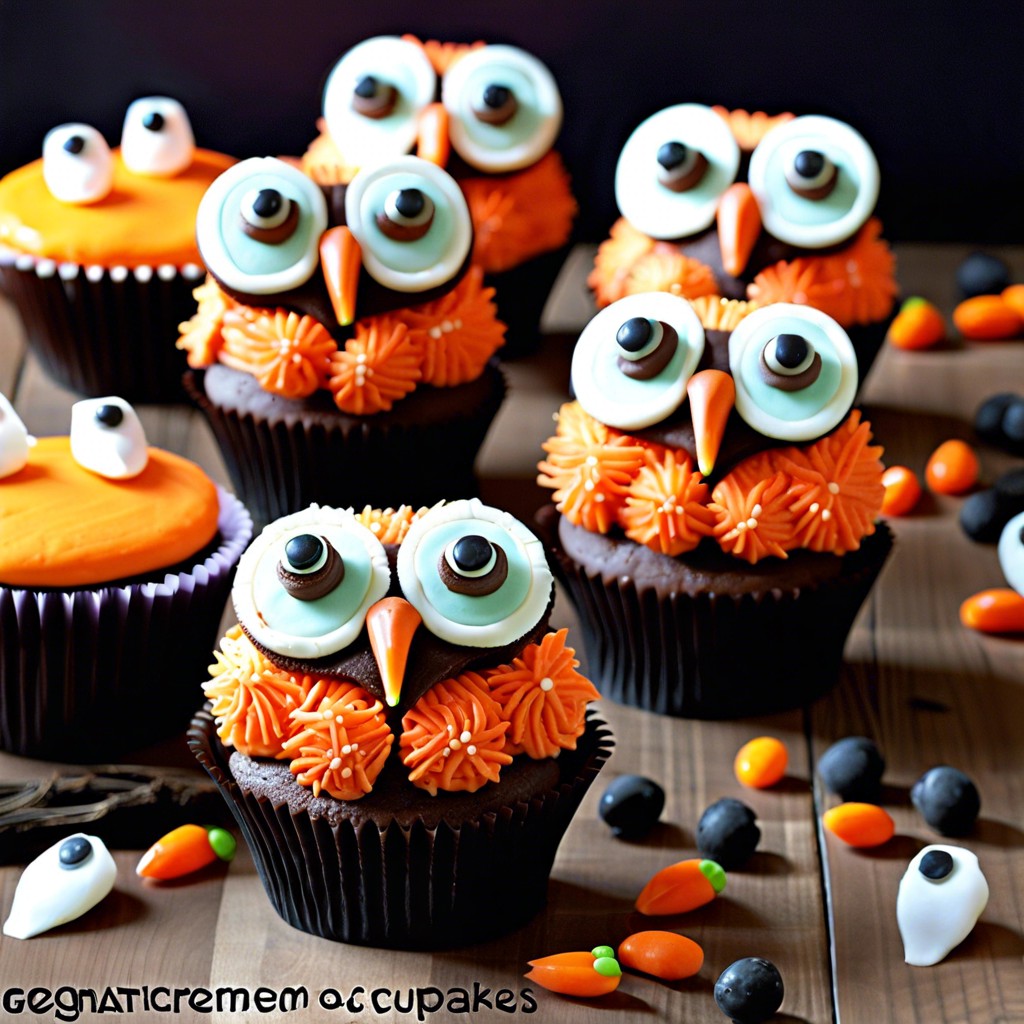
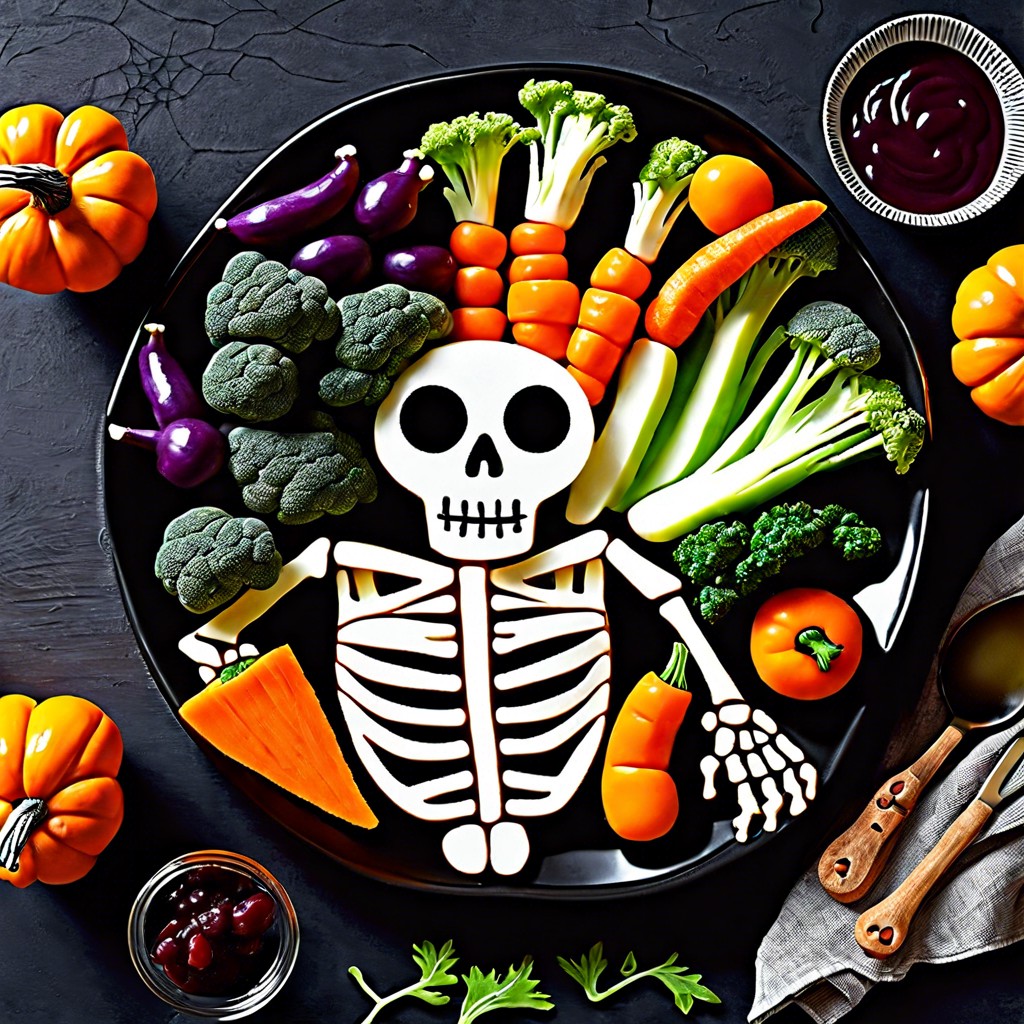
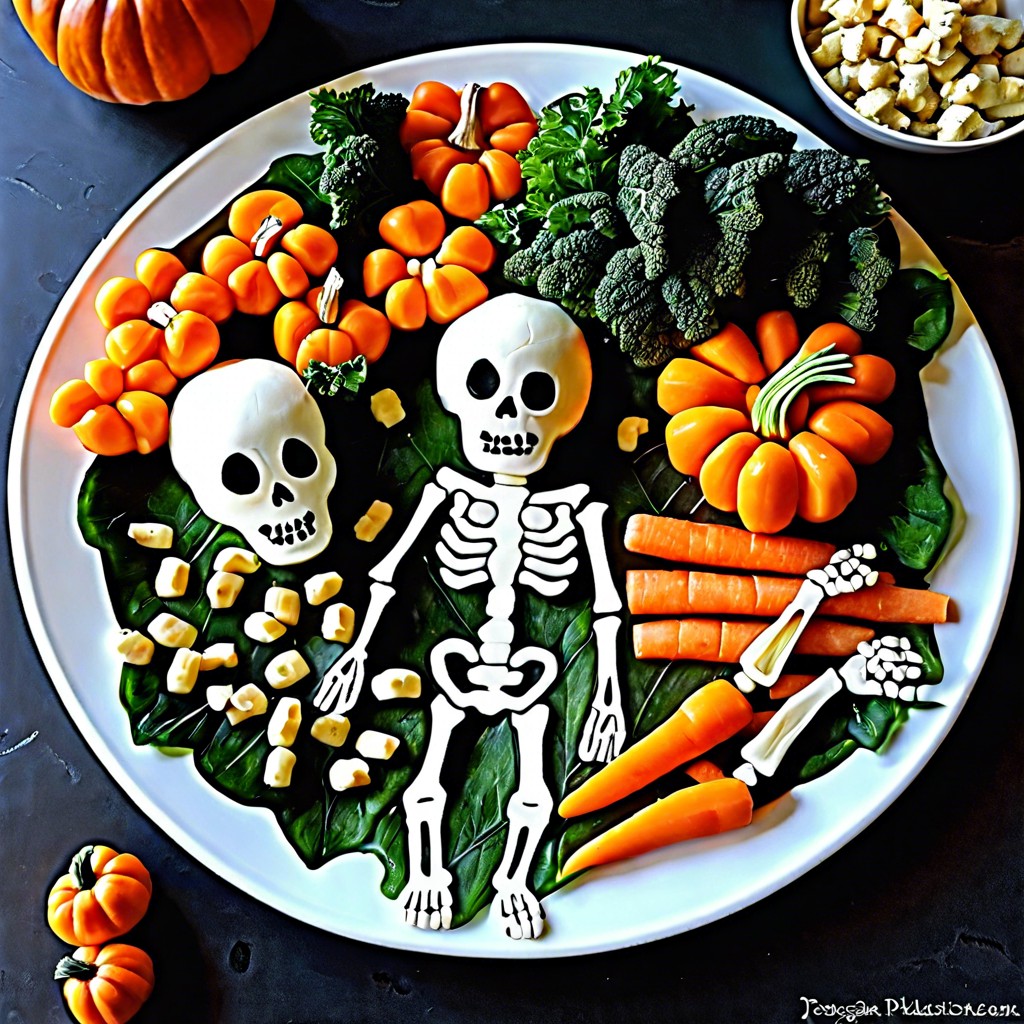
15 Halloween Snacks: Creative Ideas for Festive Treats
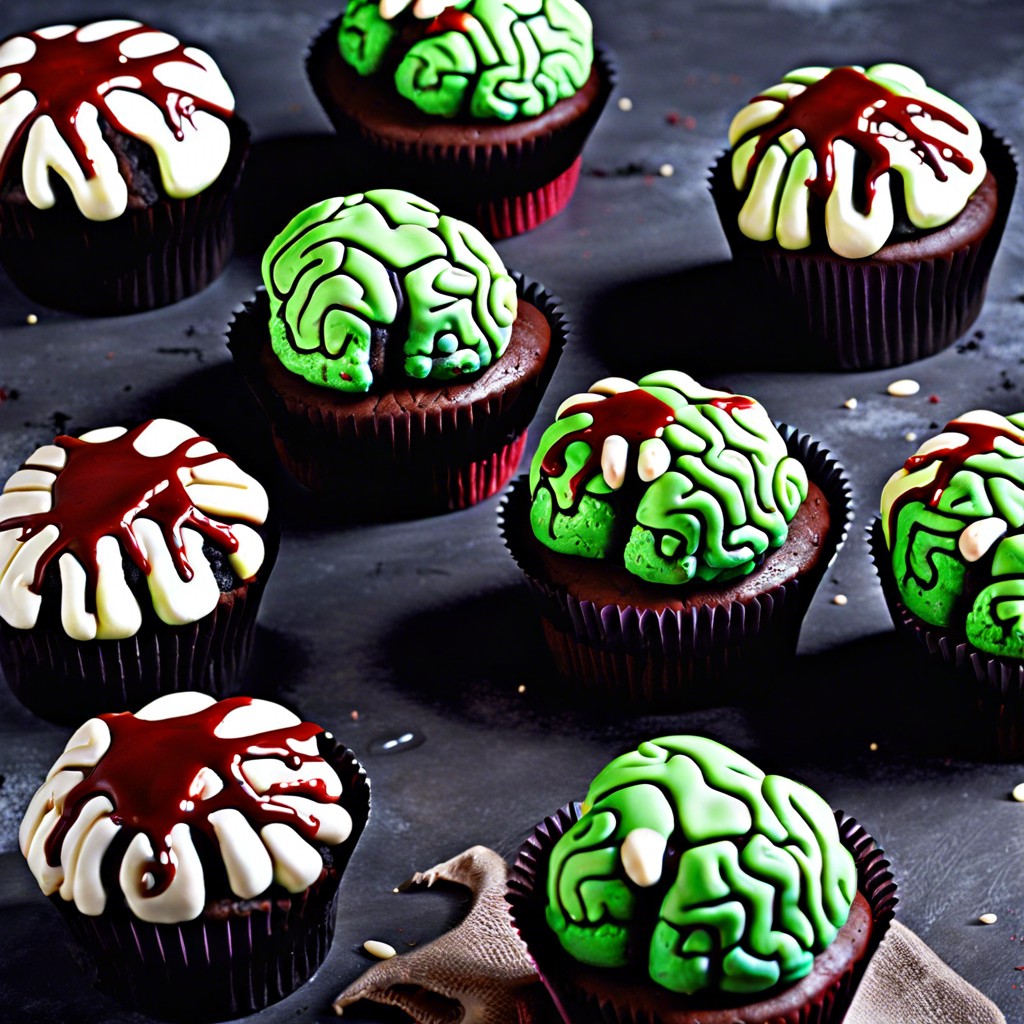
This article provides creative and easy-to-make Halloween snack ideas that will add a spooky touch to your festivities. Mummy Mini…
15 Snack Ideas for Adults: Easy and Delicious Options
Discover a variety of snack ideas suited for adults that are both healthy and indulgent. Spiced Nuts With Rosemary and…
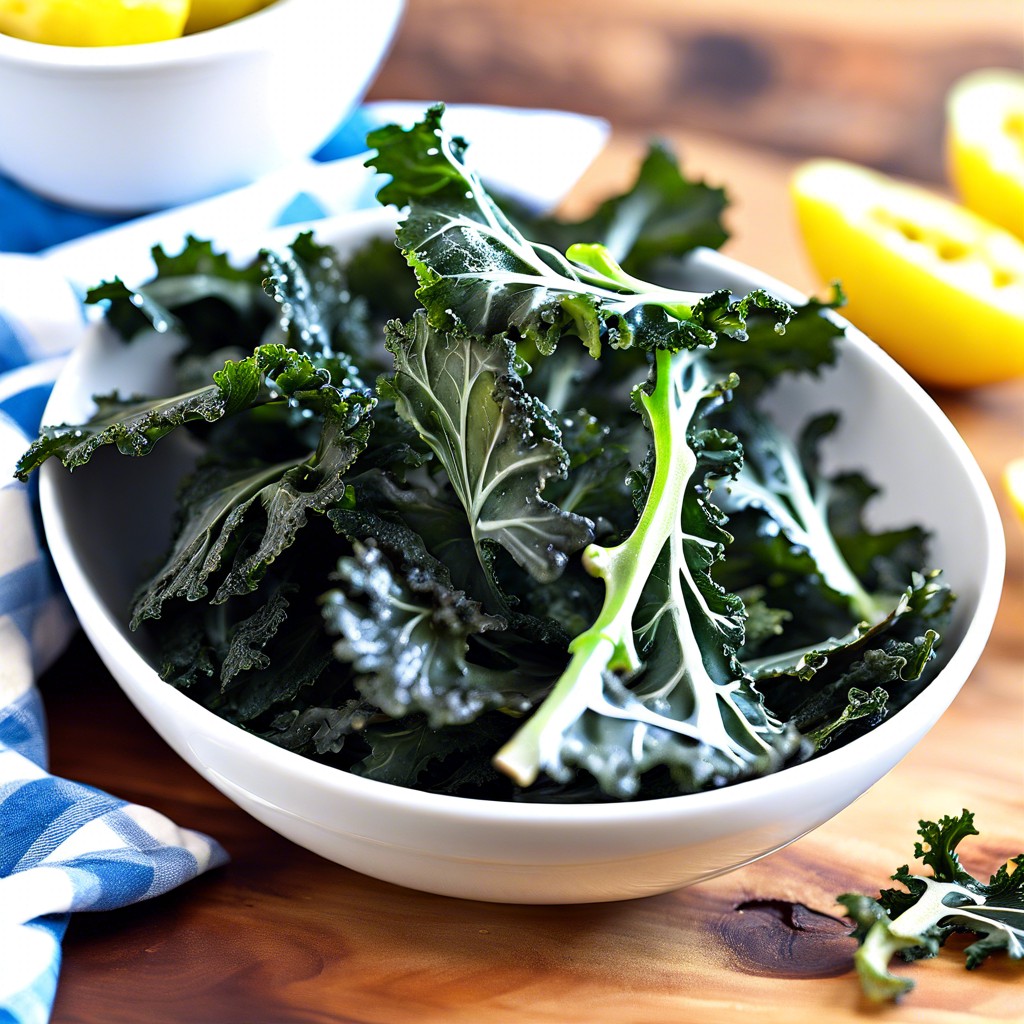
15 Snacks for Diabetics: Healthy Ideas to Manage Blood Sugar
Discover a variety of snack options suitable for diabetics that prioritize both taste and health. Almond Butter Celery Sticks Almond…
15 Halloween Class Treats: Easy Ideas for School Celebrations
Discover spook-tacular Halloween class treat ideas that are both fun to make and a delight to munch on! Mini Mummy…
15 Snack Ideas for Kids: Easy and Healthy Options
Discover fun and nutritious snack ideas for kids that are both easy to make and sure to please even the…
Party Snack Table Ideas: Proven Methods for Memorable Events
Explore a variety of creative and delicious party snack table ideas guaranteed to make your next gathering an unforgettable culinary…
Snack Stand Ideas: Innovative Approaches and Creative Solutions
Explore a myriad of innovative snack stand ideas that cater to diverse food cravings, ranging from savory indulgences to sweet…
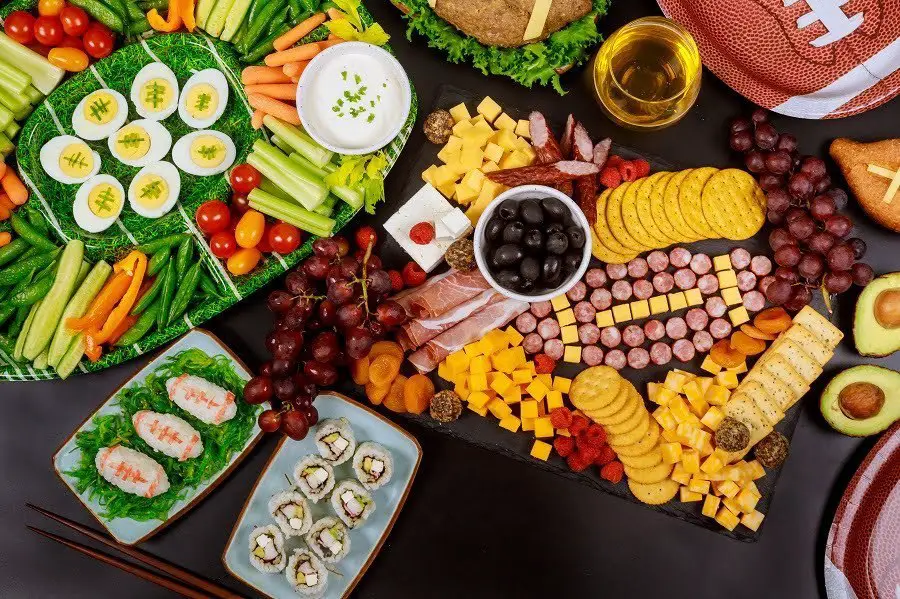
Basketball Snack Ideas: Savory and Sweet Suggestions for Game Day
Explore a curated list of mouth-watering snack ideas that are perfect for enjoying while watching your favorite basketball game. Whether…
Dinosaur Snack Ideas: Unique and Tasty Suggestions for Your Next Party

Unearth the excitement of prehistoric times with these creative and delicious dinosaur-themed snack ideas sure to delight both kids and…
Rainbow Snack Ideas: Tasty Treats for Colorful Palates
Explore the vibrant world of rainbow snacks, where taste meets color in an exciting culinary journey guaranteed to delight your…
Softball Snack Bag Ideas: Easy and Nutritious Options for Players
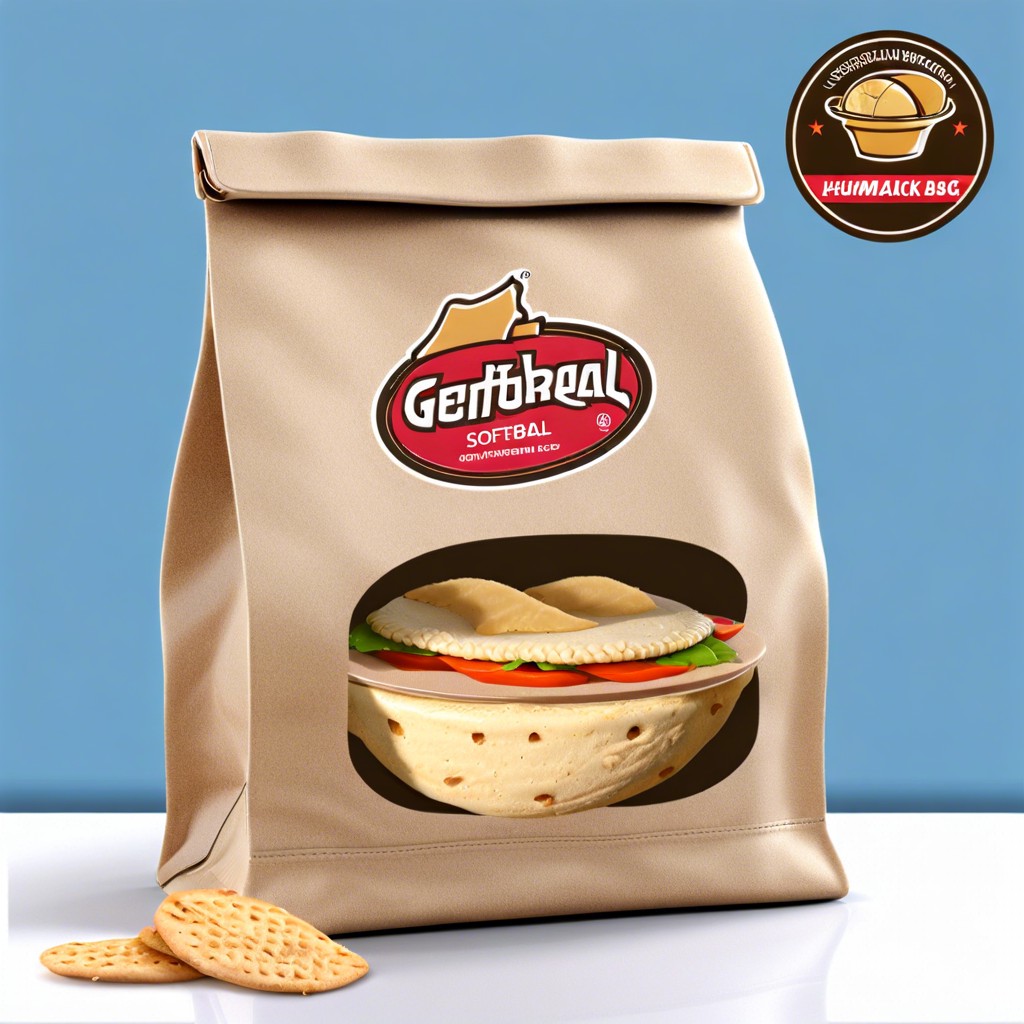
Discover an array of delicious and energizing snack bag ideas that are perfect for every softball game. Finding the perfect…
Cheer Snack Bag Ideas: Easy Ways to Keep Your Team Energized
Delve into an array of captivating cheer snack bag ideas that promise to transform ordinary snacks into delightful treats, fueling…
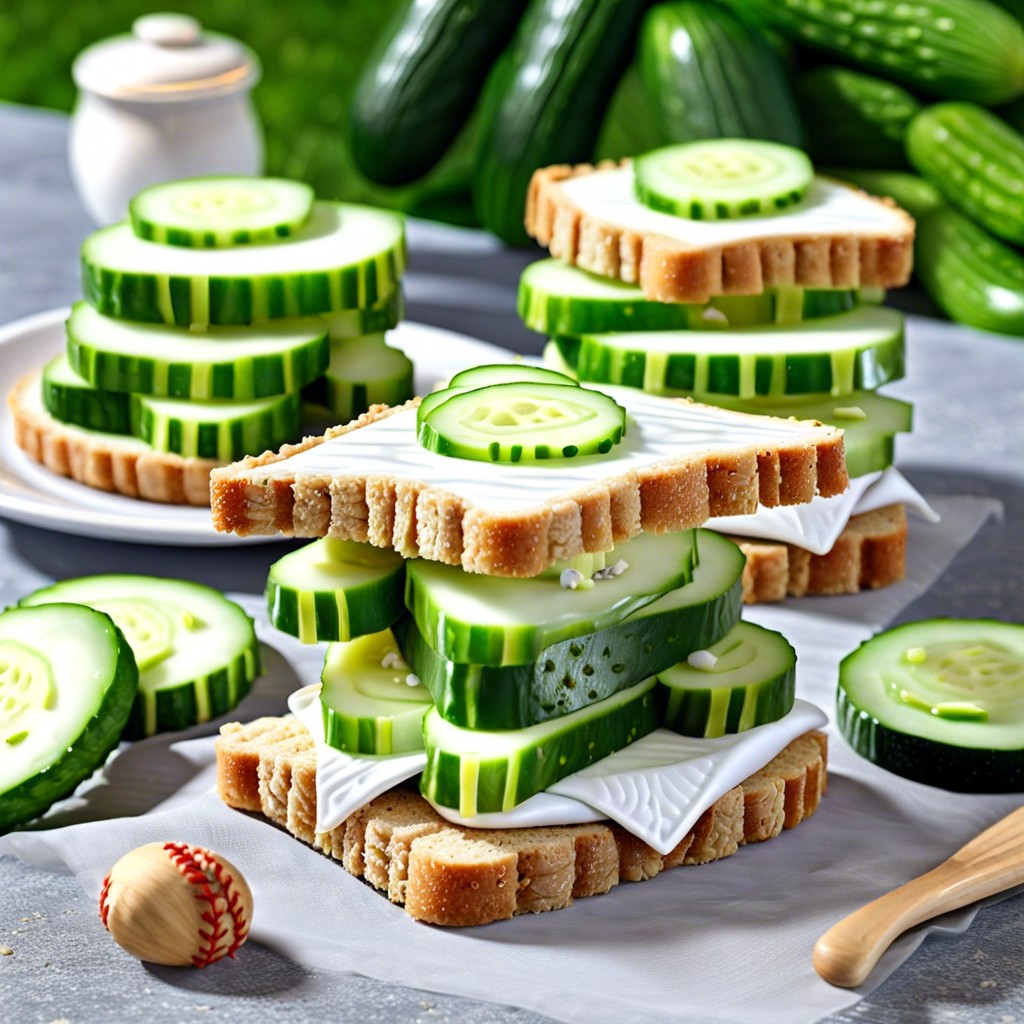
Goodie Bags Baseball Snack Ideas: Top Suggestions for Team Treats
Explore delicious and nutritious snack ideas that are perfect for baseball-themed goodie bags, ensuring both fun and health in every…
Nutella Snack Ideas: Easy Recipes for Tasty Treats
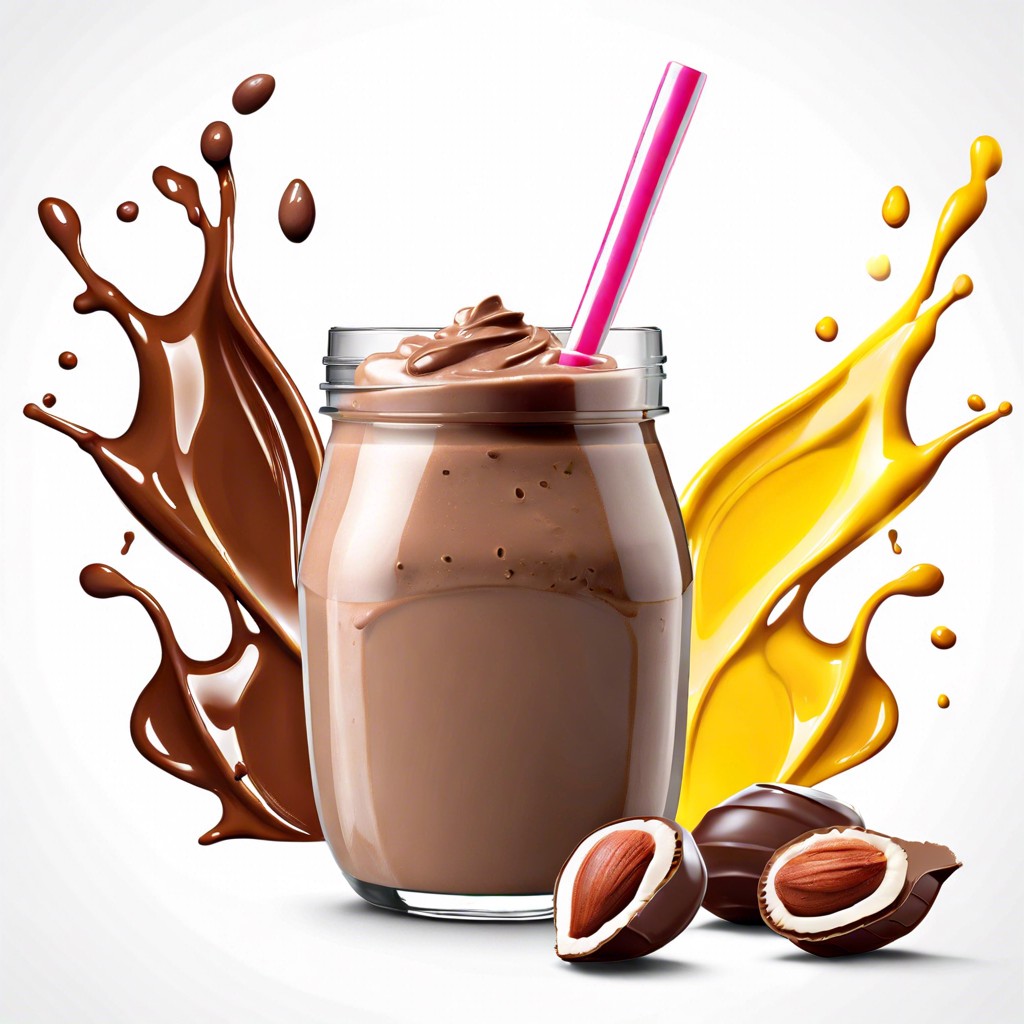
Explore the world of Nutella-infused snack ideas that are sure to satisfy your sweet tooth, from simple spreads to gourmet…
Open House Snacks Ideas: A Guide to Captivating Your Guests with Delicious Treats
Explore a variety of delightful open house snack ideas that are not only delicious but also easy to prepare and…
15 Baseball Mom Snack Ideas for Your Next Game
Discover quick, delicious snack ideas perfect for any baseball mom looking to fuel her little sluggers during the game. Mini…
15 Field Trip Lunch Ideas to Simplify Your Planning
This article provides practical and fun lunch ideas perfect for any field trip. Mini Pita Pocket Sandwiches With Hummus and…
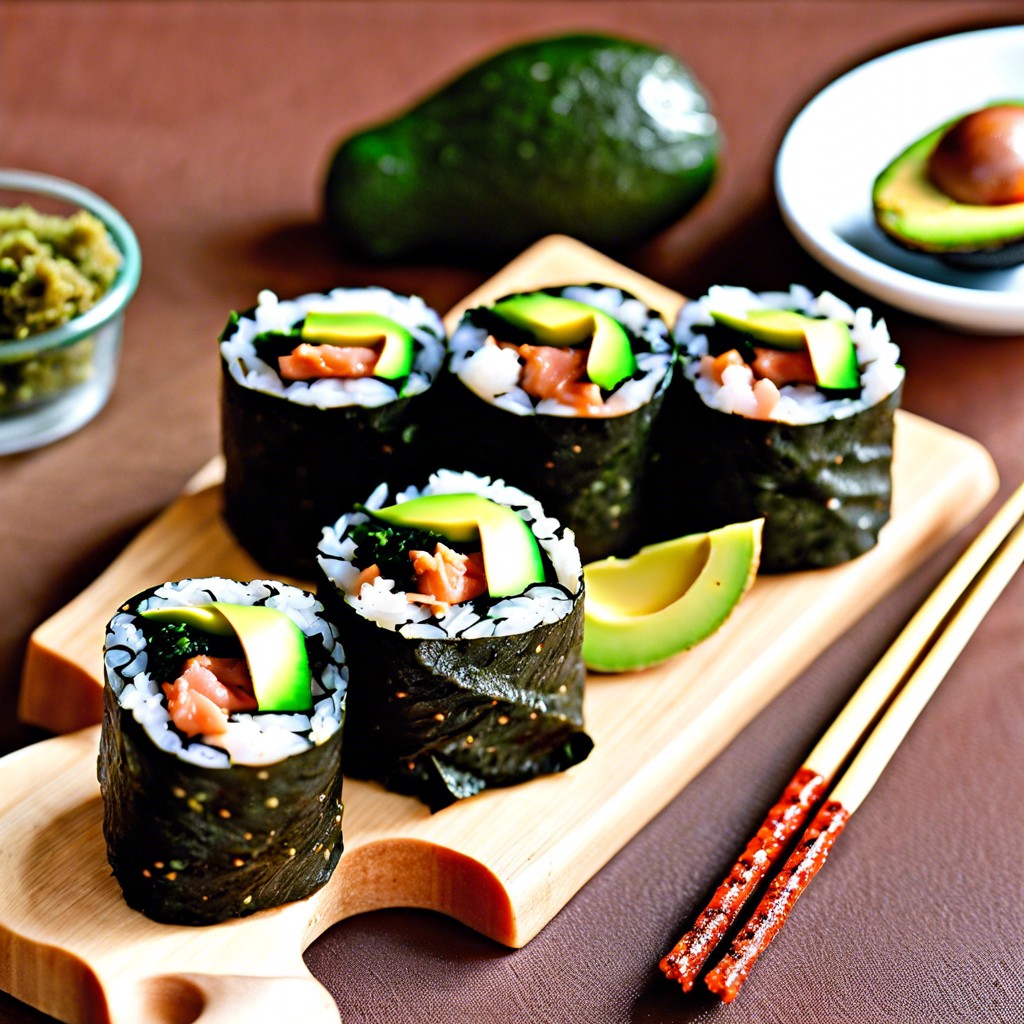
Seaweed Snack Ideas: Healthy Inspo for Your Next Treat
Explore the versatility of seaweed as a snack with these creative and delicious ideas that blend both traditional and innovative…
Star Wars Snack Ideas: Guide to Unique and Themed Party Foods
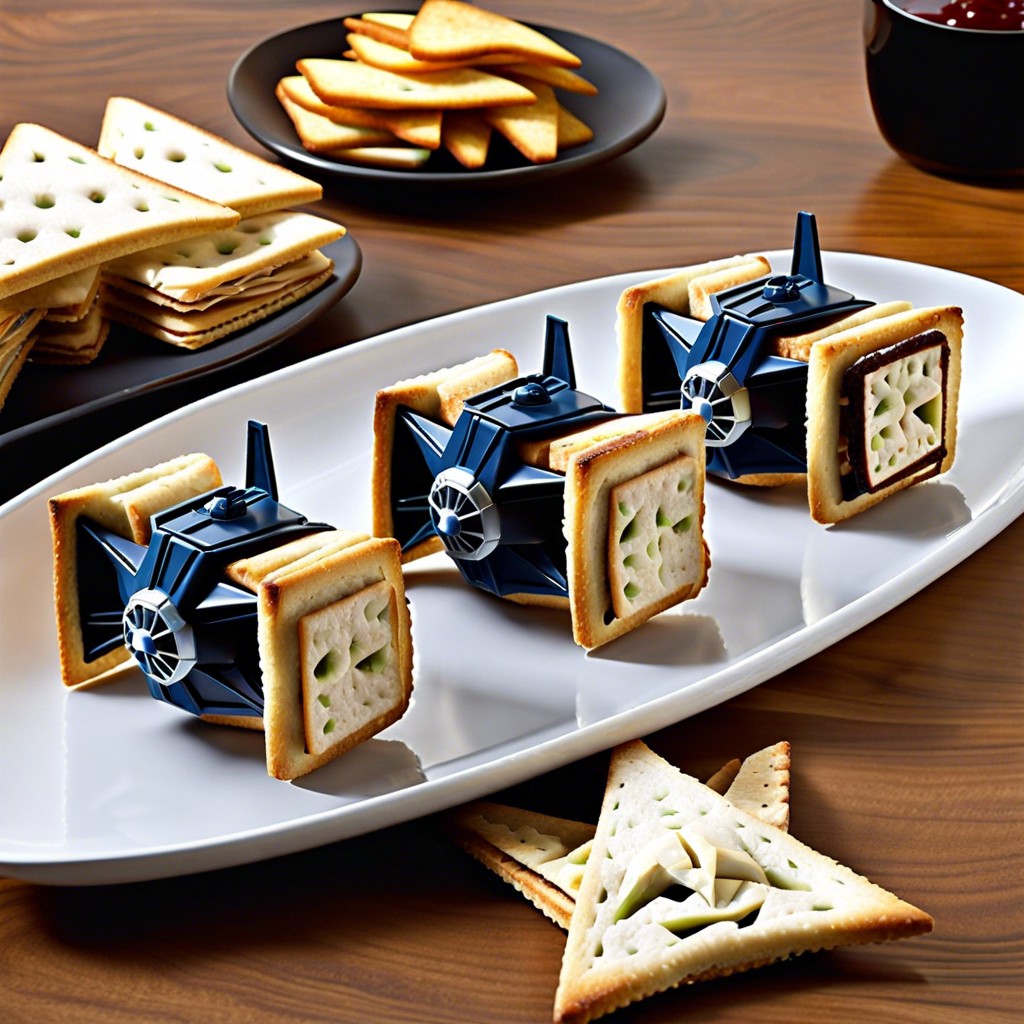
Immerse yourself in a galaxy far, far away with these creative Star Wars-themed snack ideas that are sure to light…
15 Church Snacks Ideas for Every Gathering
Discover a variety of snack ideas perfect for any church gathering that are easy to prepare, delicious, and sure to…
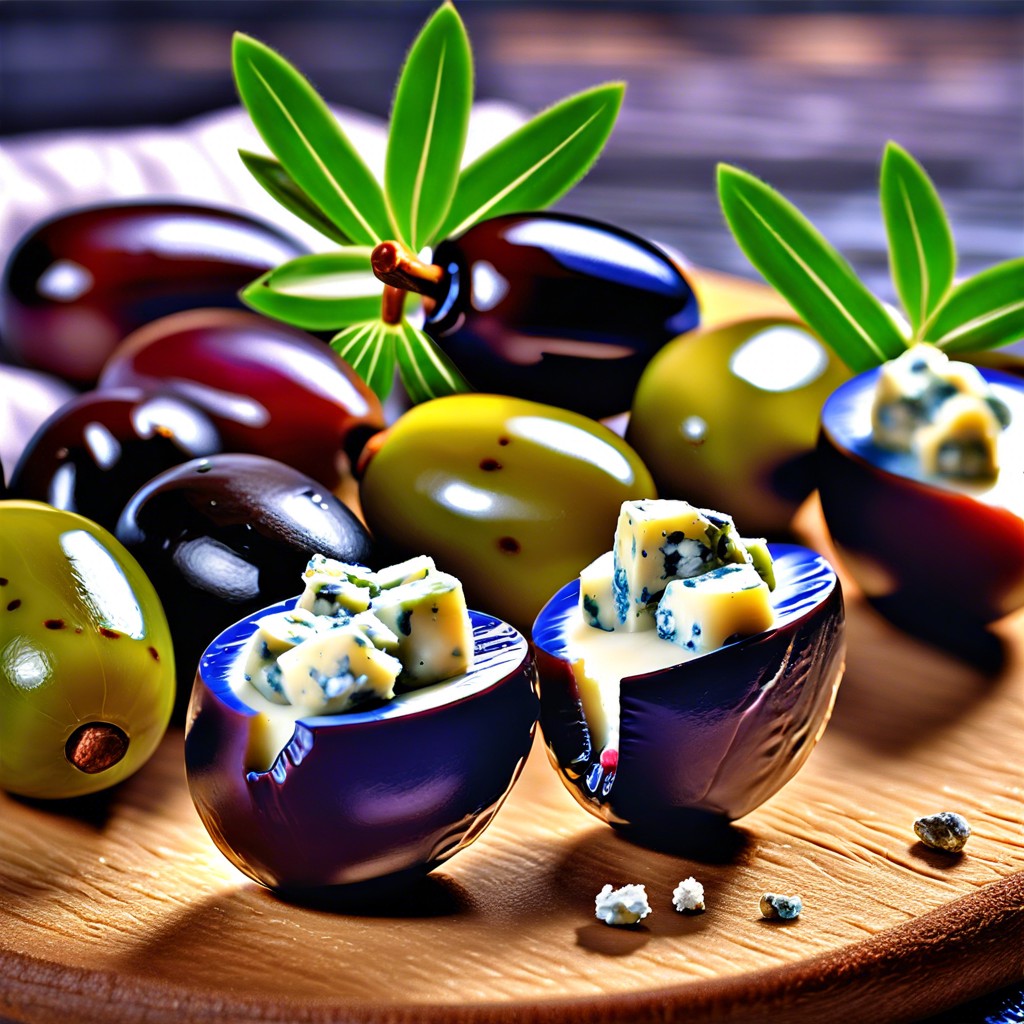
Pickle Snack Ideas: A Comprehensive Guide on Unique and Delicious Options
Explore the versatile world of pickles as they elevate your snack game by adding a tangy twist to classic and…
15 DIY Halloween Treats for School: Fun & Easy Ideas
Unleash spooky fun with these easy DIY Halloween treats perfect for school festivities. Spider Web Cupcakes Spider Web Cupcakes are…
15 Back to School Snacks Ideas for Easy and Healthy Options
Get your snack game on point with these imaginative and easy back-to-school snack ideas that will keep both kids and…
15 Packaged Snacks for School: Easy and Healthy Ideas
Discover practical and tasty packaged snack ideas perfect for school lunches or quick classroom treats. Veggie Chips With Hummus Dip…
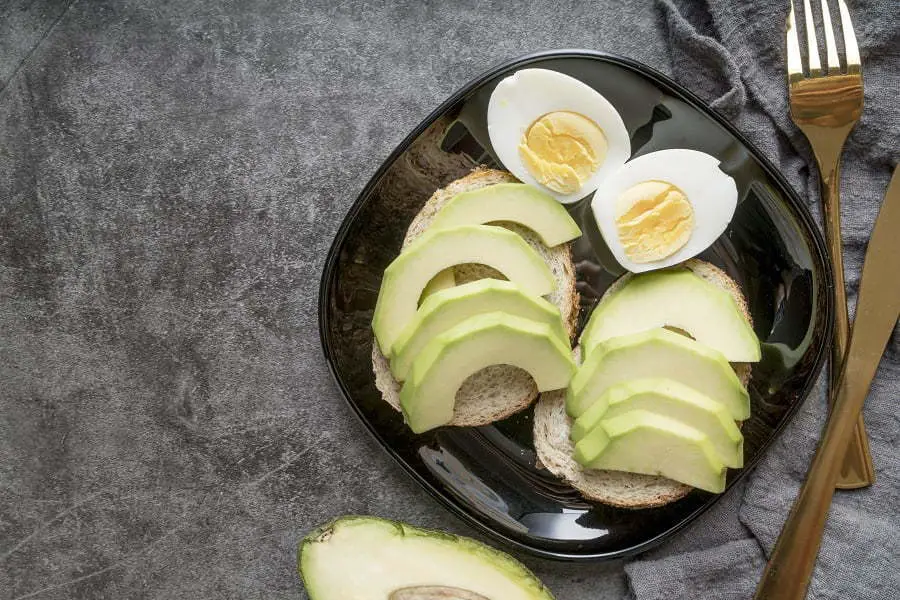
15 Hard Boiled Egg Snack Ideas
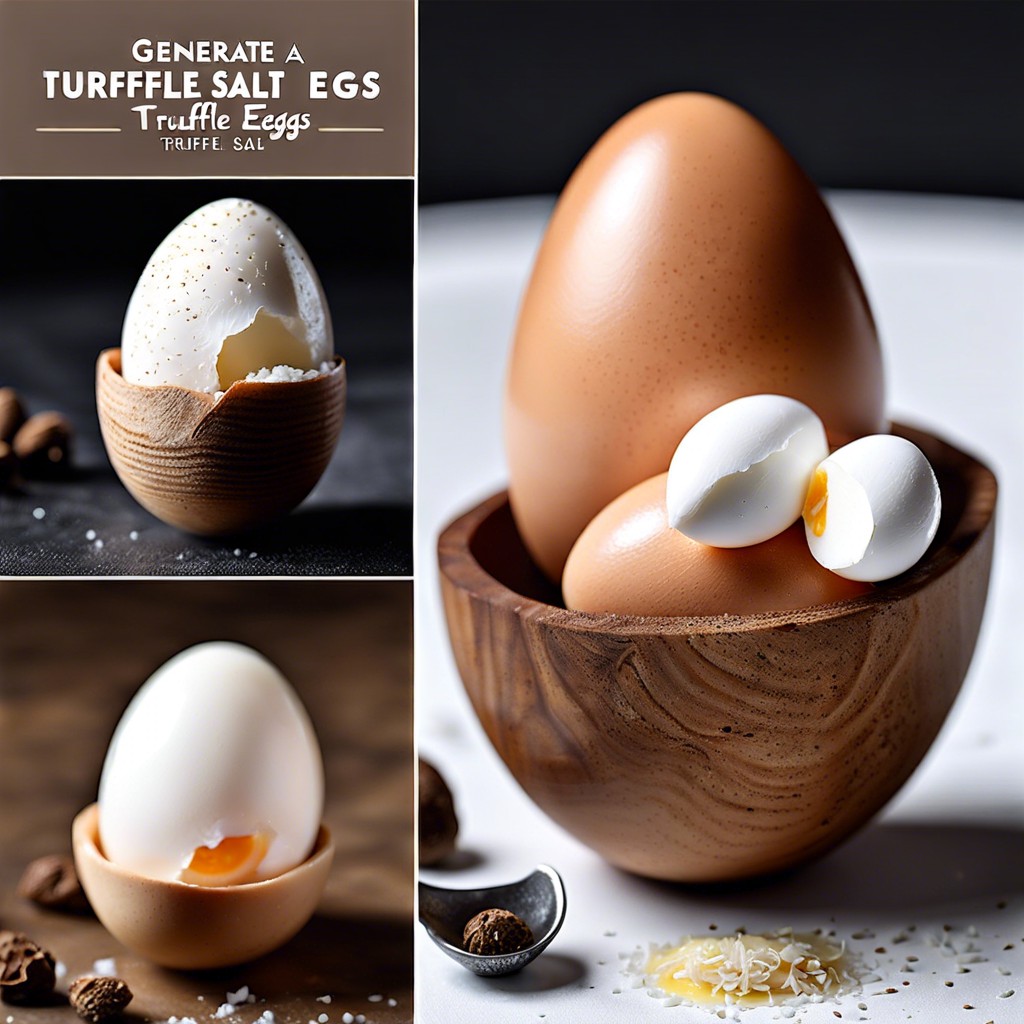
Discover simple and delightful hard-boiled egg snack ideas that offer both flavor and convenience. Deviled Eggs With Avocado and Sriracha…
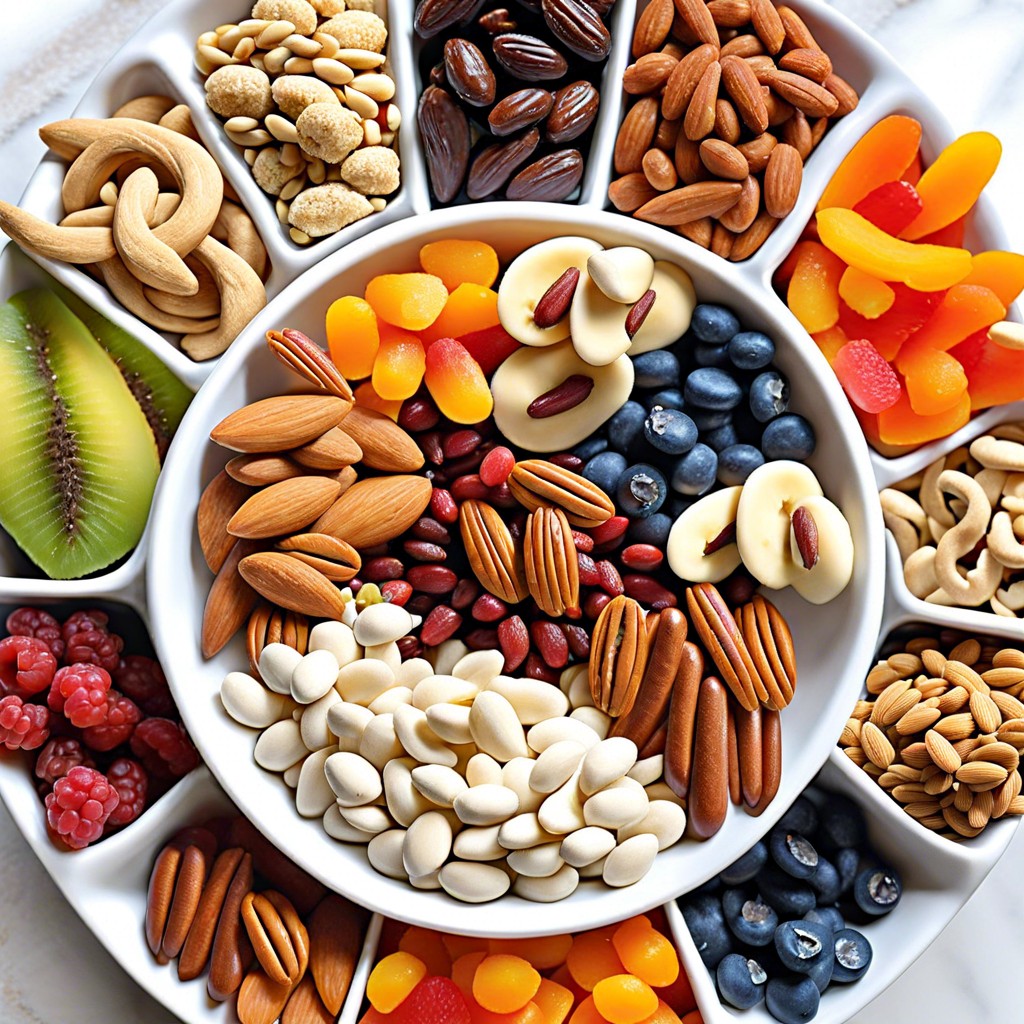
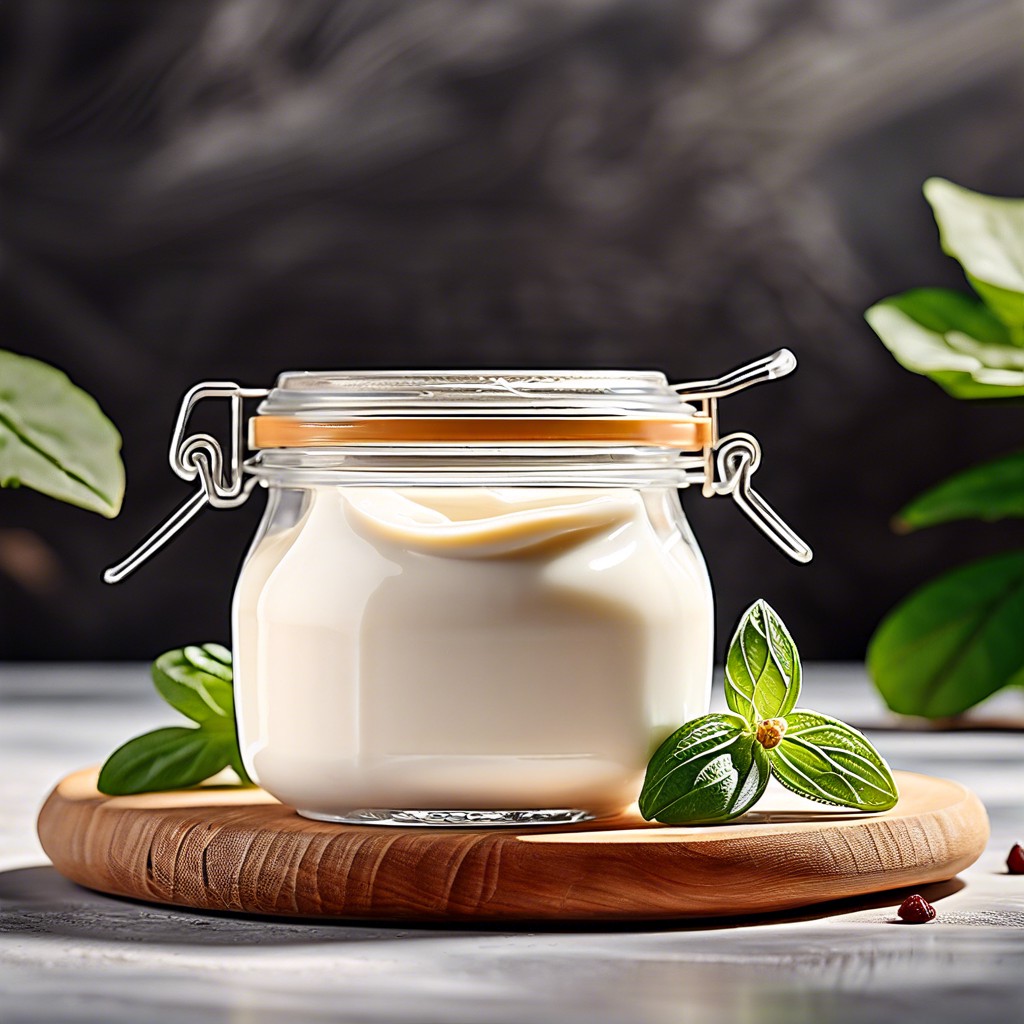
15 Healthy Snack Gifts: Creative Ideas for Every Occasion
Discover a variety of healthy snack gift ideas that are both delicious and nutritious. Organic Dried Fruit Basket An organic…
Sports Snack Bag Ideas: Nutritious and Delicious Options for Athletes
Explore these invigorating sports snack bag ideas, filled with nutritious and delicious options that will fuel your body for any…
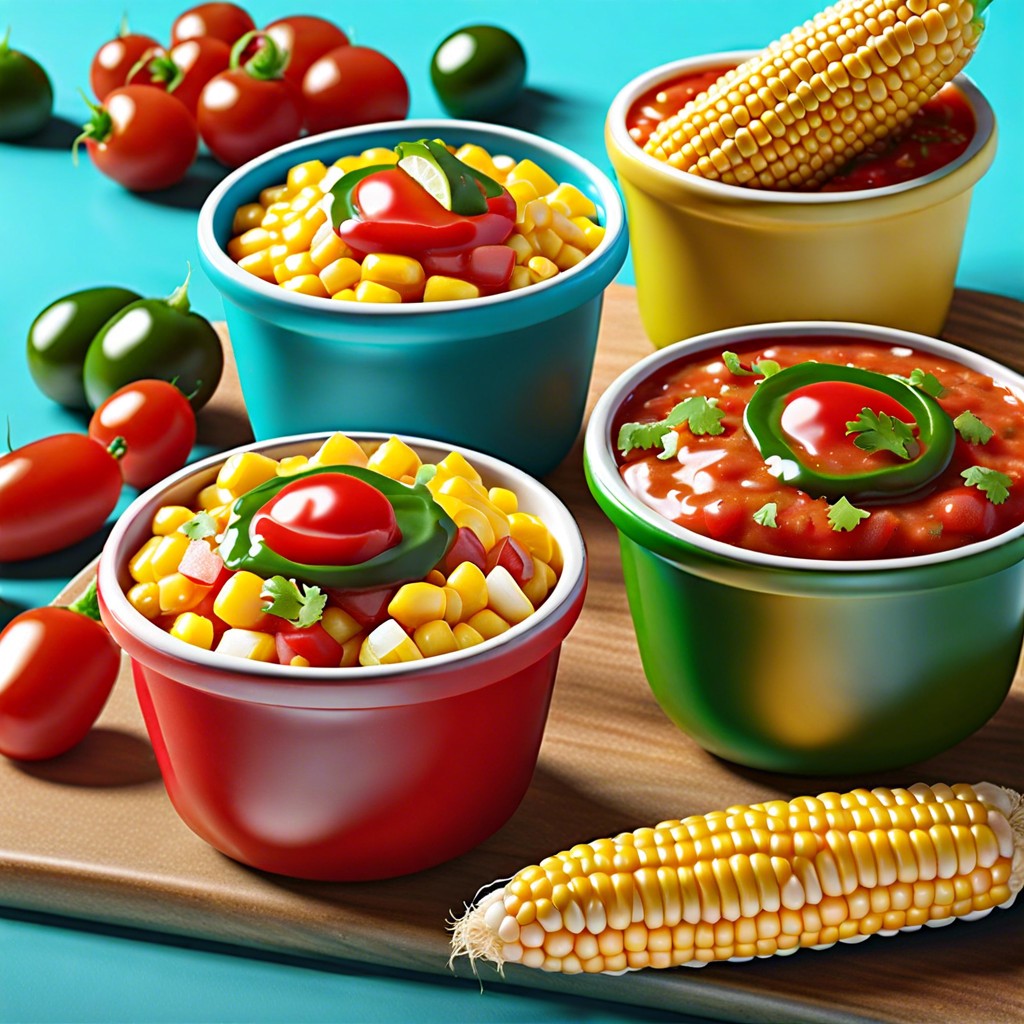
15 Red Snacks for Color Party: Creative Ideas for Your Event
Find the perfect red snacks for your color-themed party with these eye-catching and delicious ideas. Tomato Bruschetta Tomato bruschetta provides…
15 Easter Desserts for Kids: Fun Ideas to Sweeten the Holiday
Discover fun and creative Easter dessert ideas that are sure to delight kids and ignite their holiday spirit. Bunny-shaped Sugar…
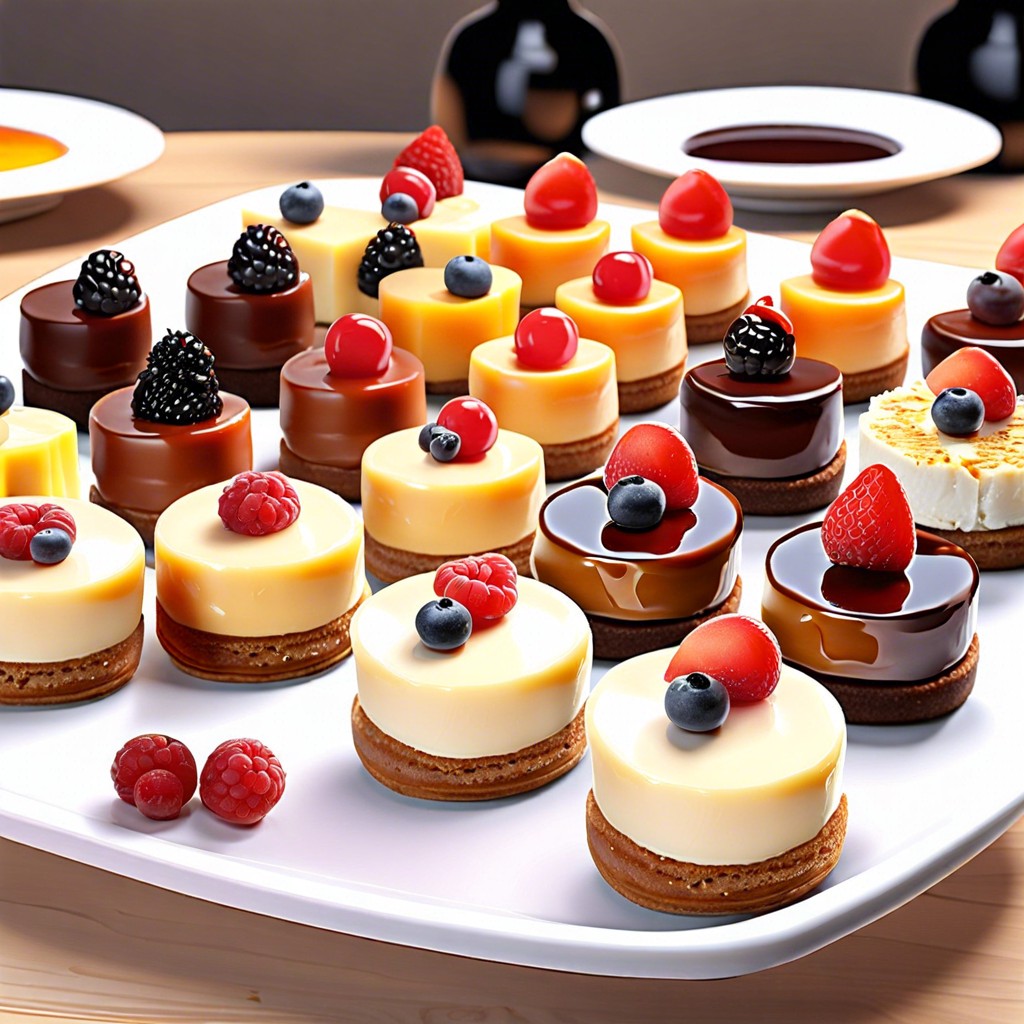
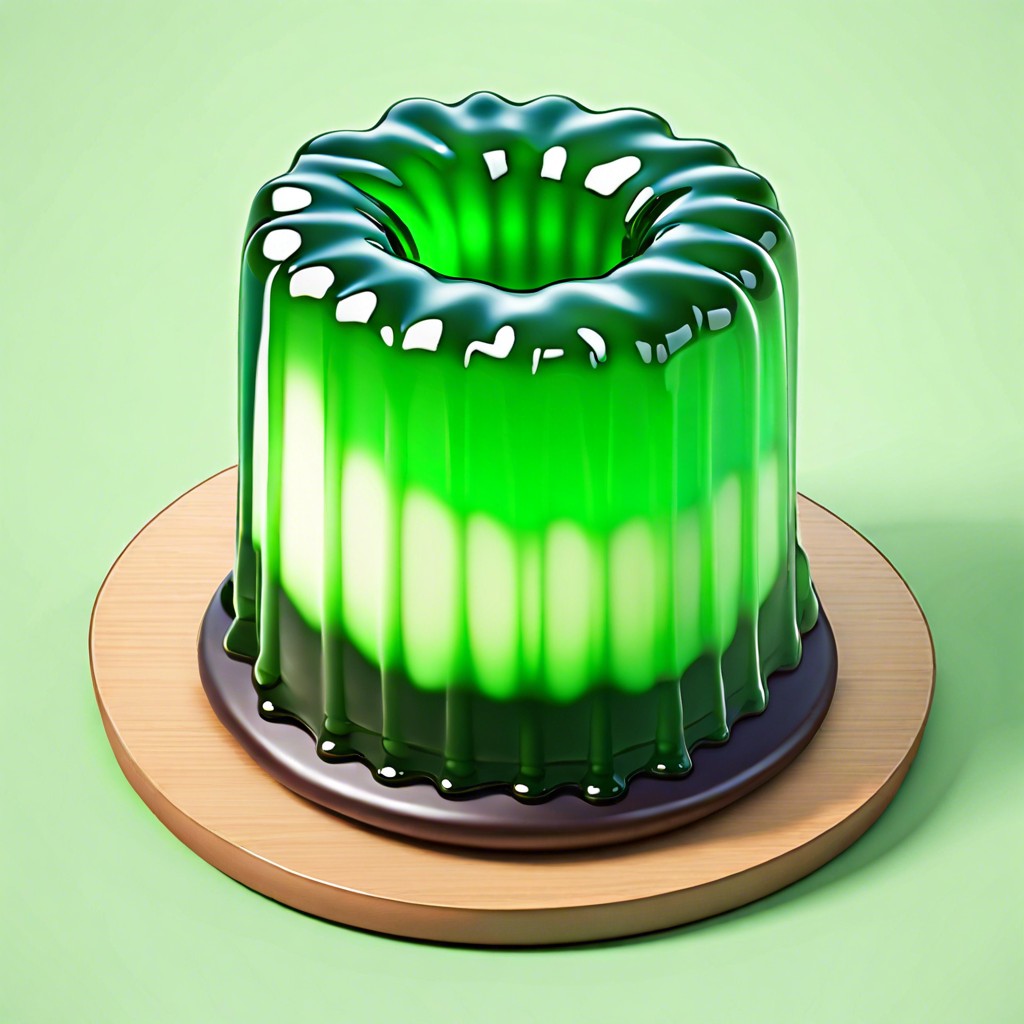
15 Bachelorette Party Appetizers Ideas to Delight Your Guests
Discover creative and delicious appetizer ideas perfect for any bachelorette party. Mini Champagne Jell-O Shots Mini Champagne Jell-O Shots bring…
Superhero Snack Ideas: Easy and Exciting Recipes for Kids
Get ready to power up your snack game with these creative and delicious superhero-themed ideas, perfect for parties or an…
Toddler Snack Ideas for Daycare: Healthy and Easy Options for Busy Parents

Explore an assortment of snack ideas for toddlers that are both nutritious and daycare-friendly. Finding the right snacks for your…
15 Mickey Mouse Treats Ideas for Creative Snack-Time Fun
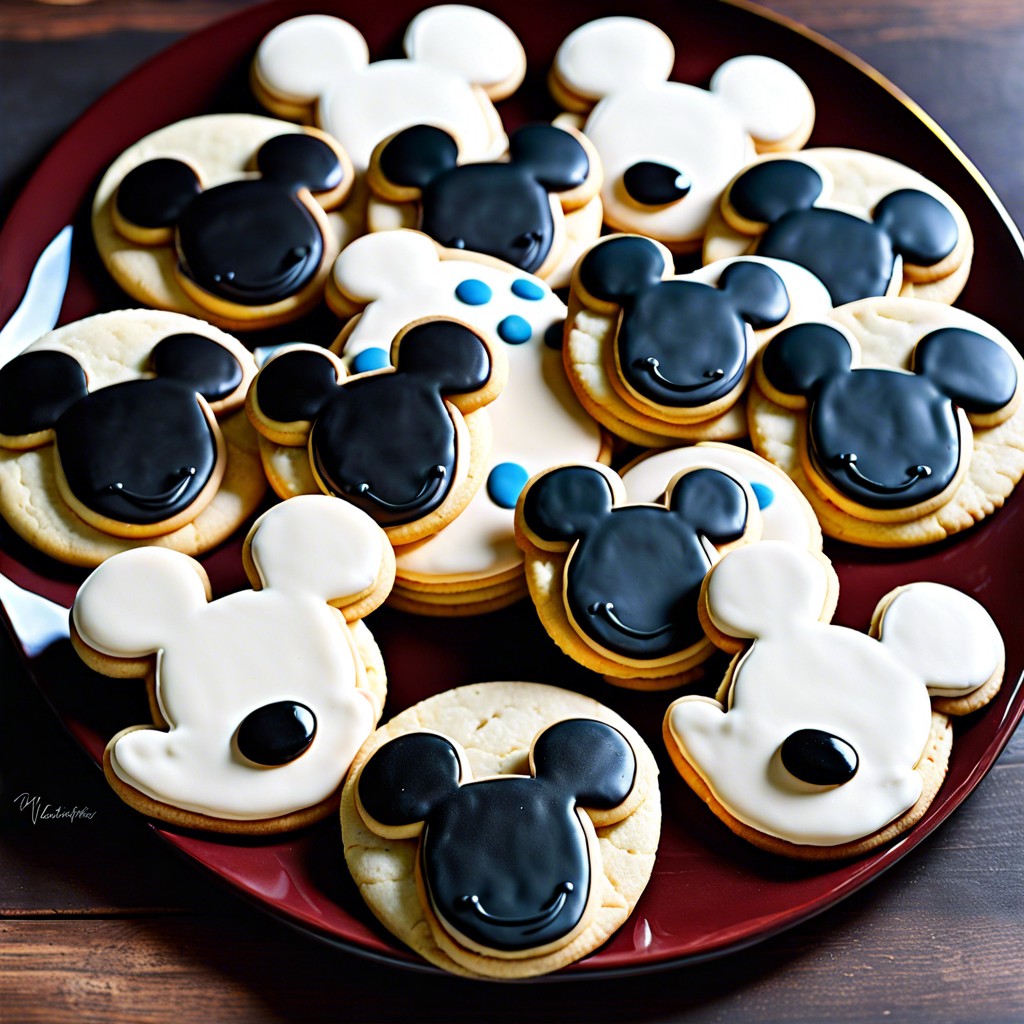
Discover creative and whimsical Mickey Mouse treat ideas perfect for any Disney-themed party or fun snack time. Mickey Mouse-shaped Pretzels…
Valentine Snack Ideas for Classroom: Easy and Fun Treats for Kids

Explore an array of Valentine snack ideas that will sweeten up any classroom celebration. Valentine’s Day is a delightful opportunity…
15 Office Snacks Ideas to Keep You Energized and Productive

Discover a variety of office snack ideas that will keep your hunger at bay and boost your productivity throughout the…
Backpacking Snack Ideas: Tips for Nutritious and Easy-to-carry Options
Explore a world of delectable snack ideas to fuel your next backpacking adventure, made for easy packing and guaranteed to…
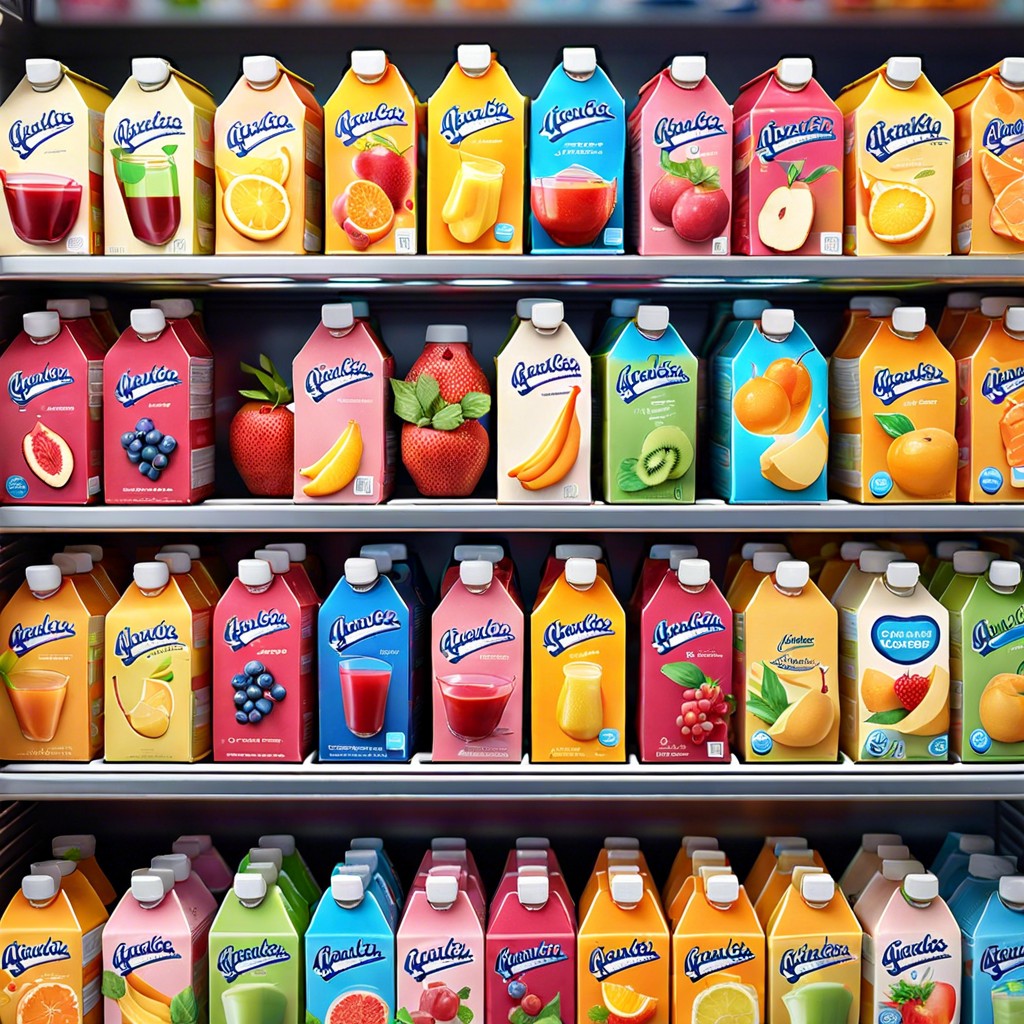
15 Snack Packaging Design Ideas for Creative Branding
Discover how innovative snack packaging design can boost your brand’s appeal and capture consumer attention. Edible Wrappers Made From Rice…
Balanced Snack Ideas: Healthy Choices for Satisfying Hunger
Explore the universe of balanced snacks, where health meets taste, offering nourishment and satisfaction in every bite. Finding the perfect…
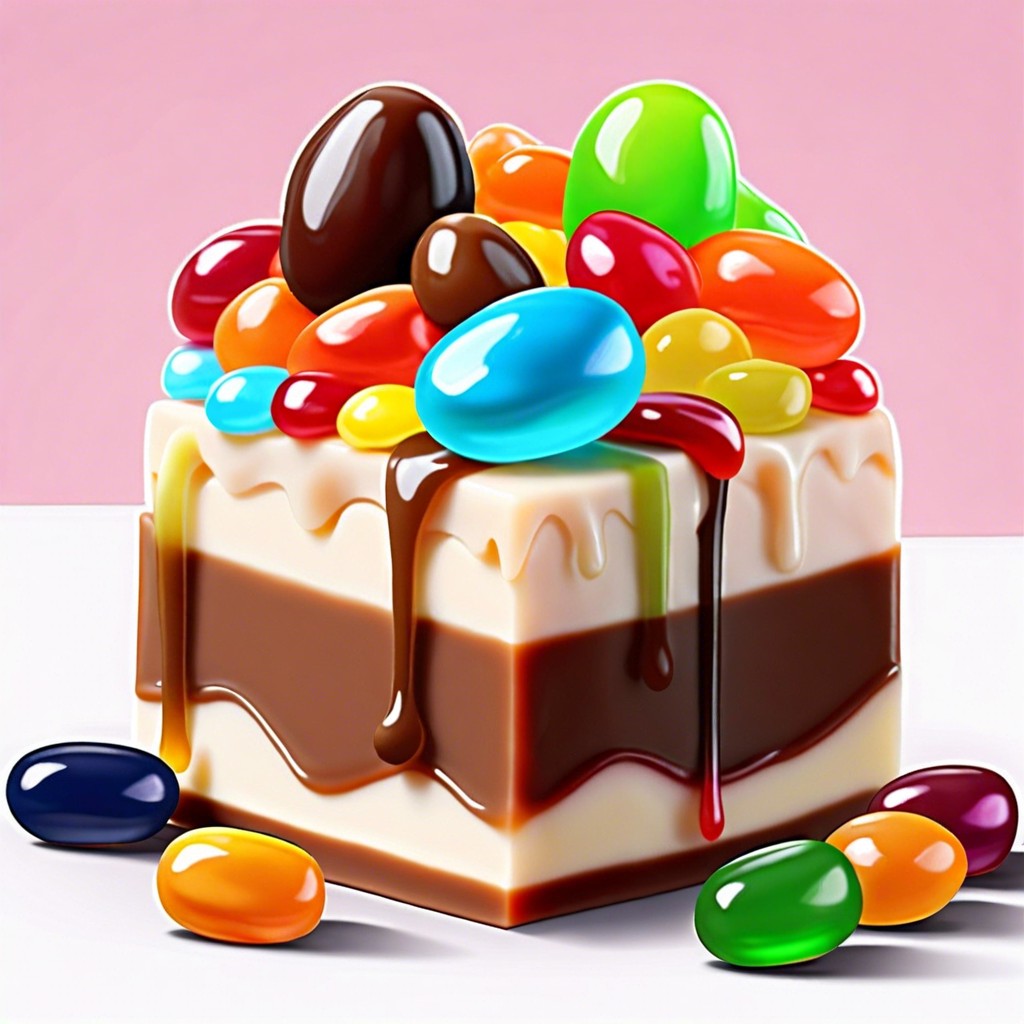
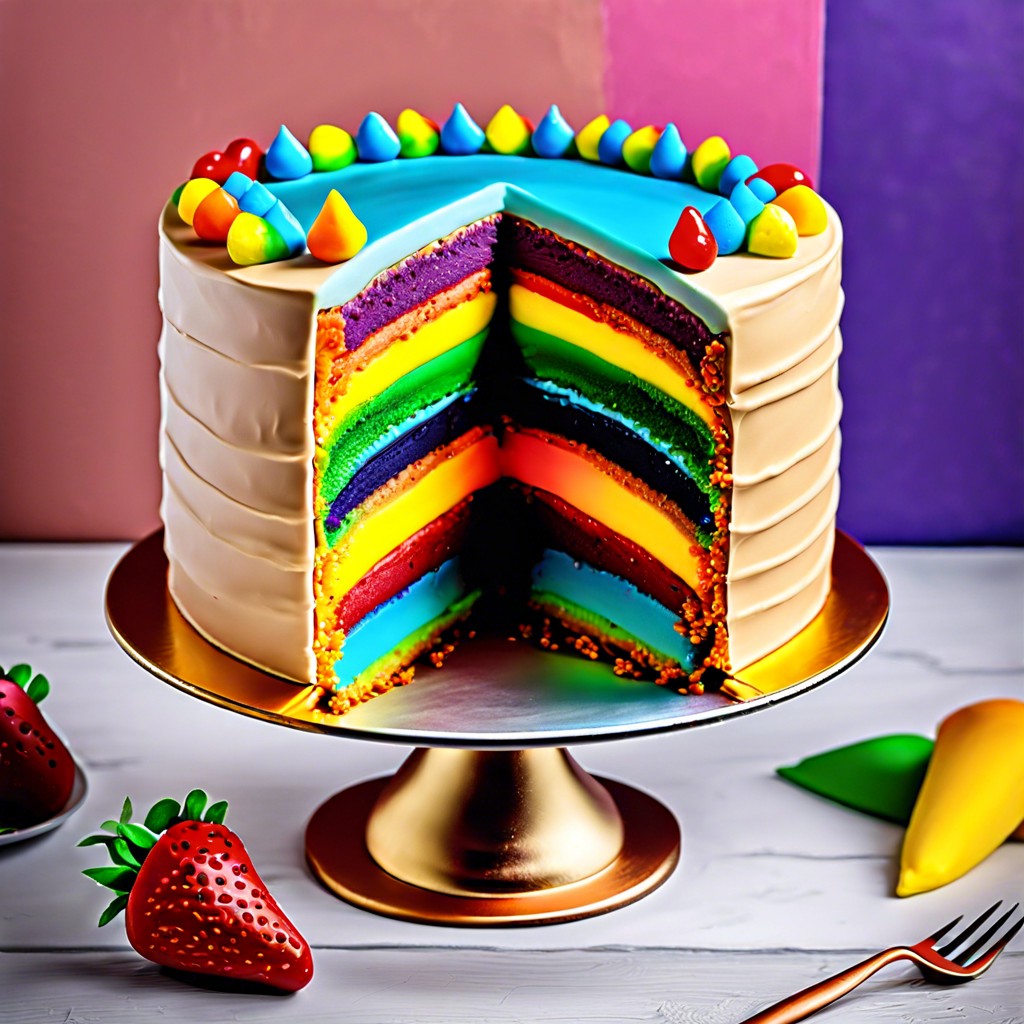
15 Birthday Snack Box Ideas for Your Next Celebration
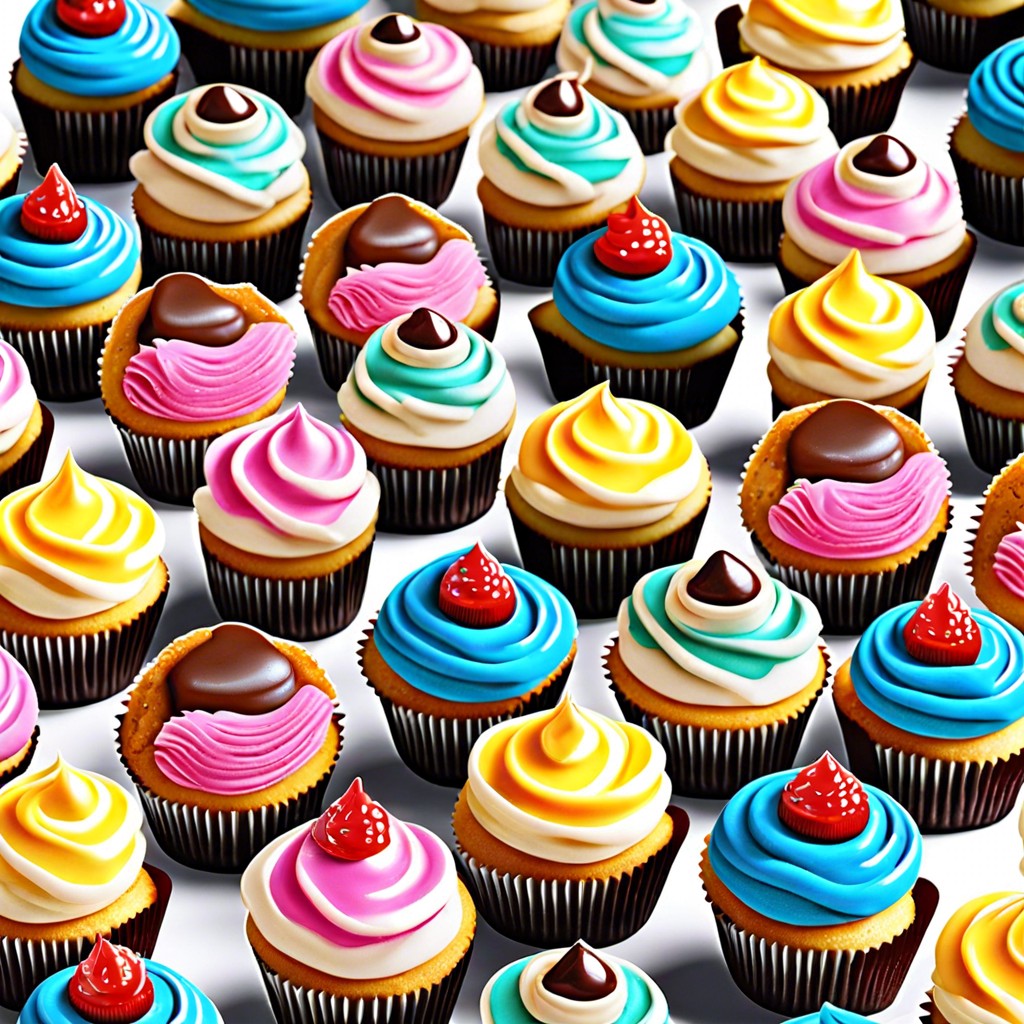
Discover creative and delicious birthday snack box ideas that will be the highlight of any party. Mini Cupcakes Assortment Delight…
Book Club Snack Ideas: Easy and Delicious Options for Your Next Meeting
Explore a diverse range of delicious and easy-to-make snack ideas that can add an extra layer of enjoyment to your…
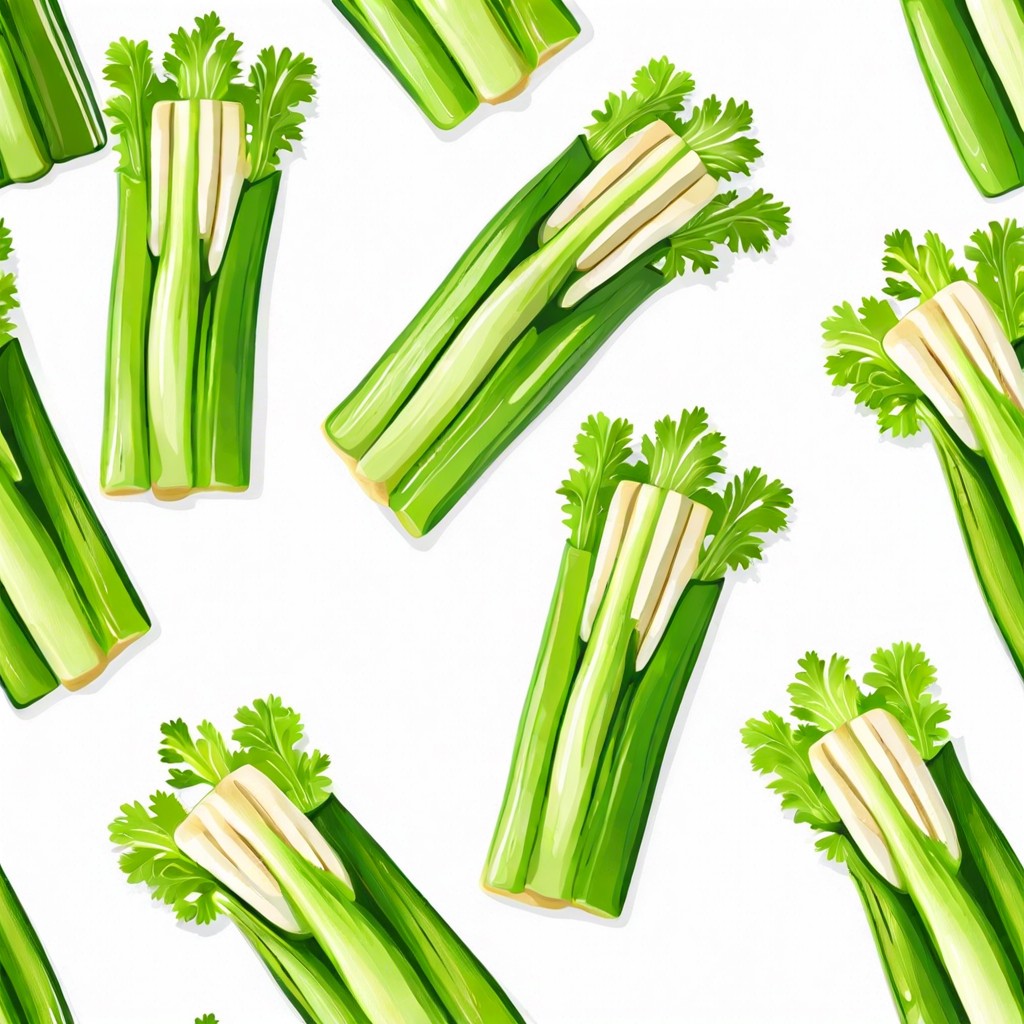
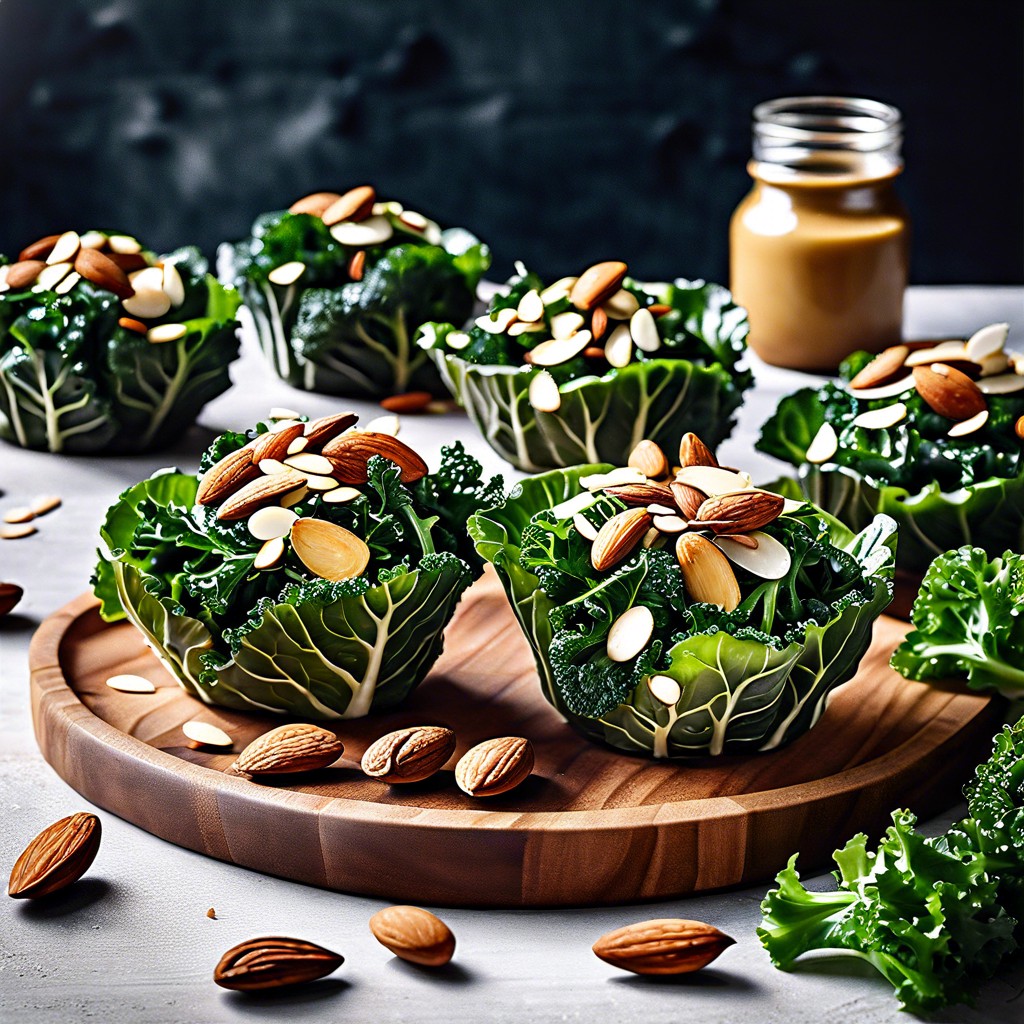
Celery Snacks Ideas: Easy and Healthy Options for All Ages
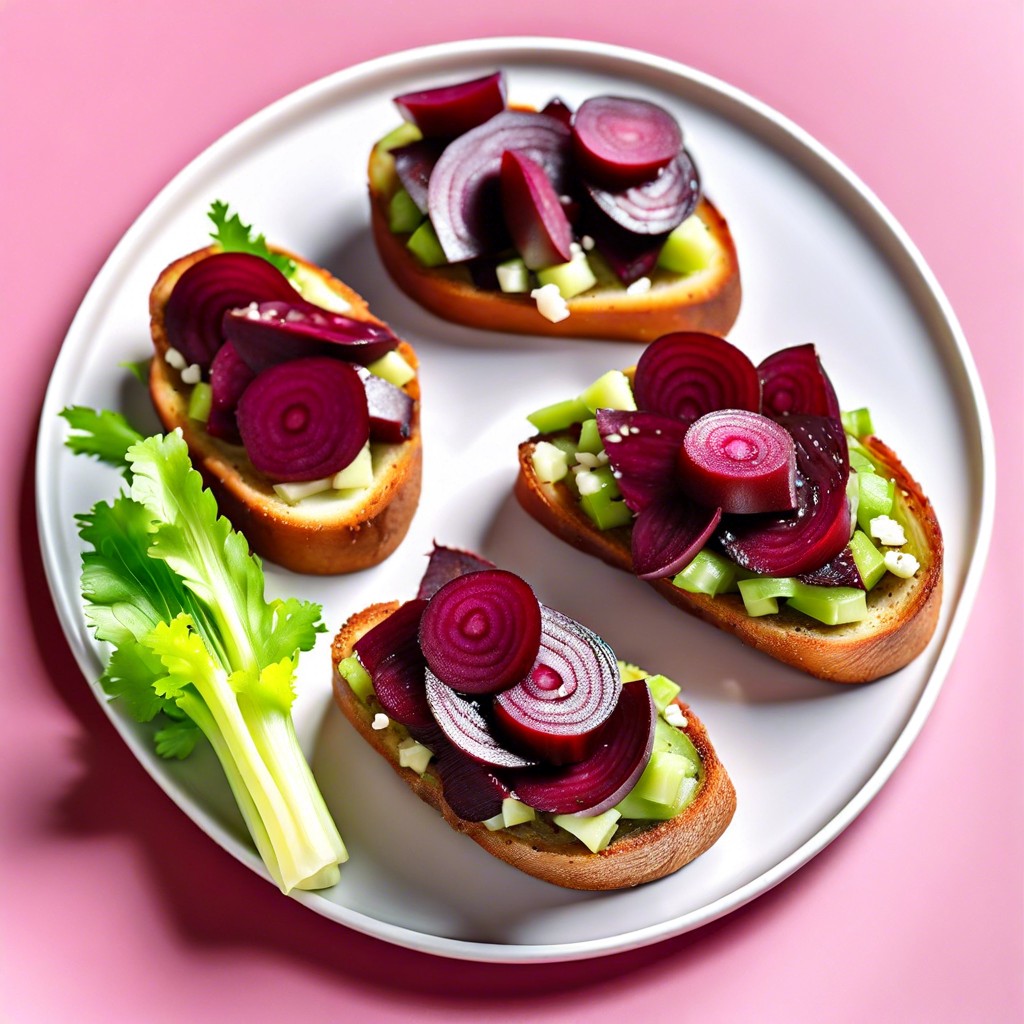
Explore the versatility of celery with these innovative snack ideas that blend health and taste seamlessly. Celery, a low-calorie, high-fiber…
15 Office Breakfast Ideas to Energize Your Team
This article provides innovative and easy office breakfast ideas perfect for busy mornings. Avocado Toast Bar Avocado toast bar offers…
Father’s Day Snack Ideas: Easy and Delicious Treats to Make
Explore a variety of unique and delicious snack ideas to surprise your father on his special day. Father’s Day is…
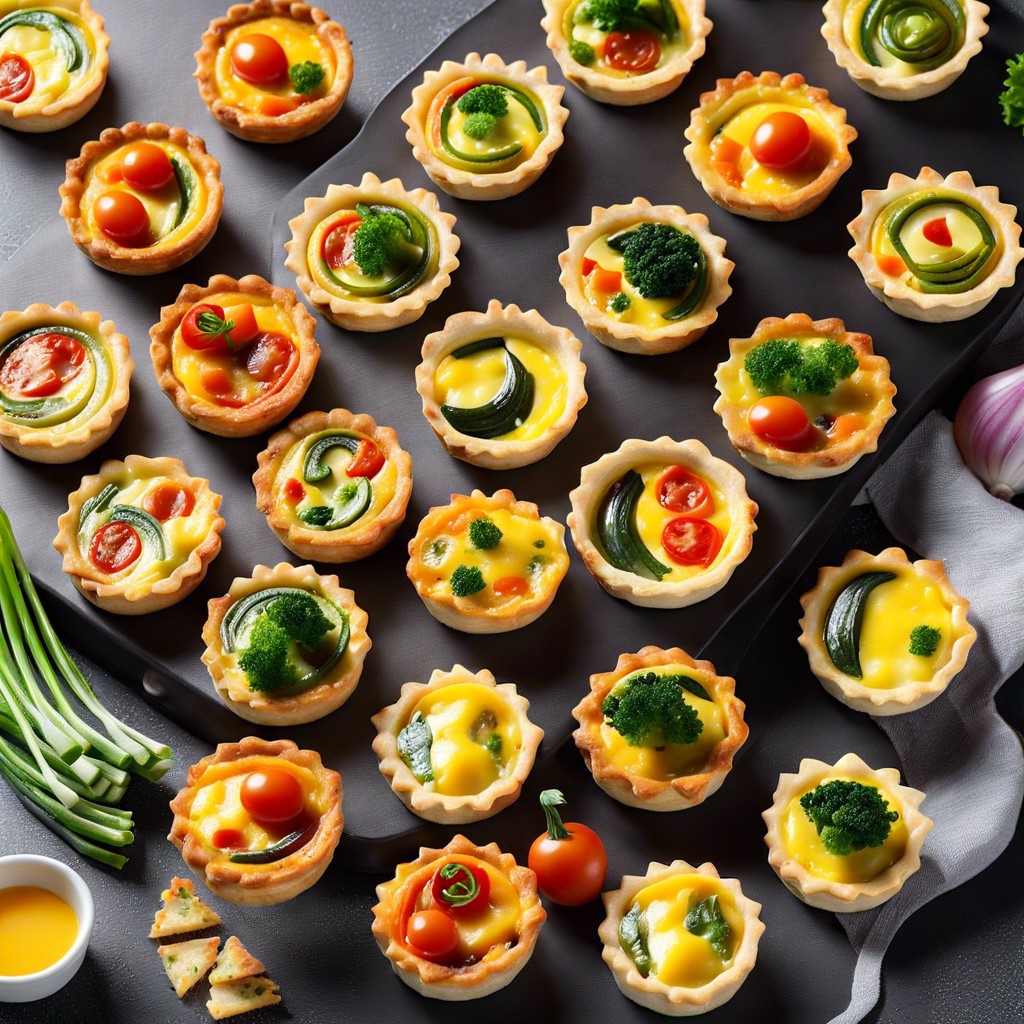
15 Class Party Food Ideas for Easy and Fun Celebrations
Looking for the ultimate class party food ideas? You’ll discover easy, delicious snacks that guarantee a fun and tasty time…
Graham Cracker Snack Ideas: Creative Twists on a Classic Treat
Explore the versatility of graham crackers as we dive into a variety of creative and delicious snack ideas. Graham crackers,…
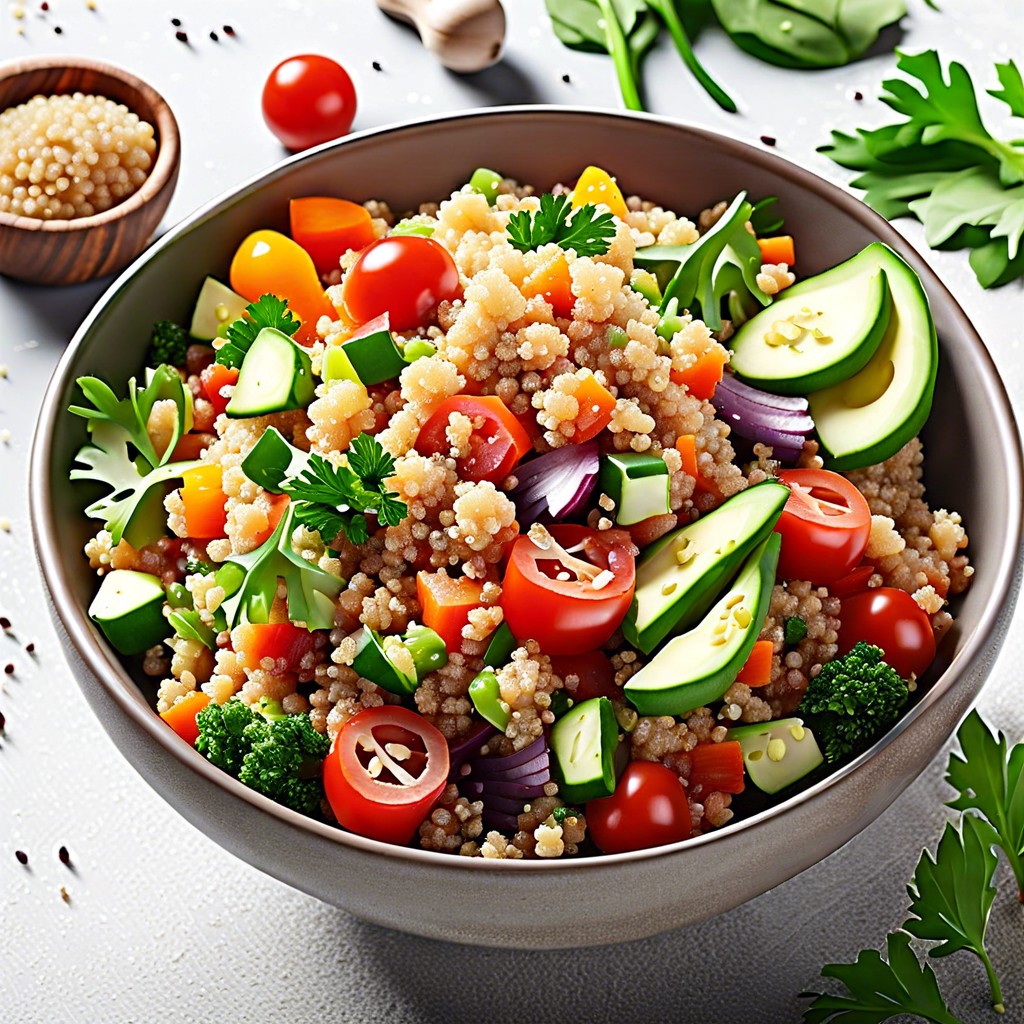
15 Healthy Snack Bowl Ideas for Easy & Nutritious Options
Discover a variety of healthy snack bowl ideas to satisfy your cravings without compromising on nutrition. Avocado and Cherry Tomato…
Hiking Snacks Ideas: Healthy and Delicious Options for Outdoor Adventures
Exploring the great outdoors becomes even more enjoyable when you’re fueled by the right hiking snacks, and this blog post…
15 Snack Bin Ideas to Organize Your Kitchen
Discover a variety of snack bin ideas to keep your munching interesting and organized. Tropical Trail Mix: Dried Mango, Coconut…
Mini Fridge Snack Ideas: Your Ultimate Guide to Delicious, Easy-to-Store Bites
Discover a variety of scrumptious and convenient snack ideas perfect for stocking up your mini fridge. Looking to stock your…
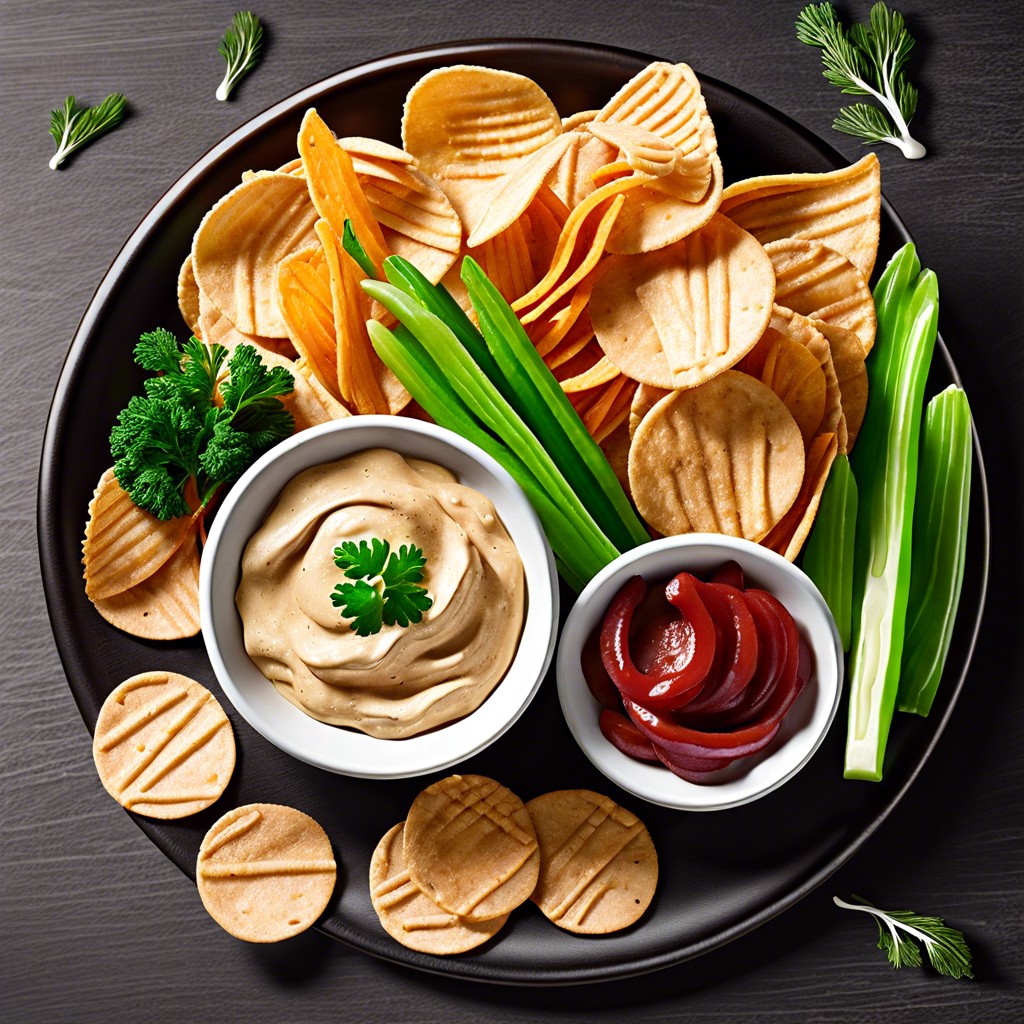
15 Ideas for What to Eat with Wheat Thins
Discover tasty and creative toppings and pairings for Wheat Thins to elevate your snack time. Hummus and Sliced Cucumbers Hummus…
Wedding Snack Bar Ideas: Unique Suggestions for Your Special Day
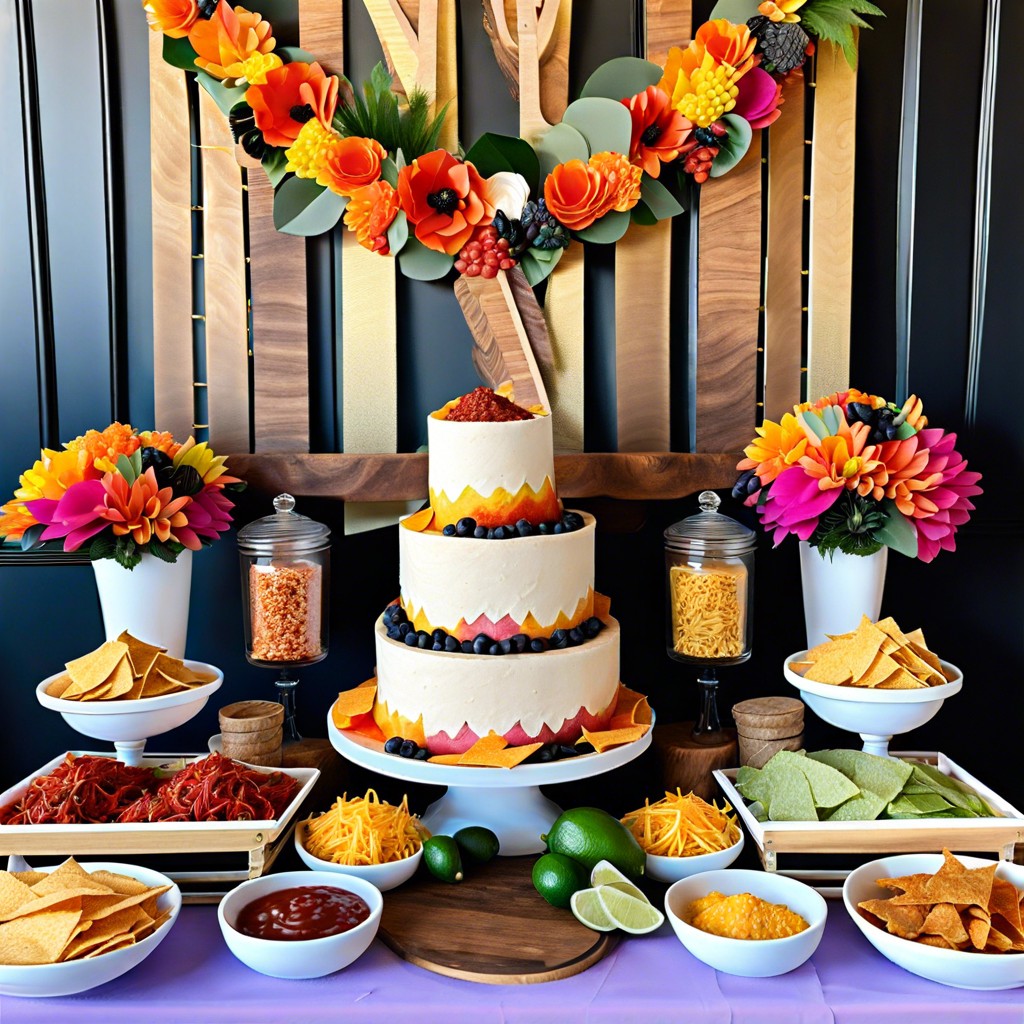
Explore a variety of delectable and visually appealing wedding snack bar ideas that will delight your guests and add an…
15 Easy Mario Party Food Ideas for a Fun Gaming Night

Get ready to level up your party with these easy Mario-themed food ideas that are perfect for any game night!…
White Snacks Ideas: Quick and Easy Recipes for Every Occasion
Explore the world of white snacks, from savory delights to sweet treats that both entice your palate and add a…
15 Tackle Box Snacks Ideas for Your Next Fishing Trip
Discover convenient and tasty snack ideas to pack in your tackle box for a delightful fishing trip. Spiced Nuts Mix…
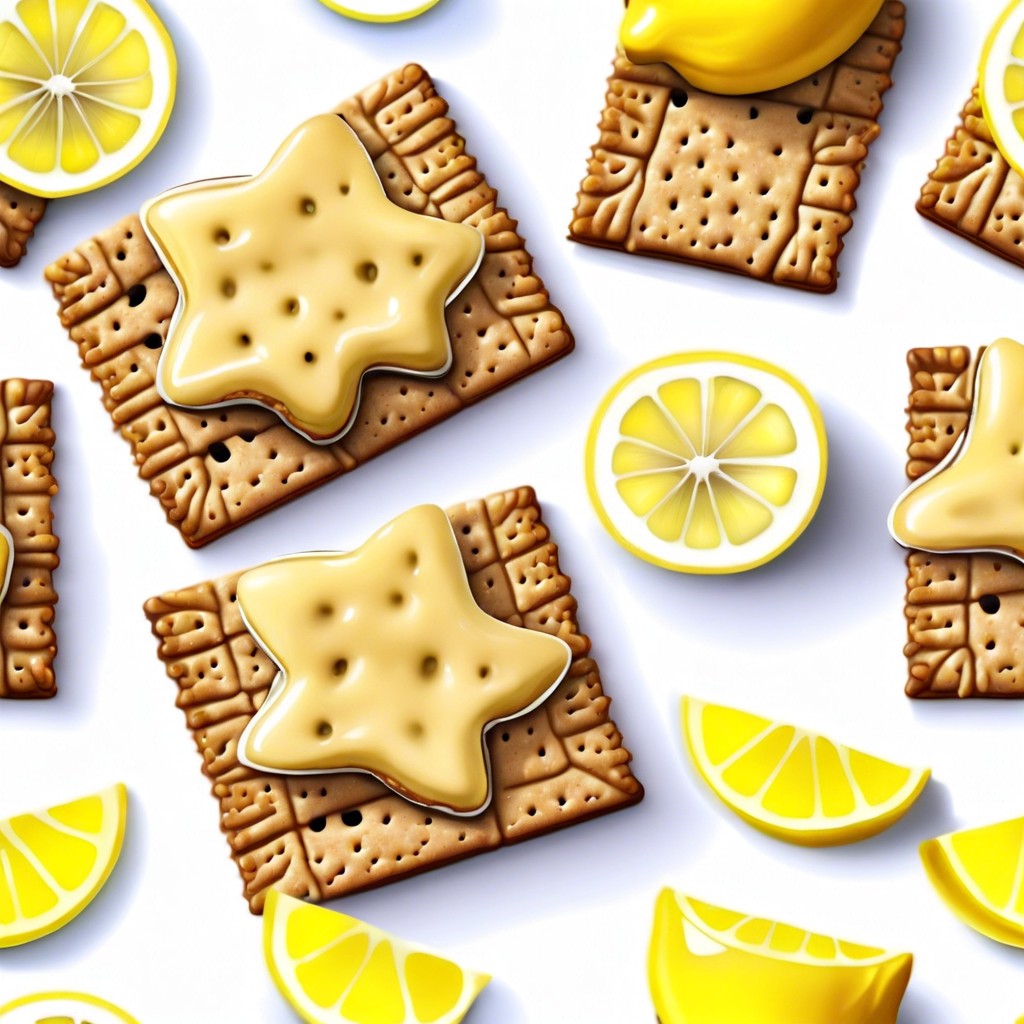
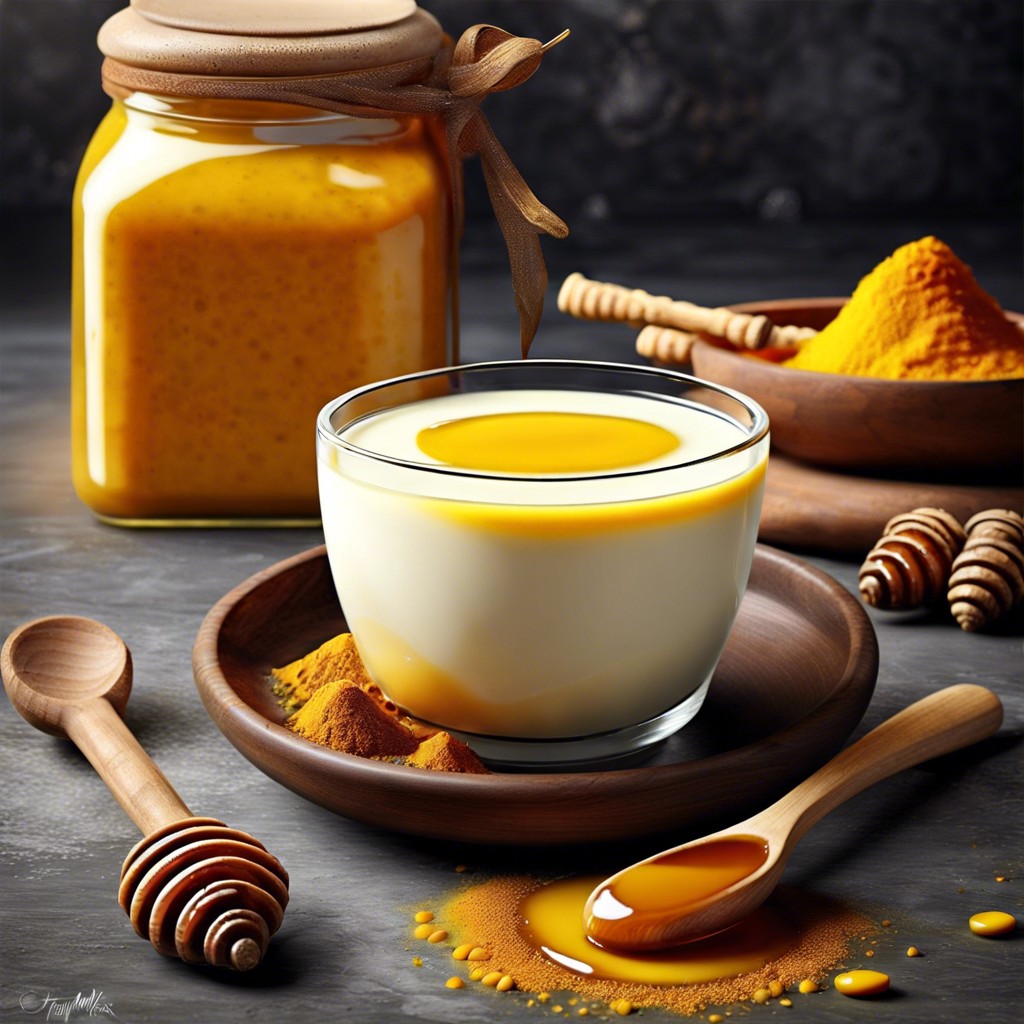
Yellow Snacks Ideas: Creative and Tasty Options for Your Next Gathering
Explore the vibrant world of yellow snacks, from creamy banana smoothies to tangy lemon tarts that not only add a…
Afternoon Meeting Snack Ideas: Healthy and Delicious Options for Your Team
Explore a world of delicious and healthy snack options to liven up your afternoon meetings. Struggling to come up with…
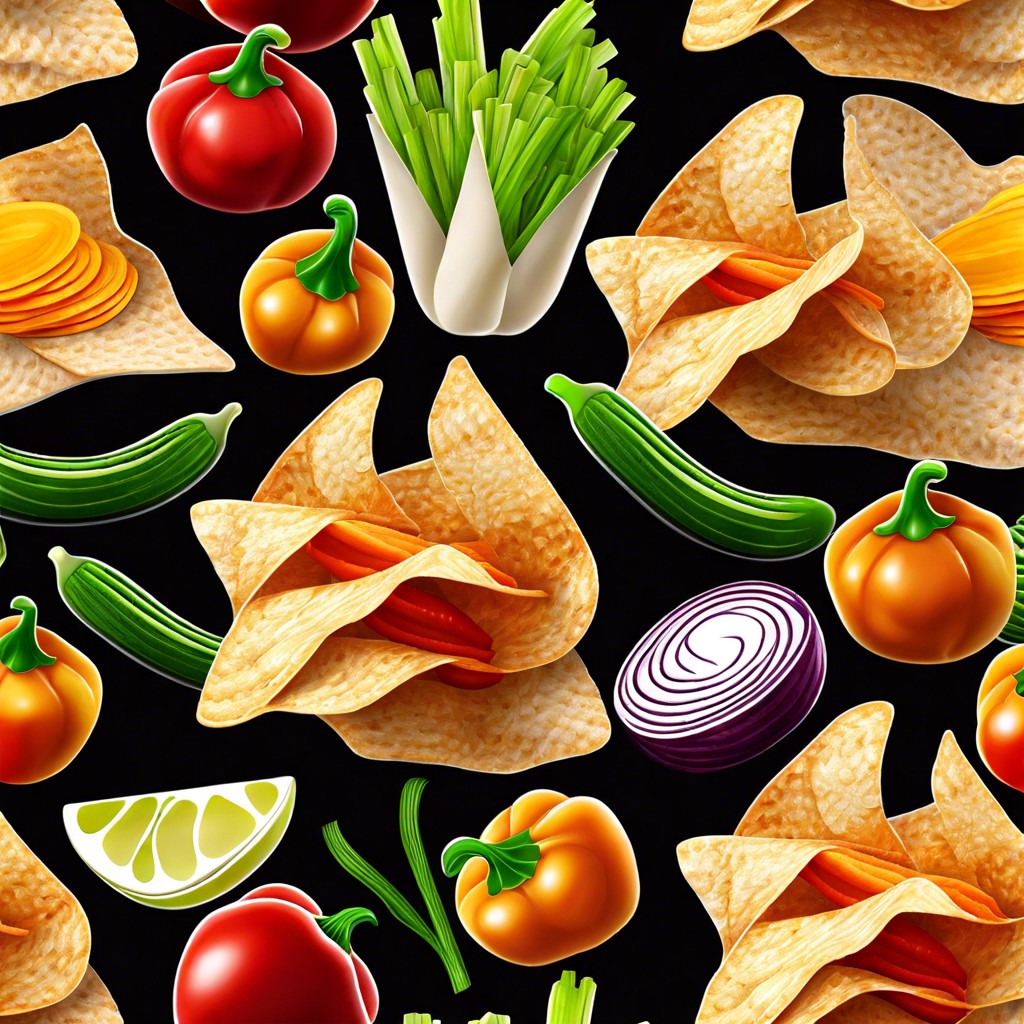
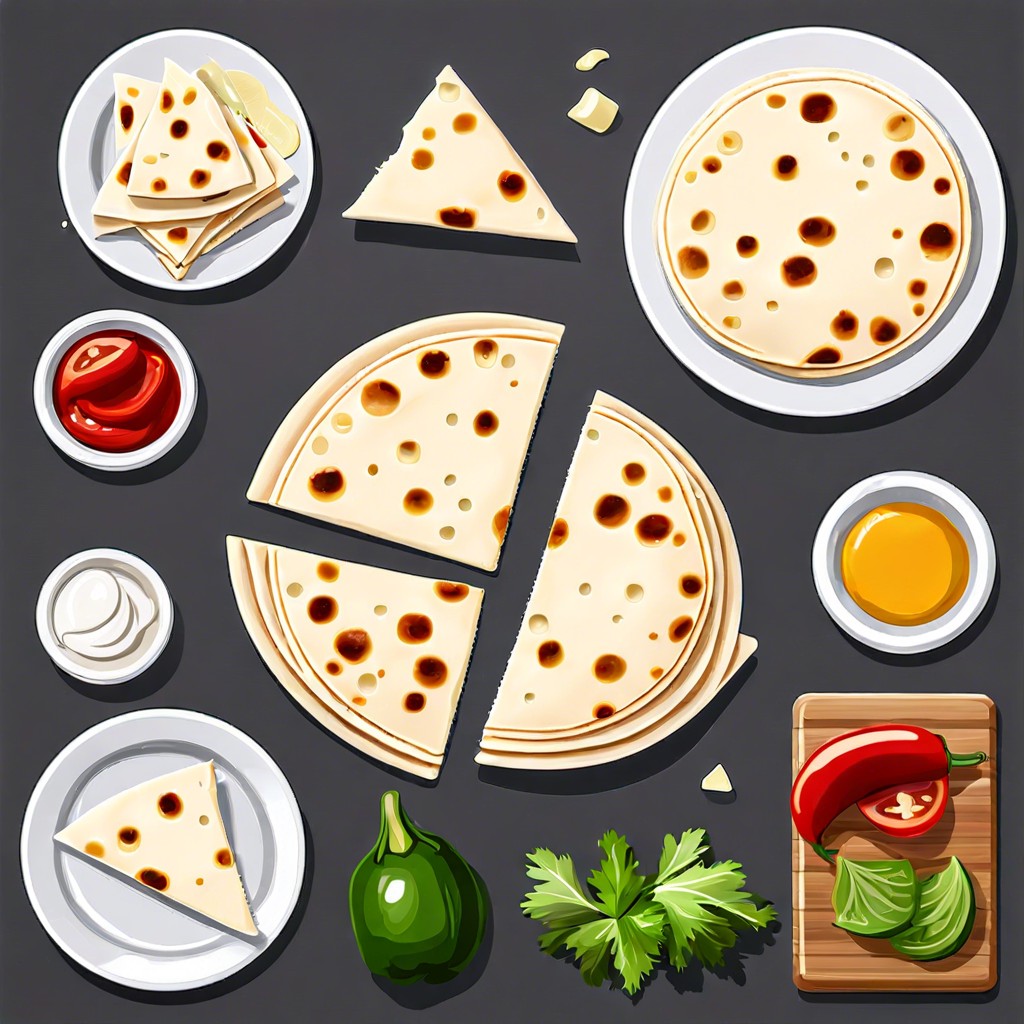
15 Tortilla Snacks Ideas for Easy and Delicious Bites
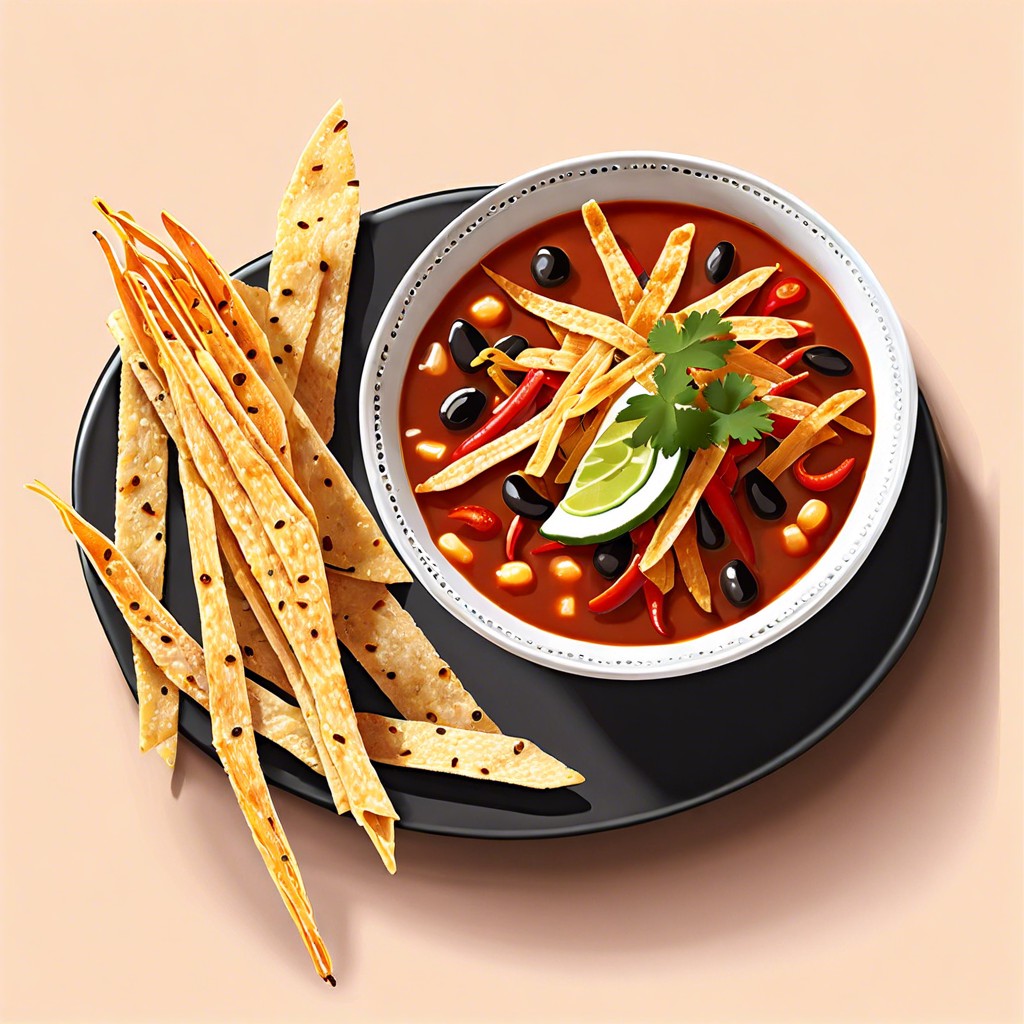
Discover fresh and creative ways to transform tortillas into delicious snacks for any occasion. Tortilla Pinwheels With Cream Cheese and…
Carnivore Diet Snack Ideas: Simple and Delicious Options for Healthy Eating
Explore the tantalizing world of carnivore diet snack ideas, packed with protein-rich options that are sure to satisfy your cravings….
15 DnD Snacks Ideas for Your Next Game Night
Prepare to level up your game night with epic Dungeons and Dragons snack ideas that are as creative as your…
Color Party Snack Ideas: Easy and Creative Suggestions for Your Next Gathering
Explore the vibrant world of color-themed party snacks, guaranteed to make your event as visually delightful as it is delicious….
15 Healthy Snacks for Preschoolers: Nutritious Ideas for Kids

Discover a variety of healthy snack ideas perfect for keeping preschoolers happy and energized. Cucumber Sailboats Filled With Hummus Cucumber…
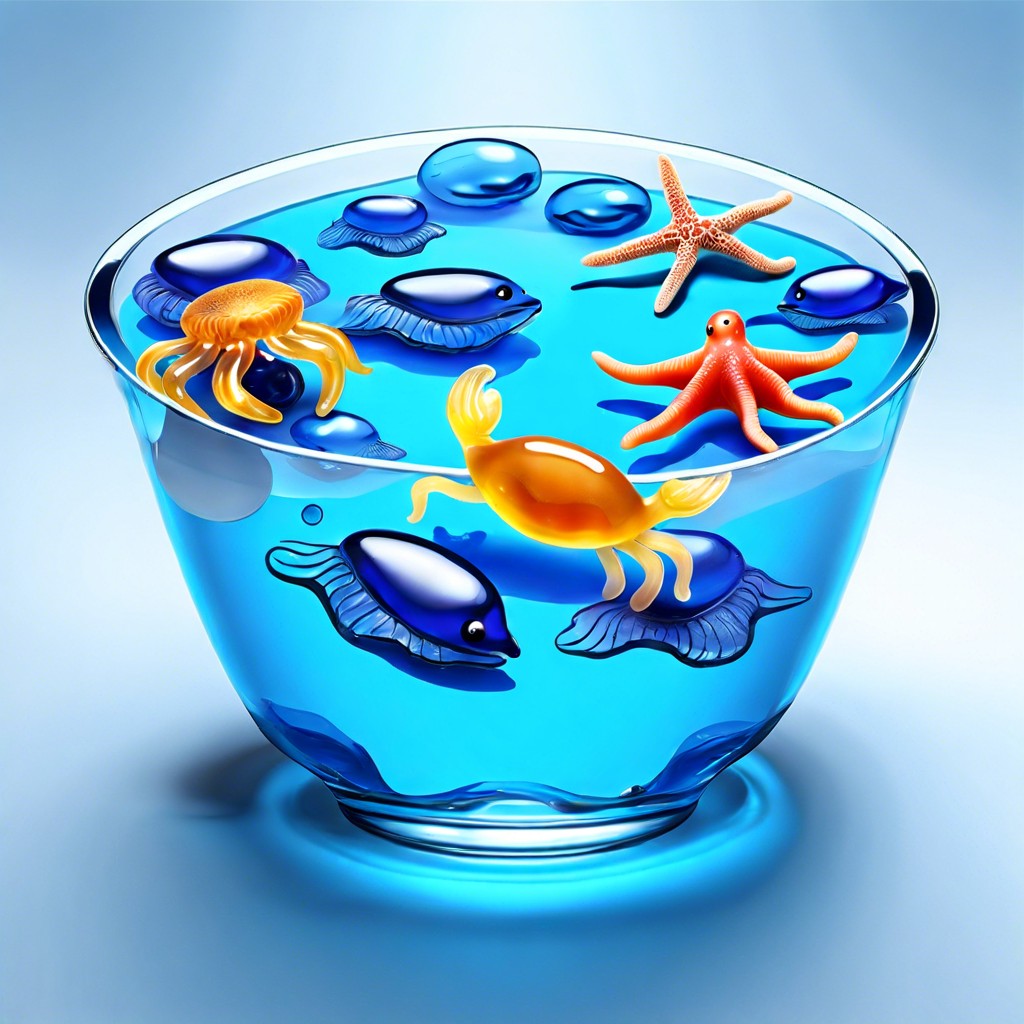
Mermaid Party Snack Ideas: Ultimate Guide for a Magical Celebration
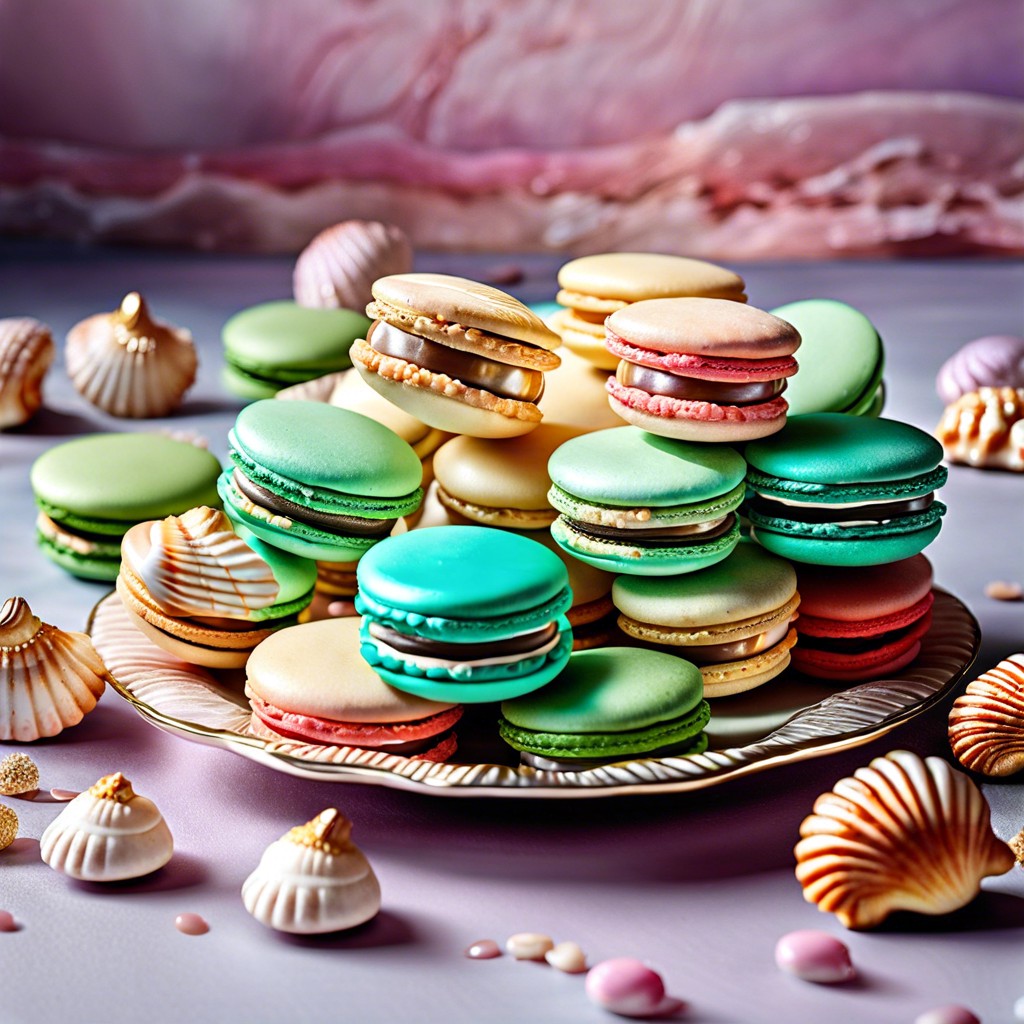
Dive into a magical underwater world with these enchanting mermaid party snack ideas that are sure to make your celebration…
15 Creative Snacks for Bachelorette Party: Delicious Ideas to Try

Discover creative and delicious snack ideas perfect for any bachelorette party. Champagne Jello Shots Add a touch of elegance with…
Office Snack Station Ideas: Creative Solutions for a Healthy Workplace
Explore an array of innovative office snack station ideas to fuel productivity and promote healthier eating habits among employees. Creating…
15 Snacks for School: Easy and Healthy Ideas for Kids
Packing snacks for school can be simple and fun; this article provides creative and healthy ideas that both kids and…
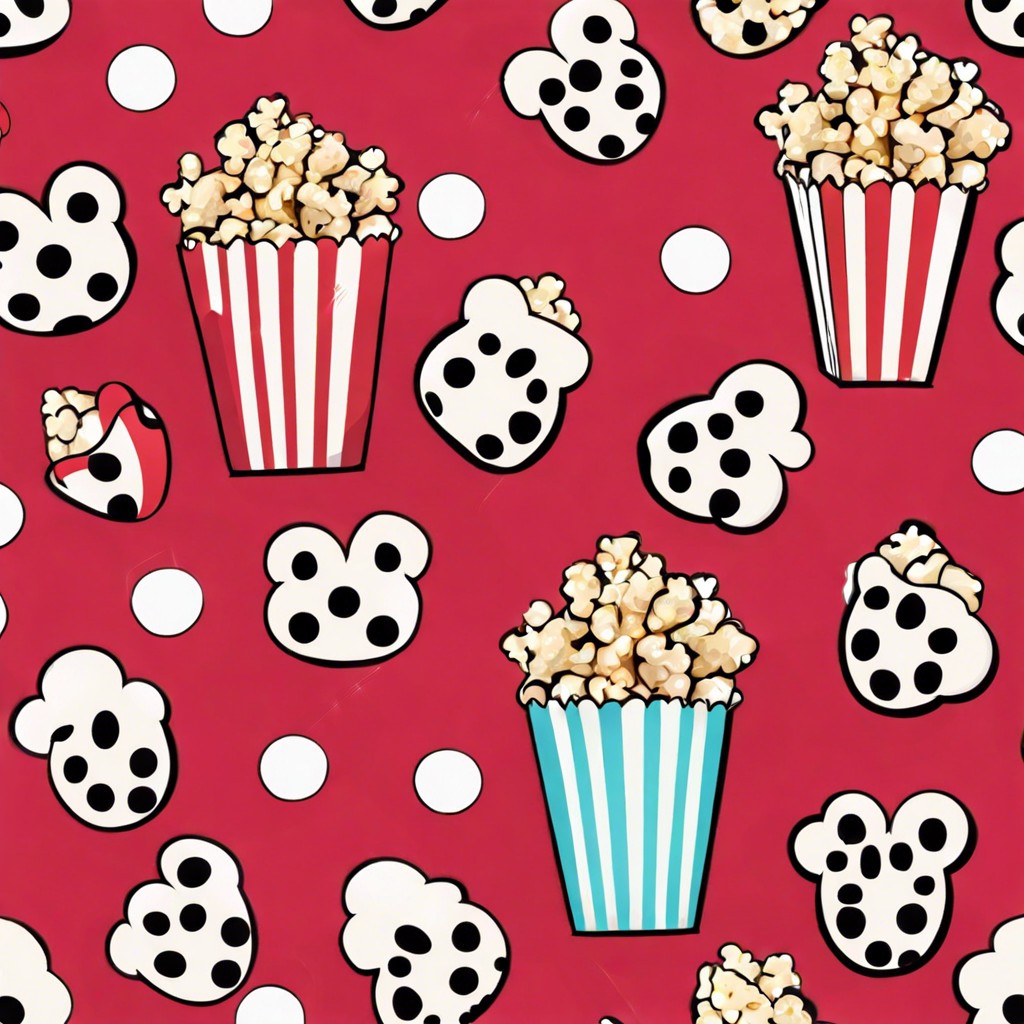
15 Popcorn Snacks Ideas for Creative and Tasty Treats
Discover creative and delicious popcorn snack ideas that will transform your movie nights and snack times into an adventure for…
15 Daycare Snacks Ideas for Healthy and Happy Kids
Looking for snack ideas that are both kid-approved and easy to serve at daycare? Here’s a list that ticks all…
15 Snack Bouquet Ideas for Creative Gifting
Discover creative snack bouquet ideas perfect for any occasion, whether gifting a food lover or hosting a unique party. Chocolate…
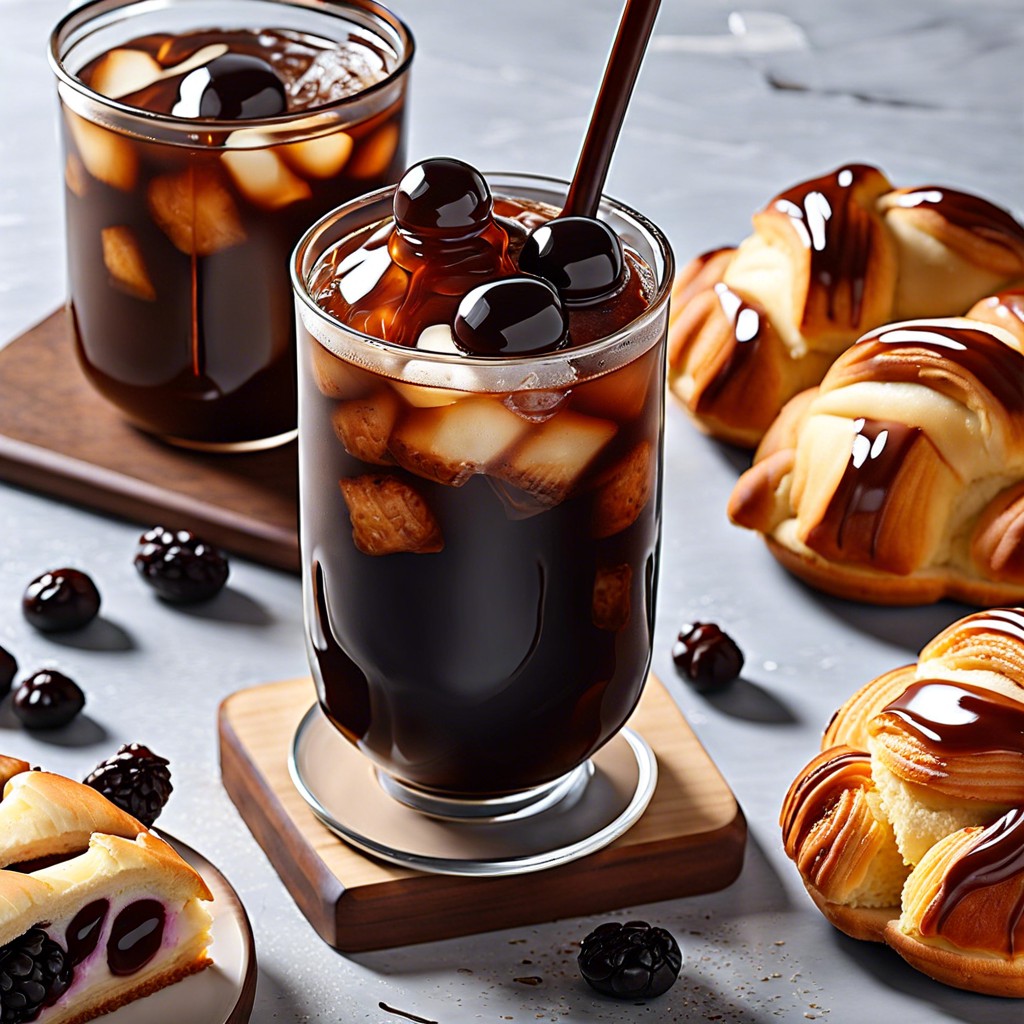
15 Best Foods to Eat at Night for Optimal Health
Discover satisfying and digestion-friendly foods ideal for nighttime snacking. Turkey and Avocado Wrap A satisfying and nutritious option for a…
15 Office Party Food Ideas to Delight Your Co-Workers
Discover simple and delightful food ideas that will make your next office party a hit! Mini Caprese Skewers Mini Caprese…
15 Bluey Food Ideas for Your Next Party
Discover creative and delicious food ideas inspired by the beloved children’s show, Bluey, perfect for themed parties or fun family…
15 Best Backpacking Snacks: Tasty Ideas for Your Next Adventure
Discover the best backpacking snacks to keep your energy up and your pack light on your next adventure. Dehydrated Fruit…
15 Salty Snacks for Party: Easy Ideas to Delight Your Guests
Discover a variety of salty snacks that will turn your next party into a hit with guests eagerly reaching for…
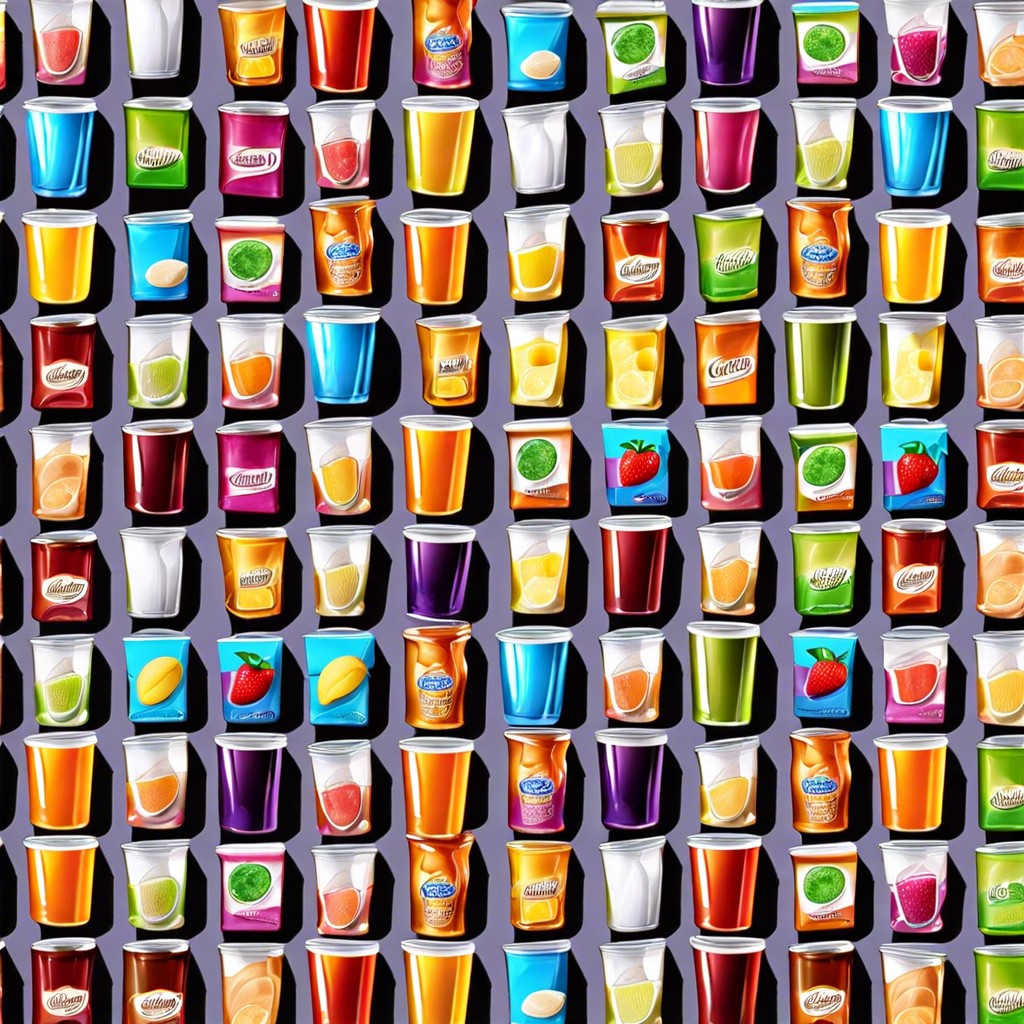
15 Party Snack Cup Ideas for Creative and Fun Gatherings
Get ready to be the talk of the party with these creative and easy snack cup ideas that ensure your…
15 Protein Box Ideas for Healthy Snacking
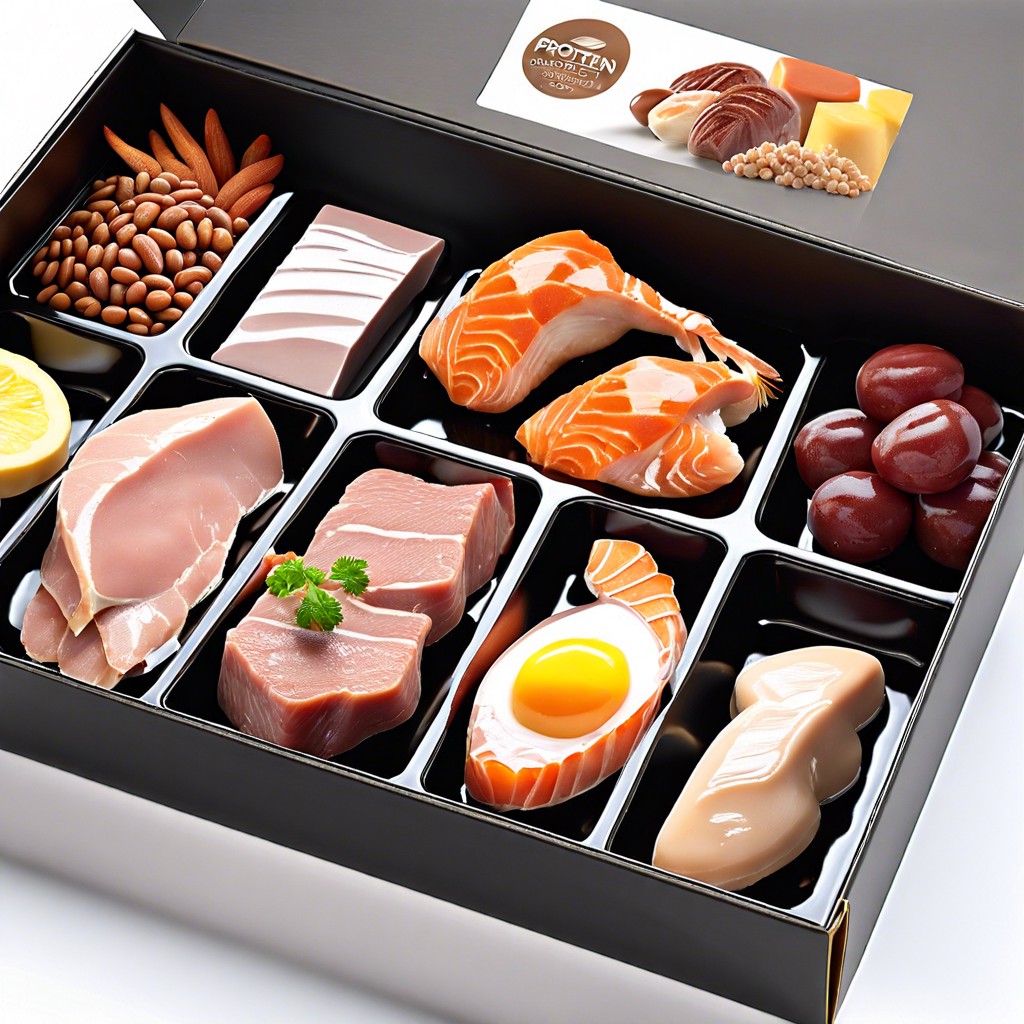
Learn innovative protein box ideas to spice up your snacking routine with nutritious and delicious options. Mediterranean Medley: Grilled Chicken,…
15 Mario Party Food Ideas for Your Next Game Night
In this article, you’ll discover fun and creative food ideas inspired by the iconic Mario Party game series. Super Star…
15 Healthy Snack Ideas for Nourishing Your Day
Discover a variety of healthy snack ideas that are not only easy to prepare but also delicious and nutritious. Greek…
15 Best Snacks for Labor: Nutritious Ideas for Expectant Mothers

Discover the top snacks to keep energy high and spirits lifted during labor. Frozen Grapes Frozen grapes are a refreshing…
15 Ritz Cracker Snacks Ideas for Creative Treats
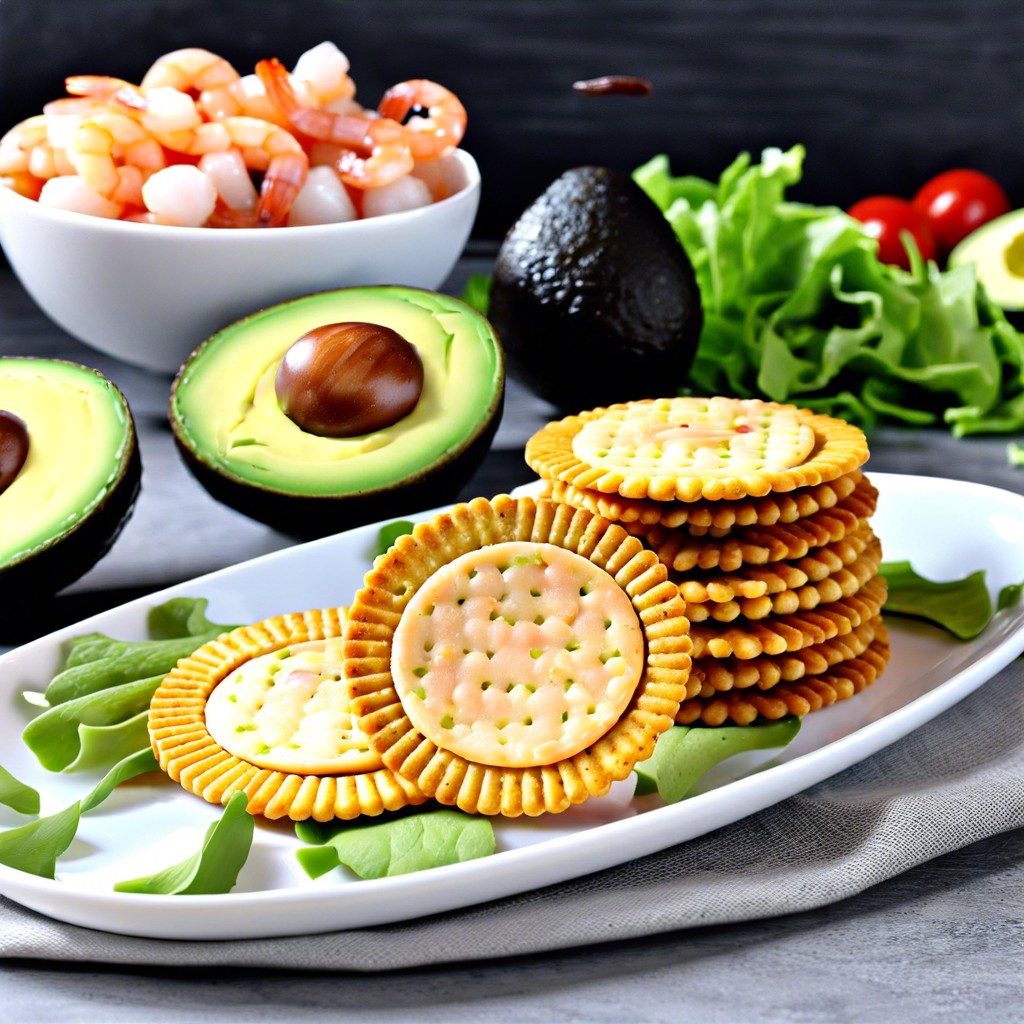
Discover a variety of creative snack ideas using Ritz crackers that are both delicious and easy to prepare. Ritz With…
15 Shark Week Snacks Ideas for Your Viewing Party
Get ready to sink your teeth into some delectable snack ideas perfect for Shark Week viewing! Shark Fin Cupcakes Add…
15 DIY Movie Night Snack Trays Ideas for a Perfect Evening
Get ready to elevate your movie night with these creative DIY snack tray ideas that are both easy to assemble…
15 Date Night Snacks Ideas for a Memorable Evening
Discover unique and delightful snack ideas perfect for elevating your next date night at home. Chocolate Fondue With Fruit and…
15 Volleyball Goodie Bag Ideas for Your Next Team Event
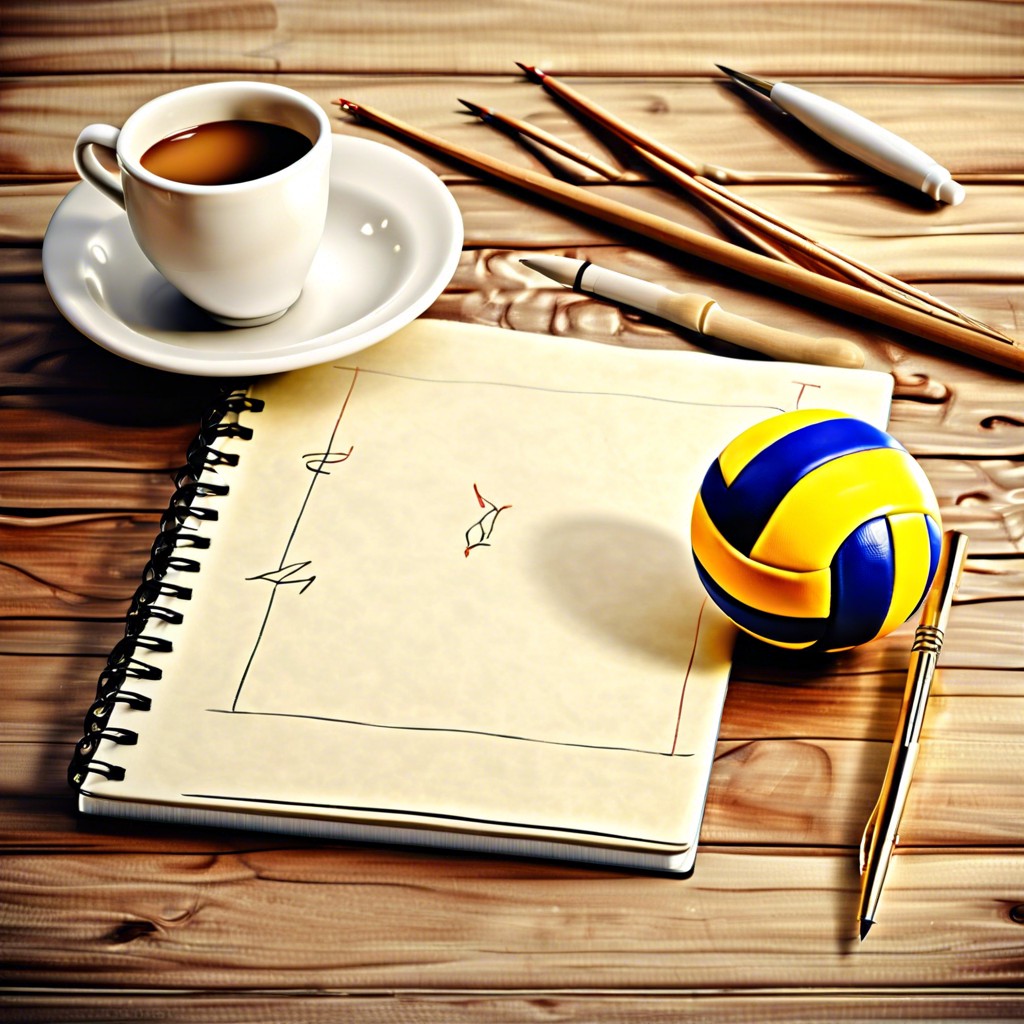
Discover creative and exciting volleyball goodie bag ideas that will serve as perfect gifts for players and fans alike. Custom…
15 Minnie Mouse Food Ideas for Your Next Party
Discover fun and adorable Minnie Mouse-themed food ideas perfect for your next party or special occasion. Minnie Mouse Cupcakes Minnie…
15 Green Foods for Party Ideas to Wow Your Guests
Discover a variety of green foods that will add a splash of color and healthy options to your next party…
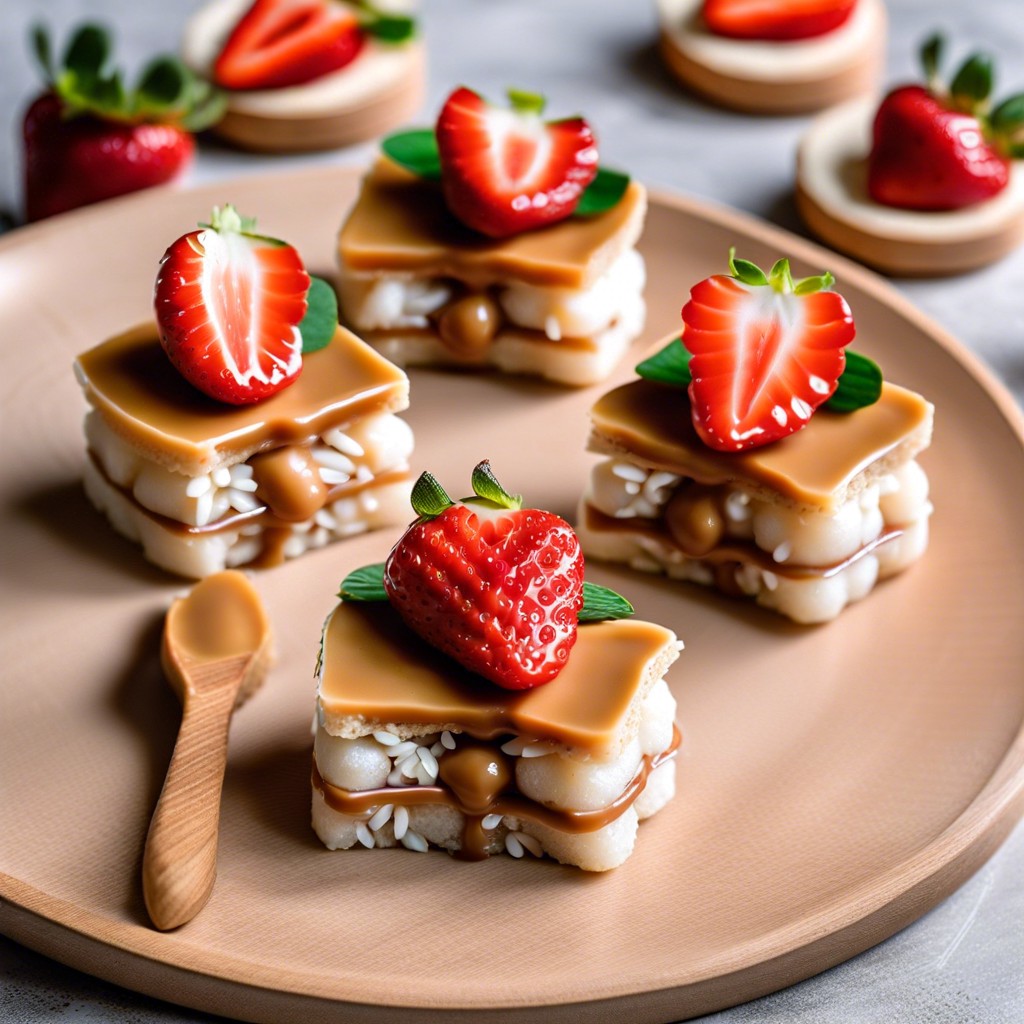
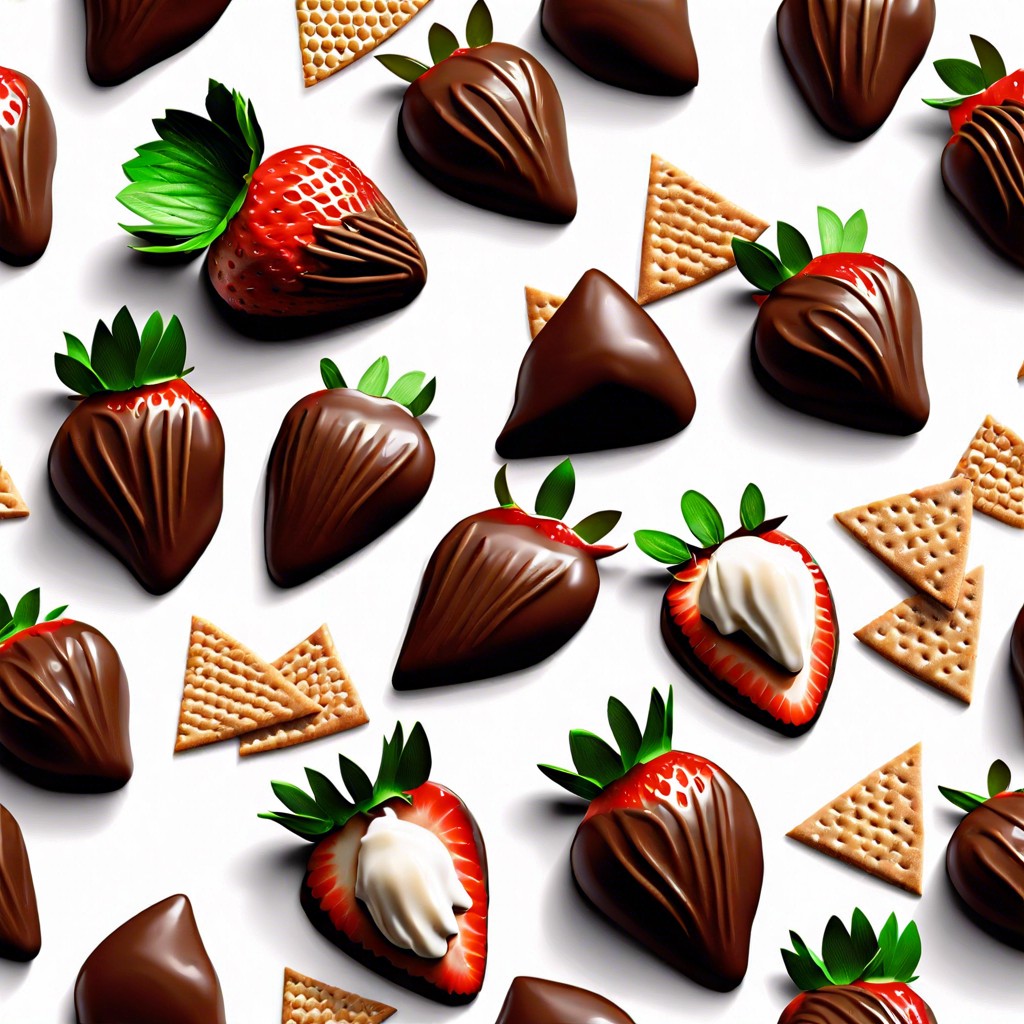
15 Strawberry Snacks: Fresh Ideas for Healthy Treats
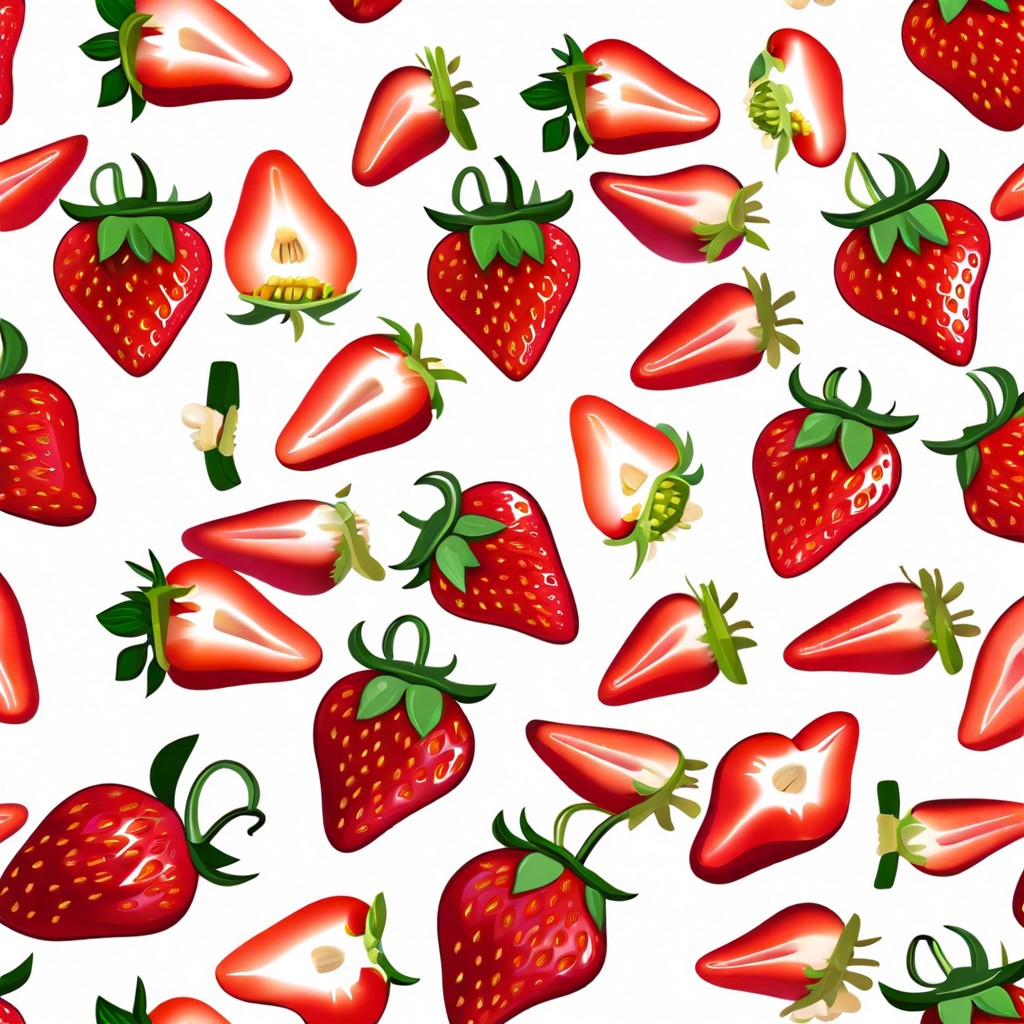
Discover delicious strawberry snack ideas that will satisfy your sweet cravings and add a burst of flavor to your day….
15 Kids Halloween Party Food Ideas for a Spooktacular Feast
Discover creative and spooky food ideas perfect for your kids’ Halloween party that are guaranteed to be a ghastly hit!…
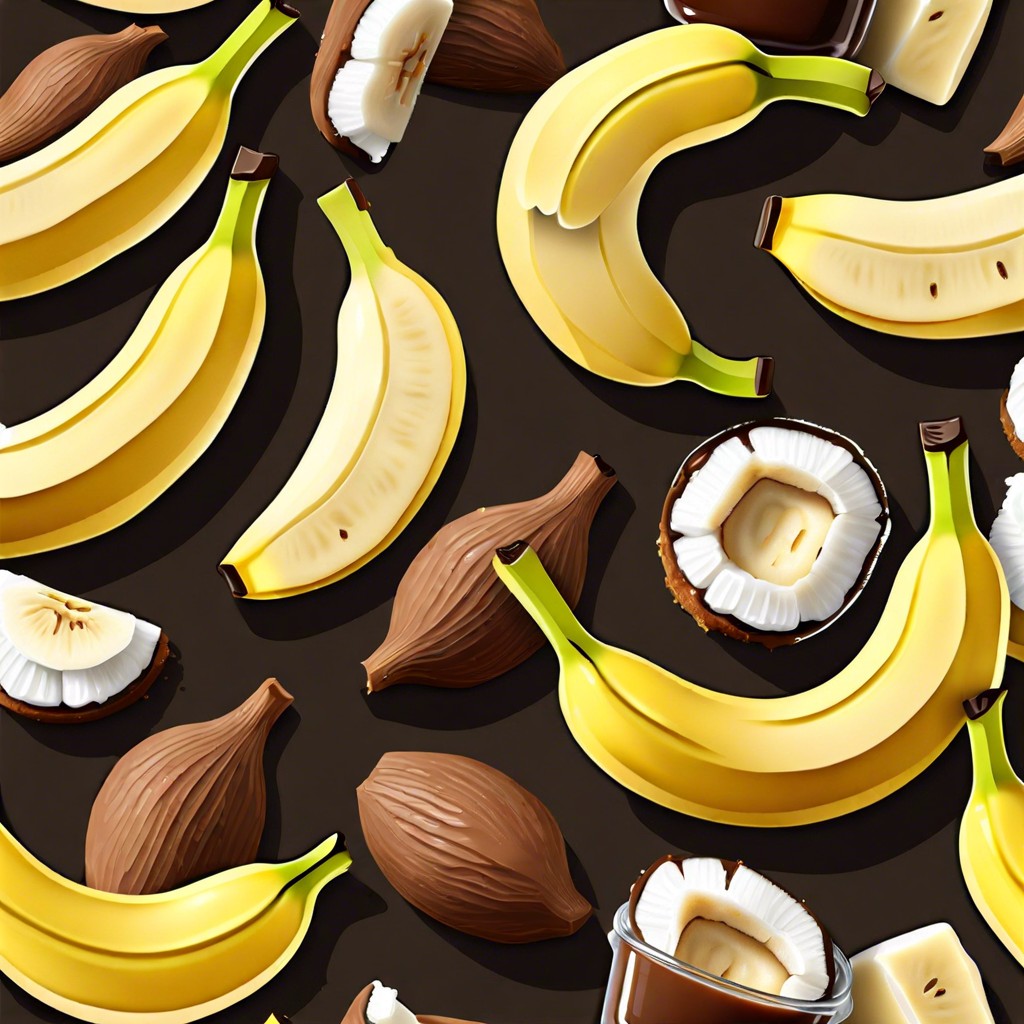
15 Bedtime Snacks to Help You Sleep: Healthy Choices for Better Rest
Discover snacks that not only satisfy those nighttime cravings but also help you drift off to a peaceful sleep. Banana…
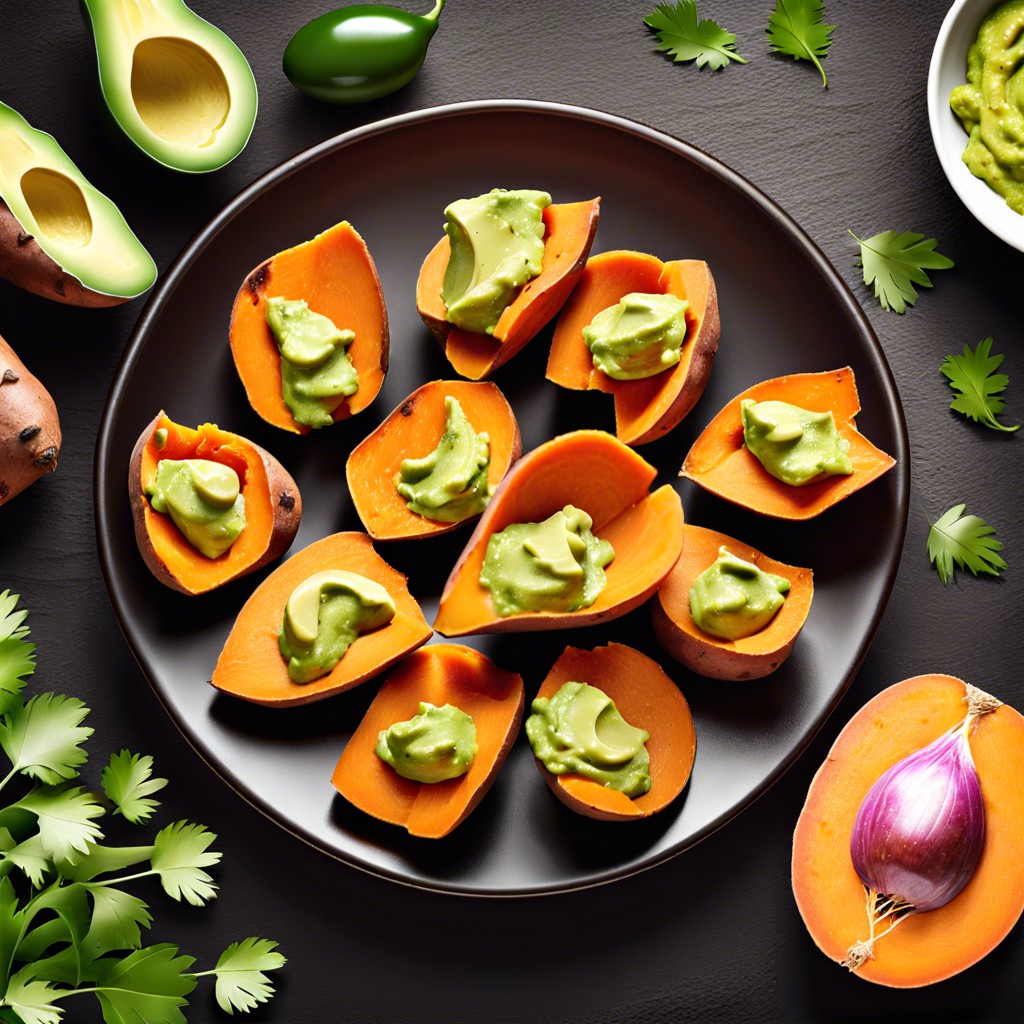
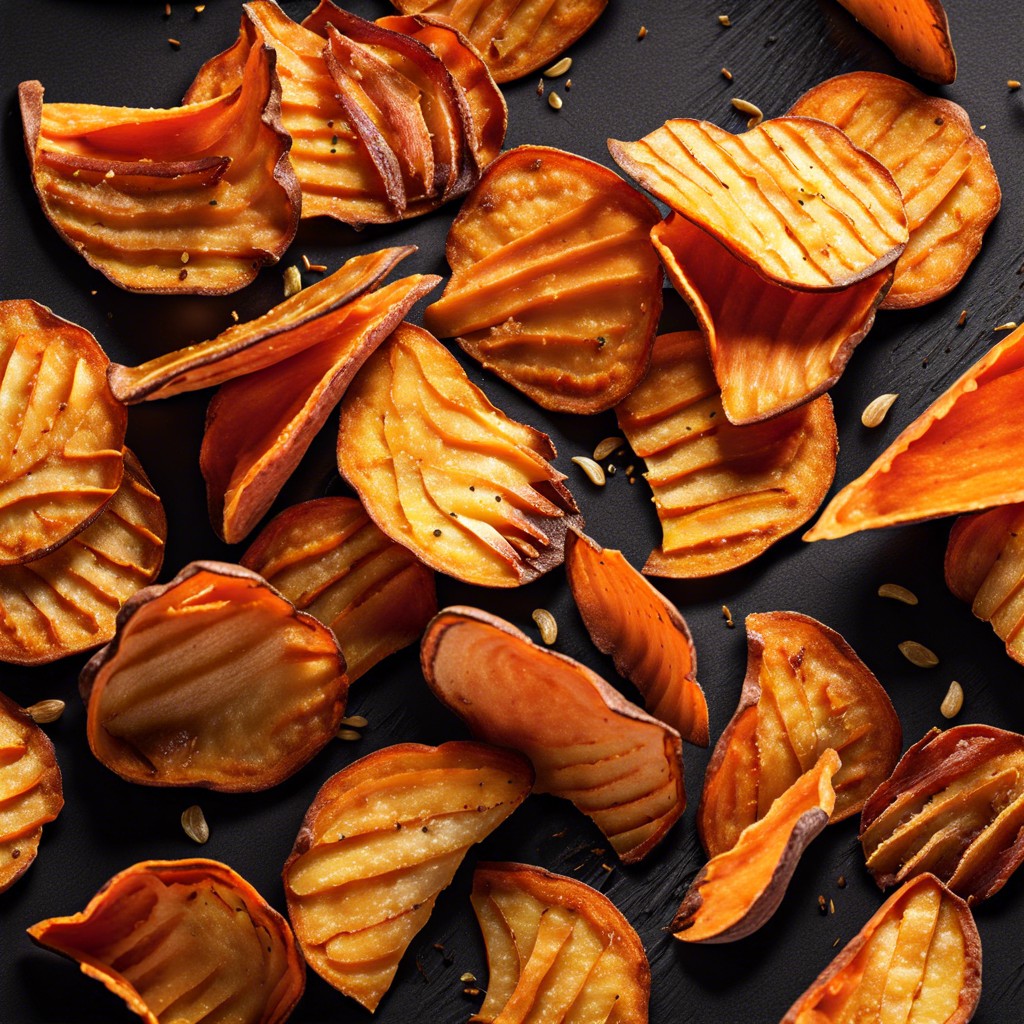
15 Good Junk Food Snacks: Ideas for Tasty Treats
Discover delicious junk food snacks that satisfy cravings without breaking the calorie bank. Sweet Potato Chips With Cinnamon Sugar Sweet…
15 Carrot Chips Ideas for Creative Snacking
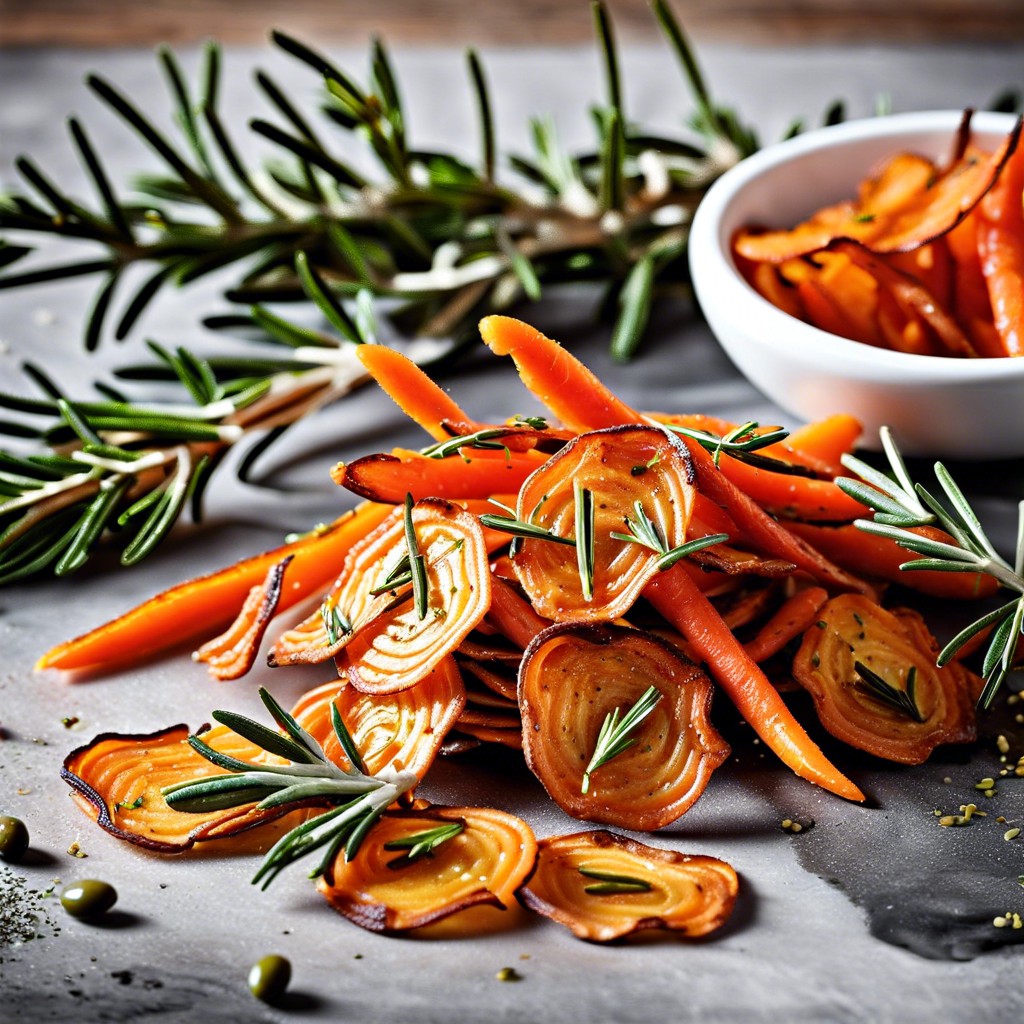
Discover creative and tasty ideas for making and seasoning carrot chips that will add a crunch to your snack time….
15 Individual Snacks: Creative Ideas for Easy Eating
Discover a variety of individual snack ideas perfect for on-the-go nourishment, tasty breaks, or simply to jazz up your daily…
15 Pepperoni Appetizers: Easy Ideas for Your Next Party
Discover a variety of pepperoni appetizer ideas that are sure to add a spicy kick to your next gathering. Pepperoni…
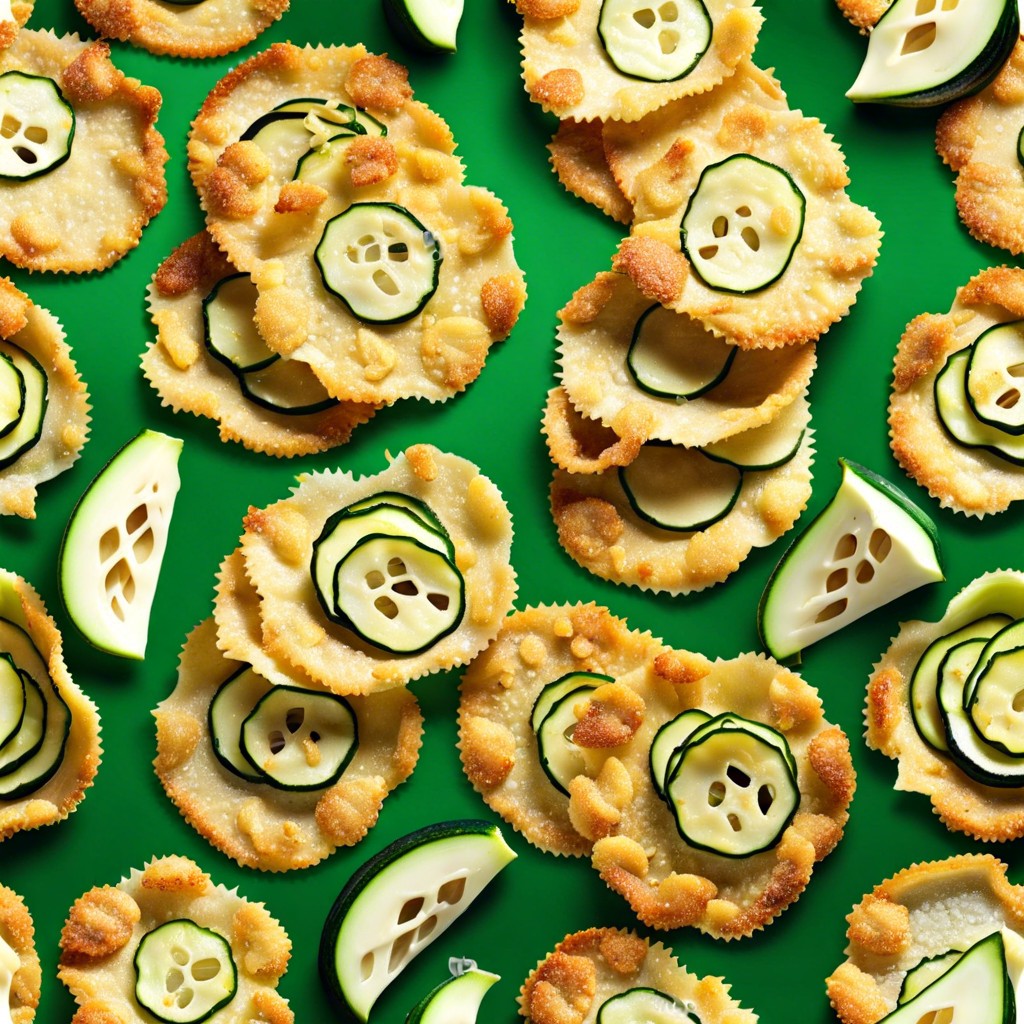
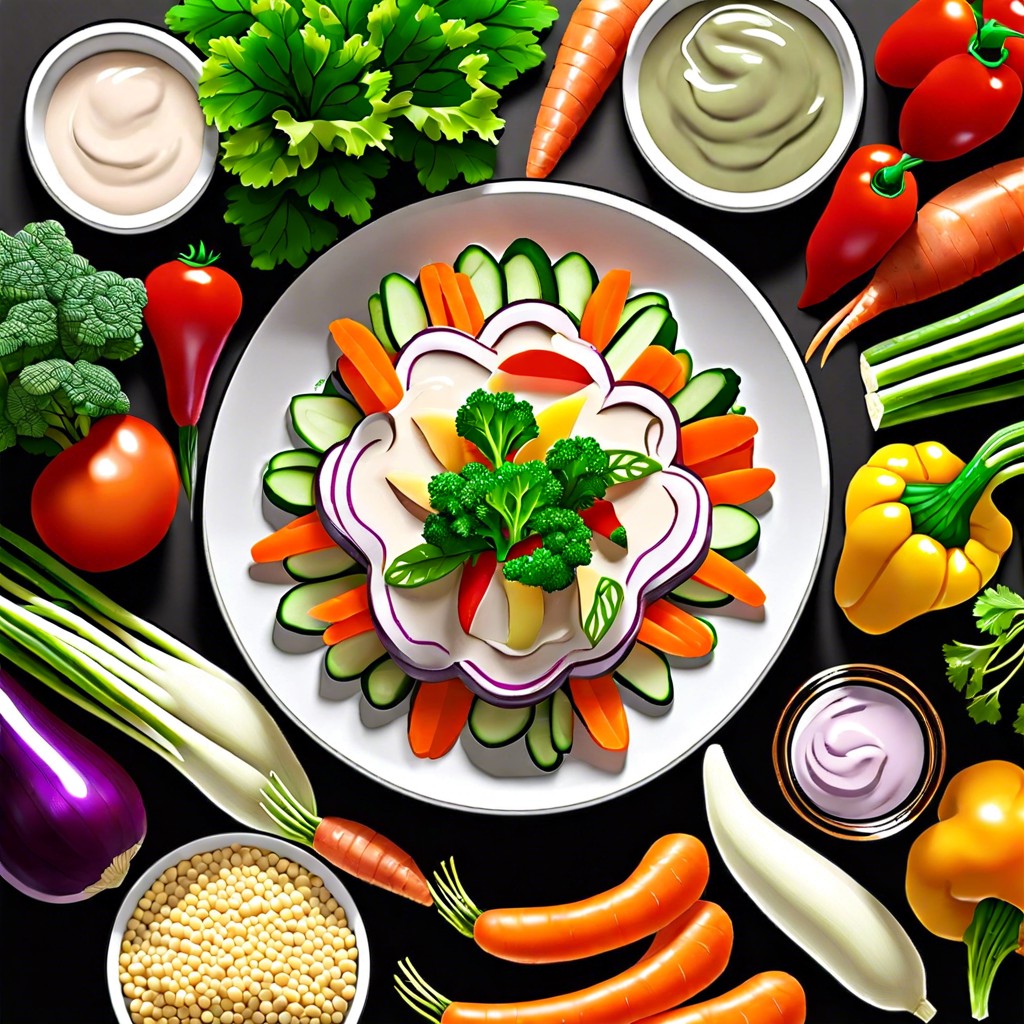
15 Bell Pepper Snacks: Easy and Healthy Ideas
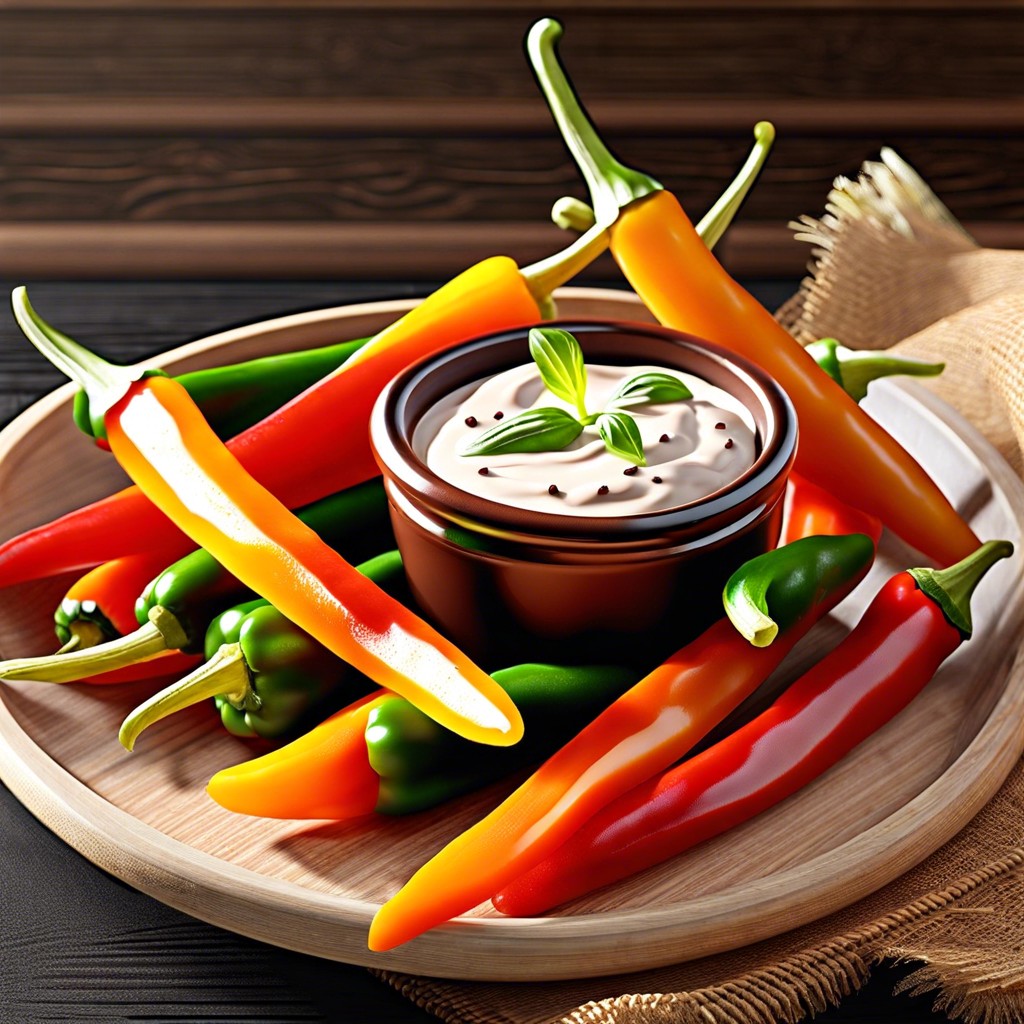
Discover vibrant and delicious snack ideas using bell peppers that are both easy to prepare and perfect for any occasion….
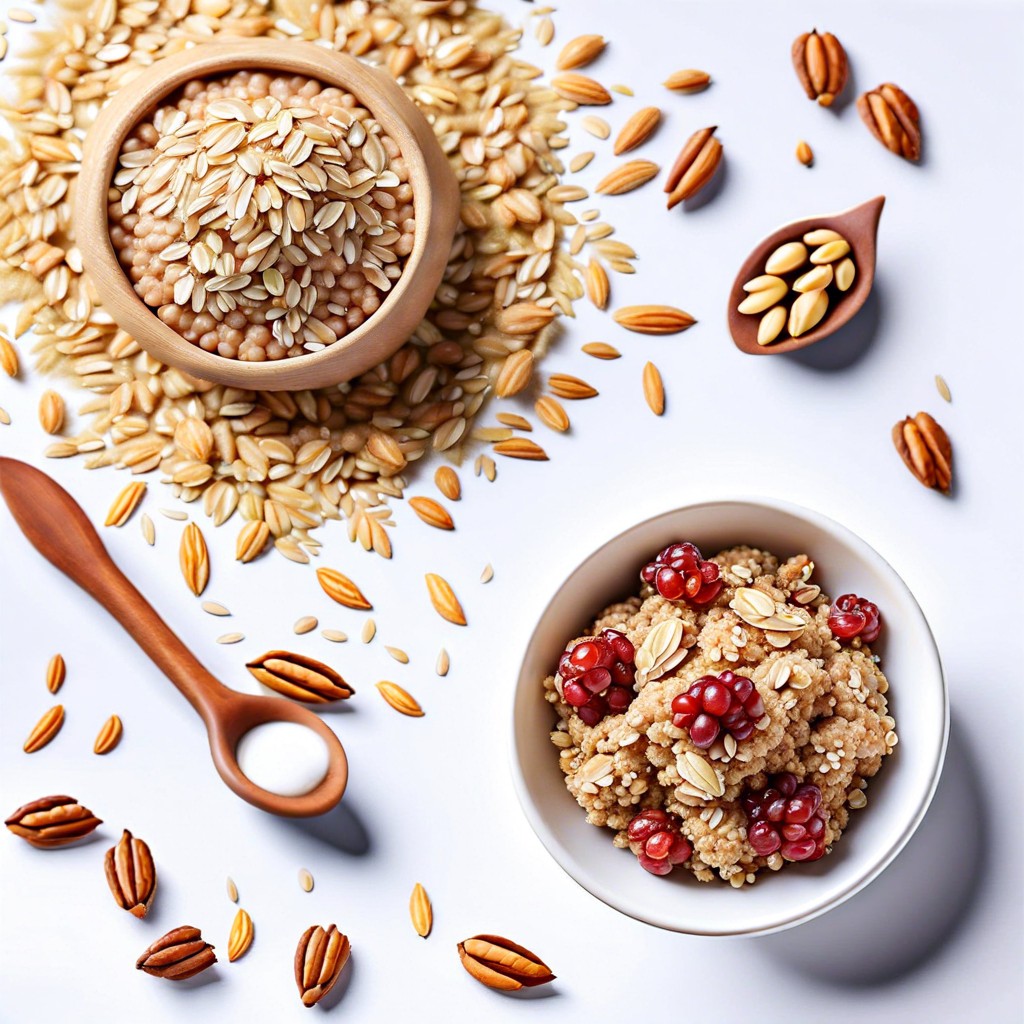
15 Healthy Pantry Snacks: Ideas for Nutritious Quick Bites
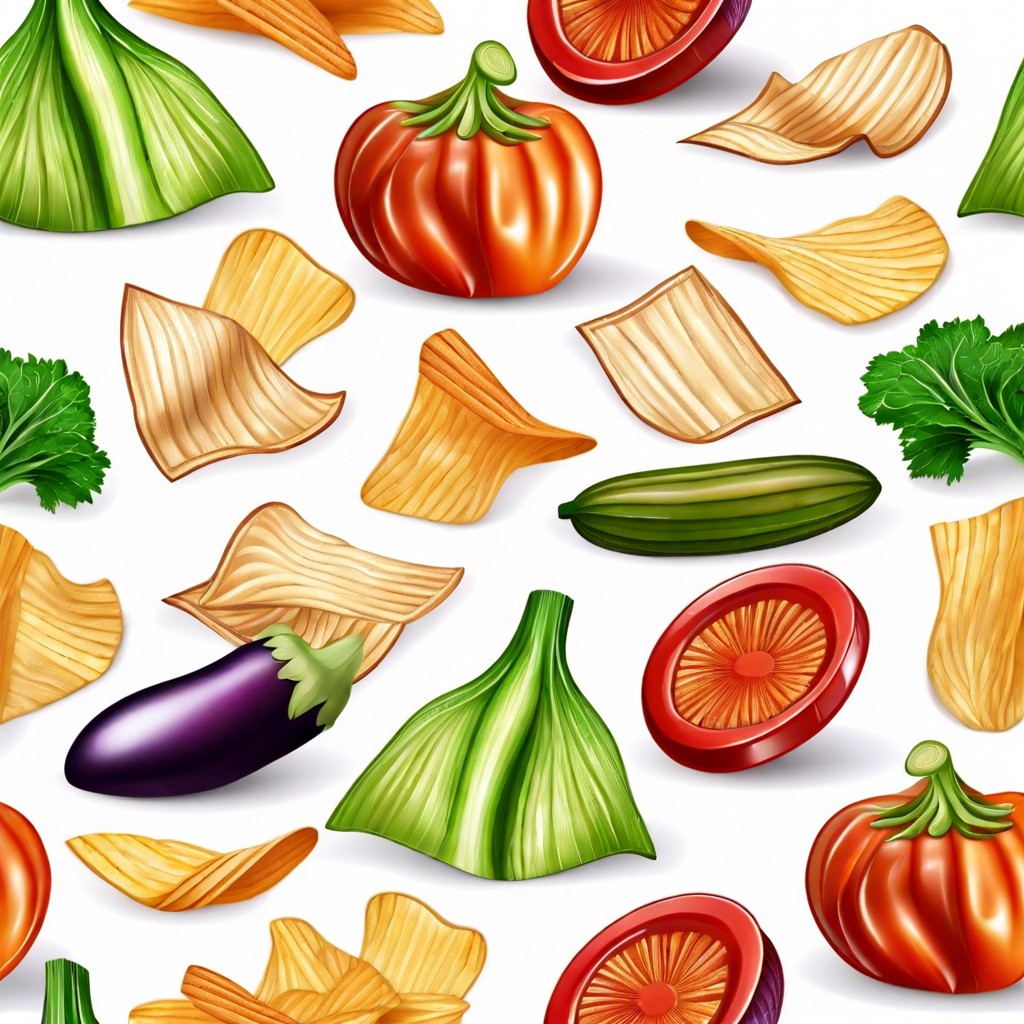
Discover a variety of healthy pantry snack ideas that are both nutritious and easy to prepare. Roasted Chickpeas Roasted chickpeas…
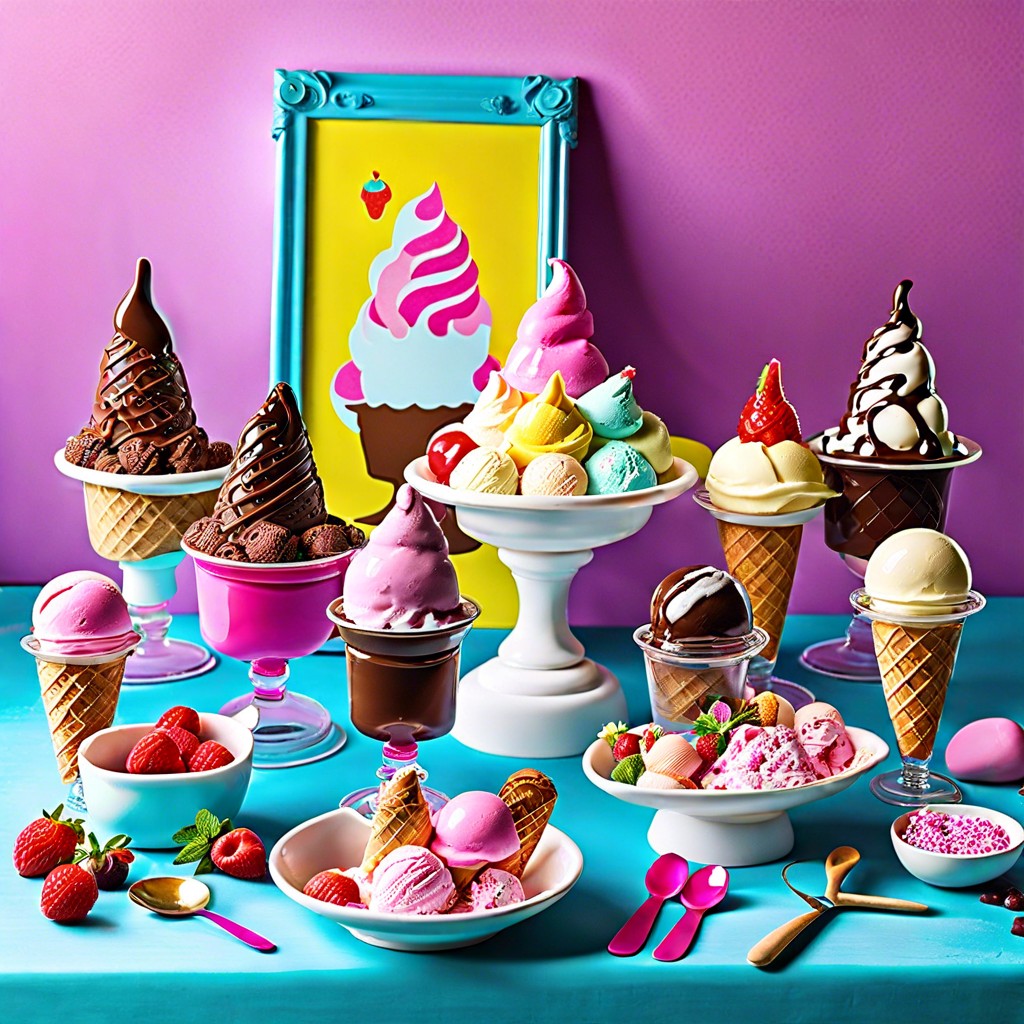
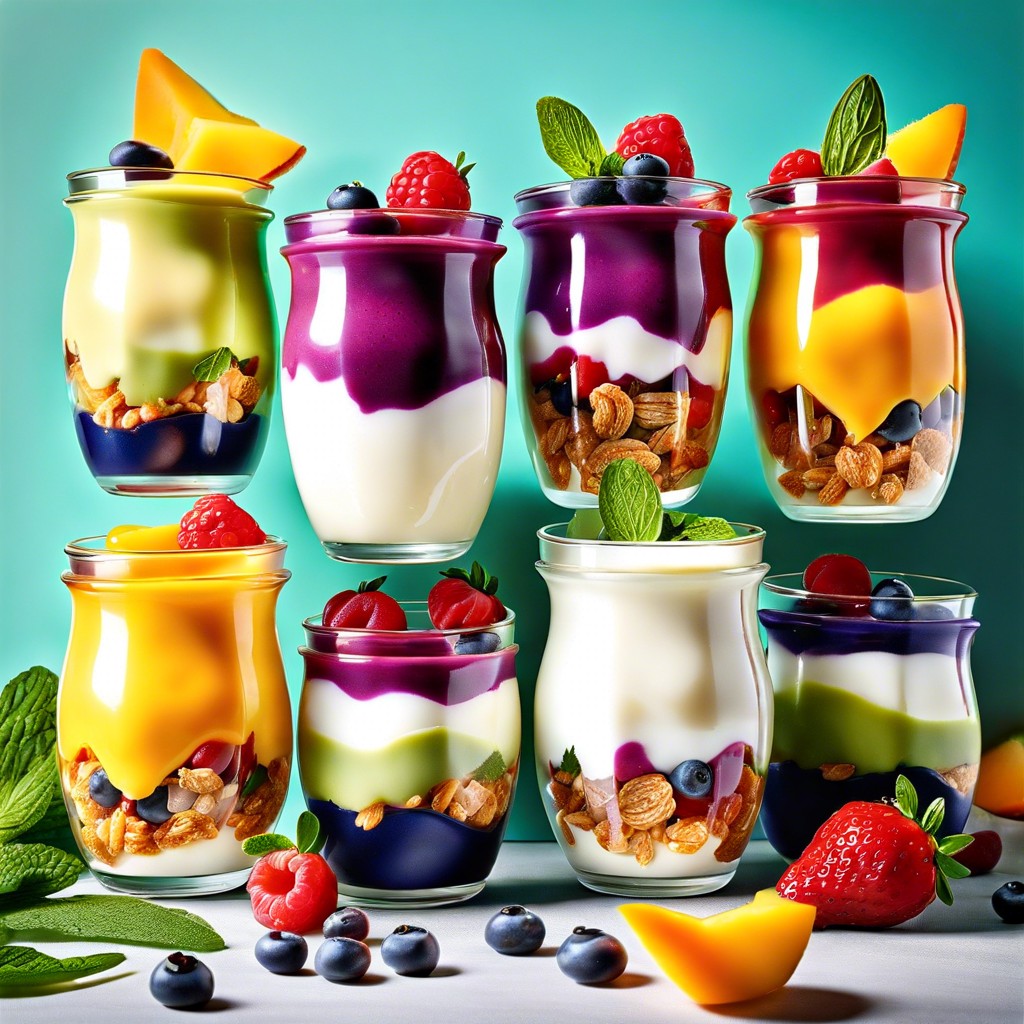
15 Healthy Sweet Snacks: Easy and Delicious Ideas for Guilt-Free Indulgence

Discover a variety of healthy sweet snack ideas that satisfy cravings without compromising nutrition. Frozen Yogurt Pops With Fresh Berries…
15 Best Pool Snacks: Ideas for Refreshing Poolside Treats
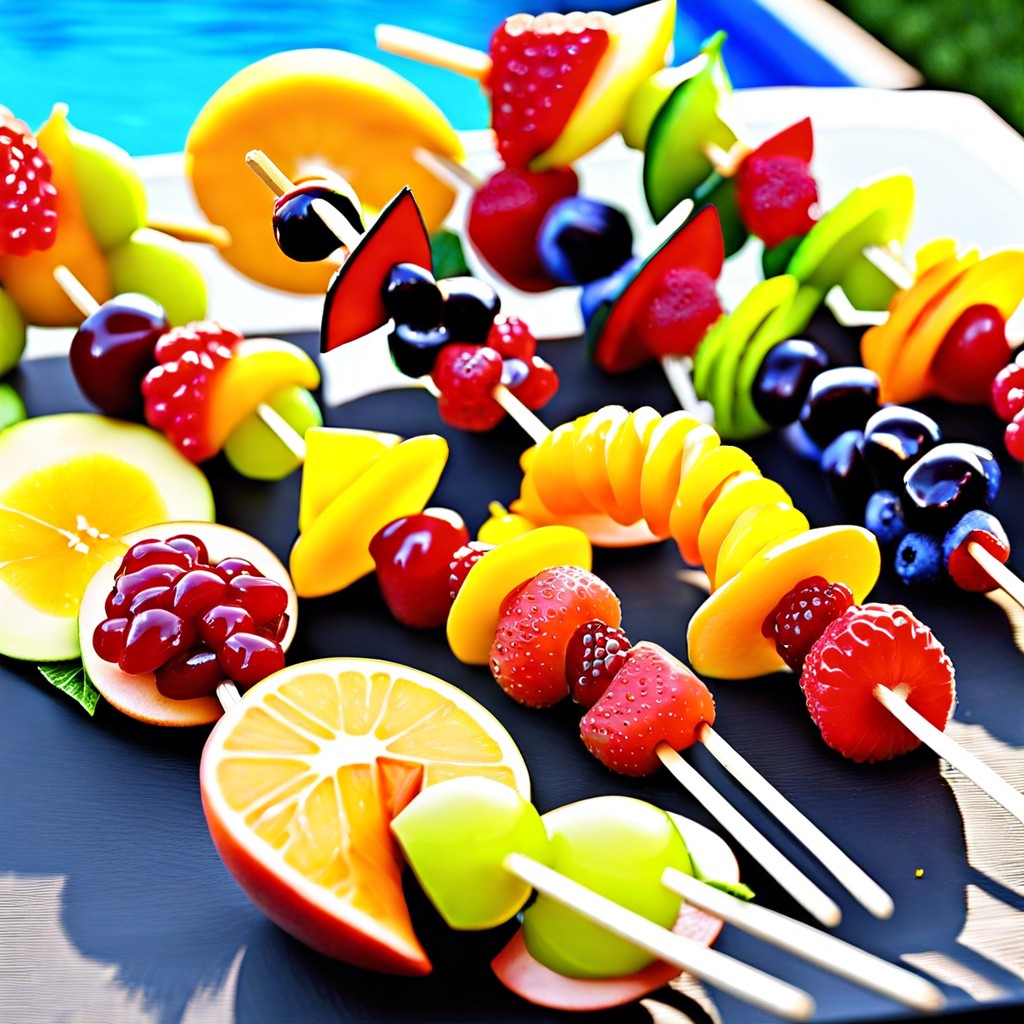
Discover top snack ideas that are perfect for keeping your pool party guests happy and hydrated without the fuss. Watermelon…
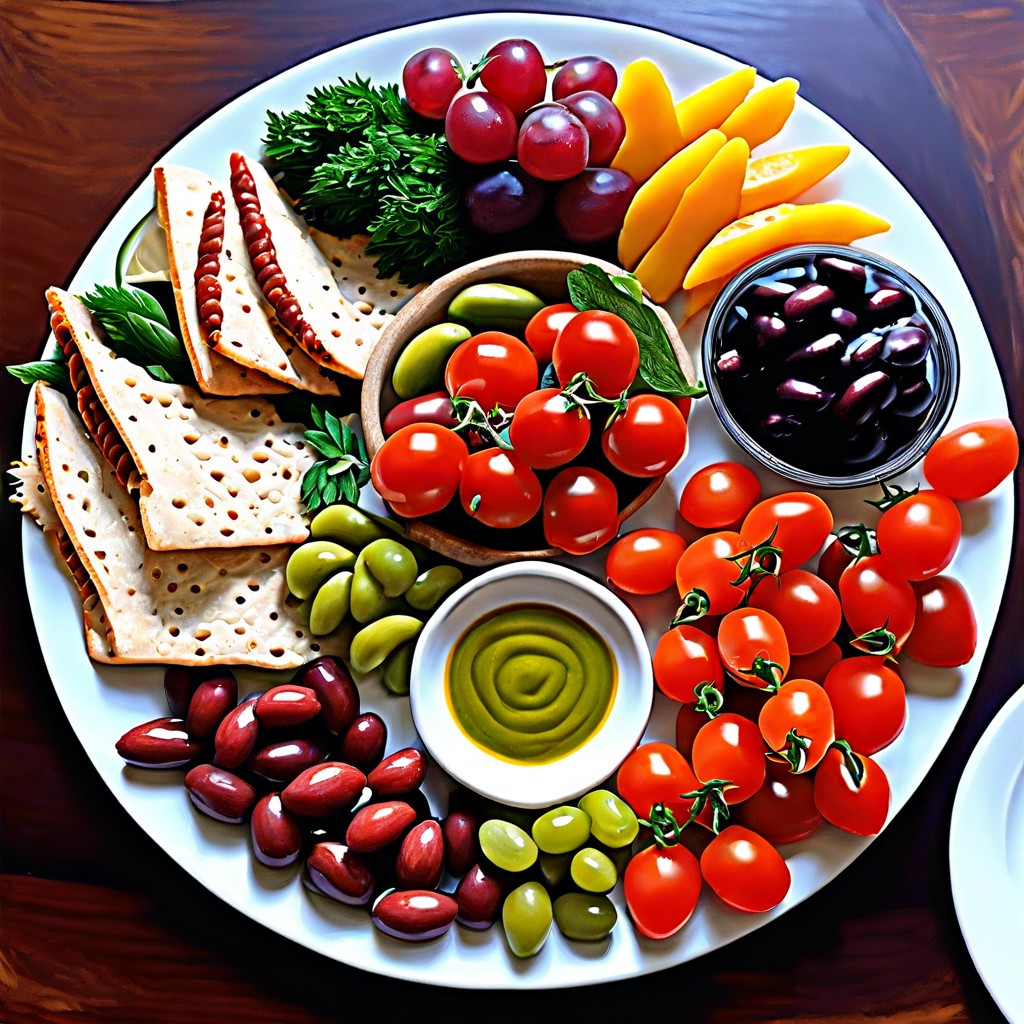
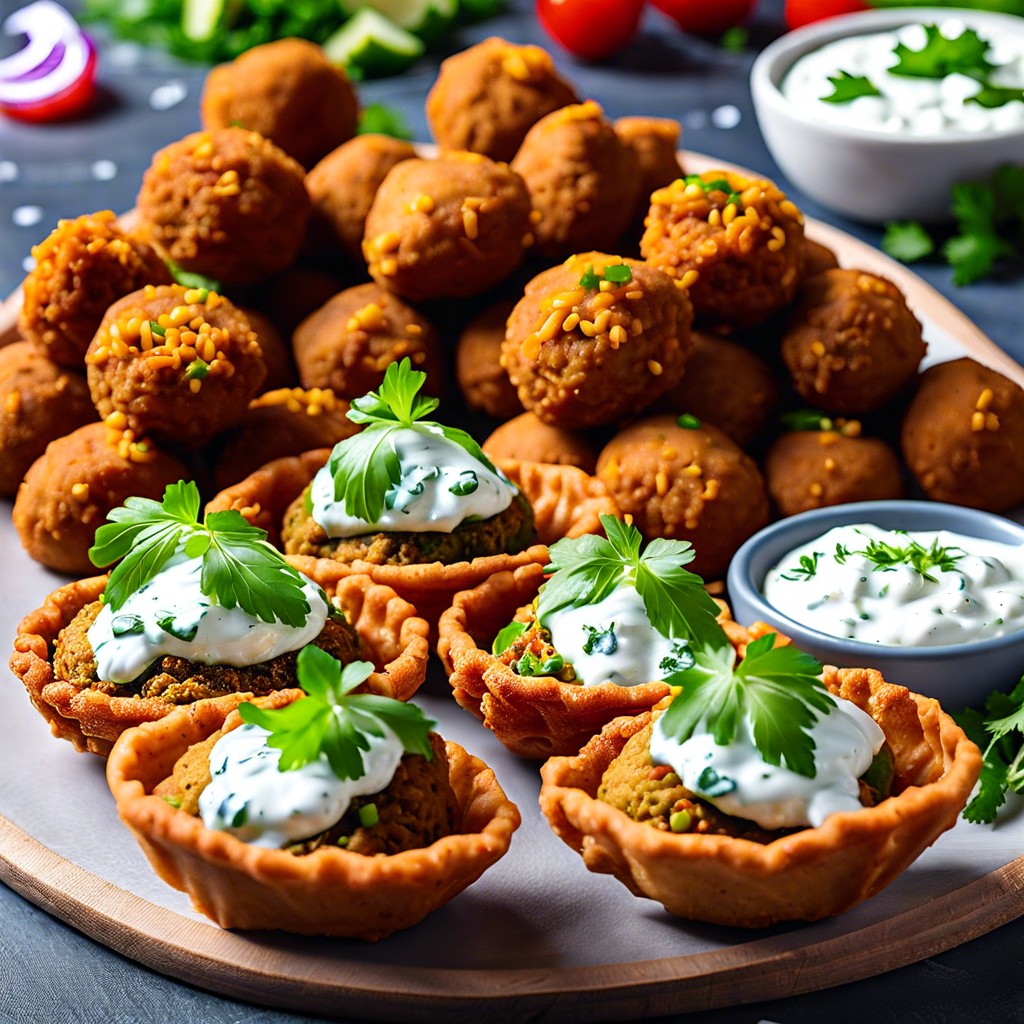
15 Vegan Appetizers: Easy and Delicious Ideas for Your Next Party
Discover a variety of vegan appetizer ideas that are perfect for any party or gathering. Stuffed Mushrooms With Vegan Cream…