Big Platters
17 Mouthwatering Snack Tray Ideas (Making the Perfect Platter)

Looking for ideas on how to load up the perfect snack tray? Be it for a party, a family gathering,…
24 Easy and Healthy Snack Dinner Ideas
Sometimes you don’t feel like prepping a full-blown dinner. It’s one of those times. And a good set of snacks…
Quick Snack
15 Football Charcuterie Board Ideas for Your Next Game Day Party
Score a touchdown at your next game day gathering with these scrumptious football-themed charcuterie board ideas that will satisfy fans…
15 Irresistible Christmas Charcuterie Board Ideas
Get ready for some creative and festive Christmas charcuterie board ideas that will make your holiday gatherings merry and bright….
15 Mouthwatering Food Board Ideas for Every Occasion
Unveil creative and delectable food board ideas that will make your gatherings more memorable and mouth-watering. Let’s face it, the…
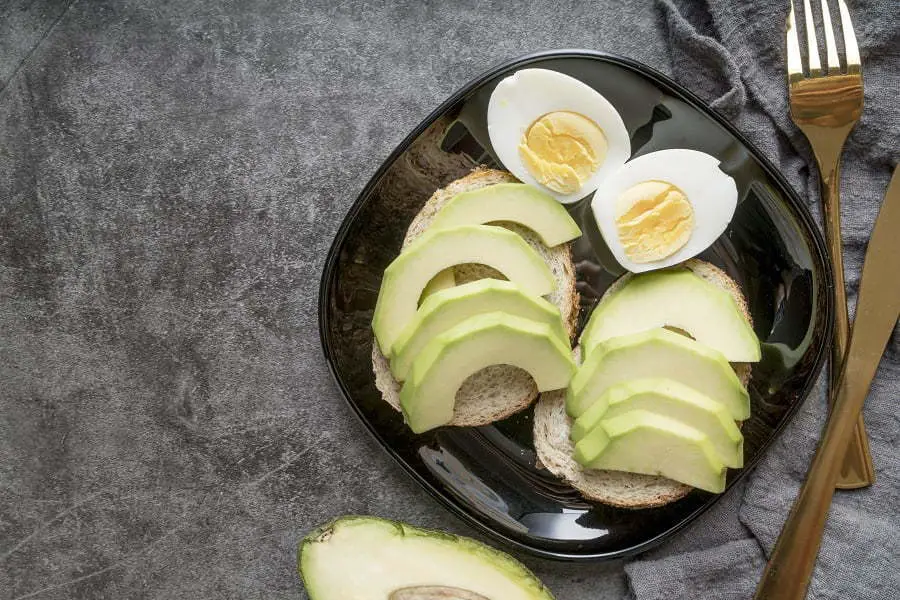
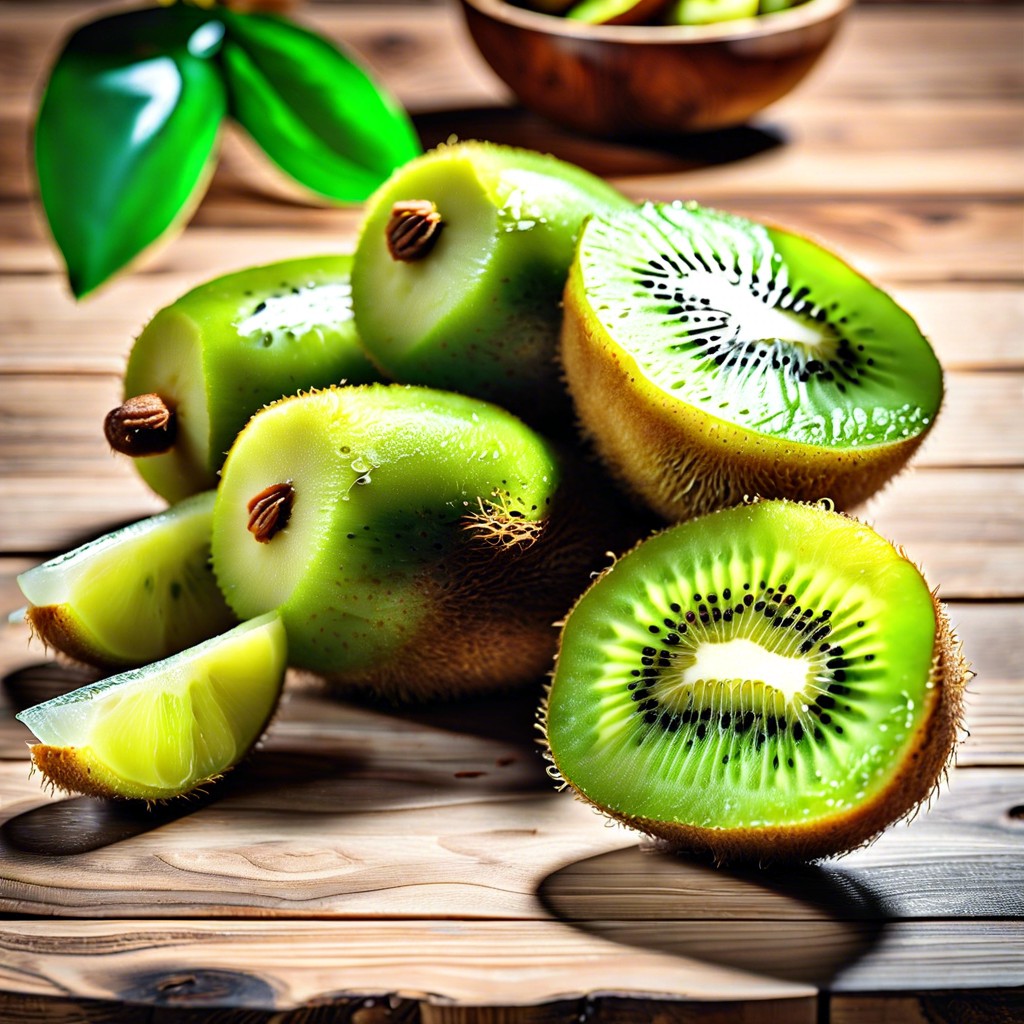
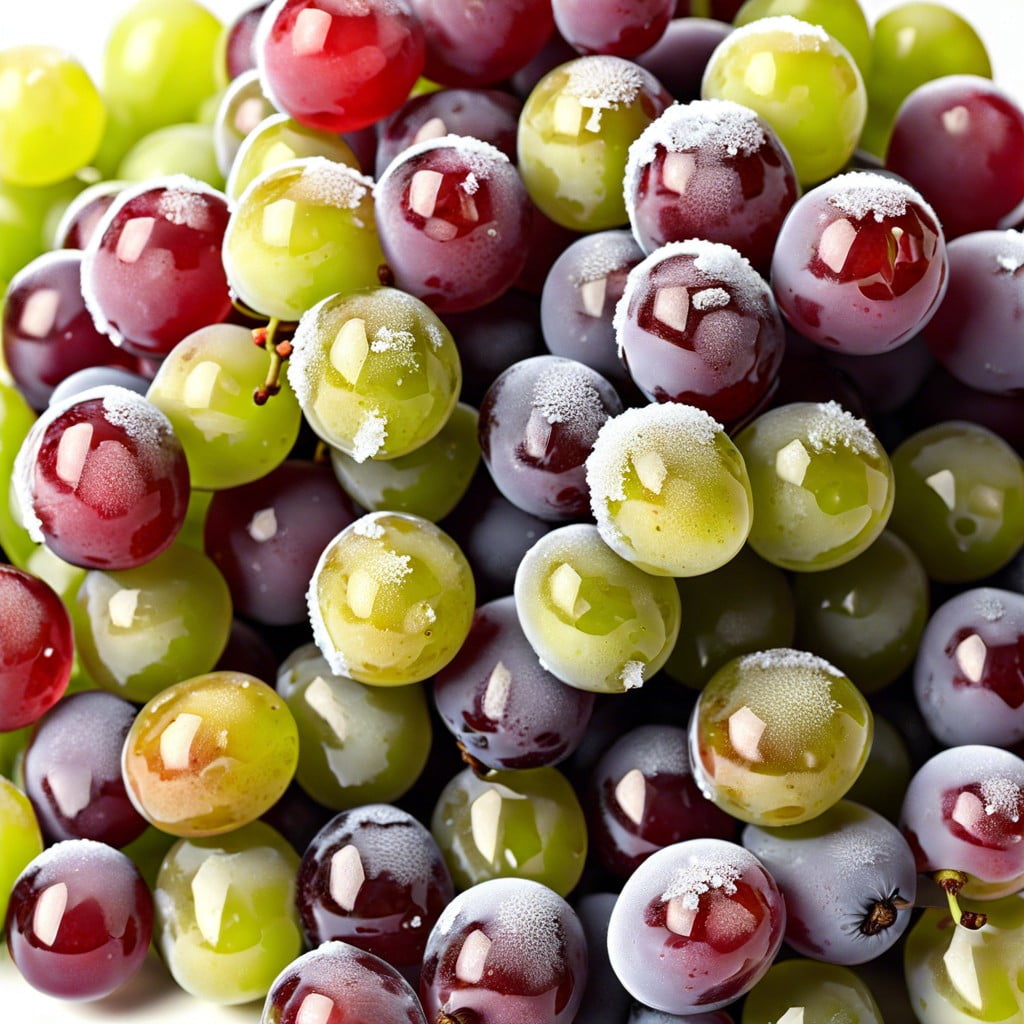
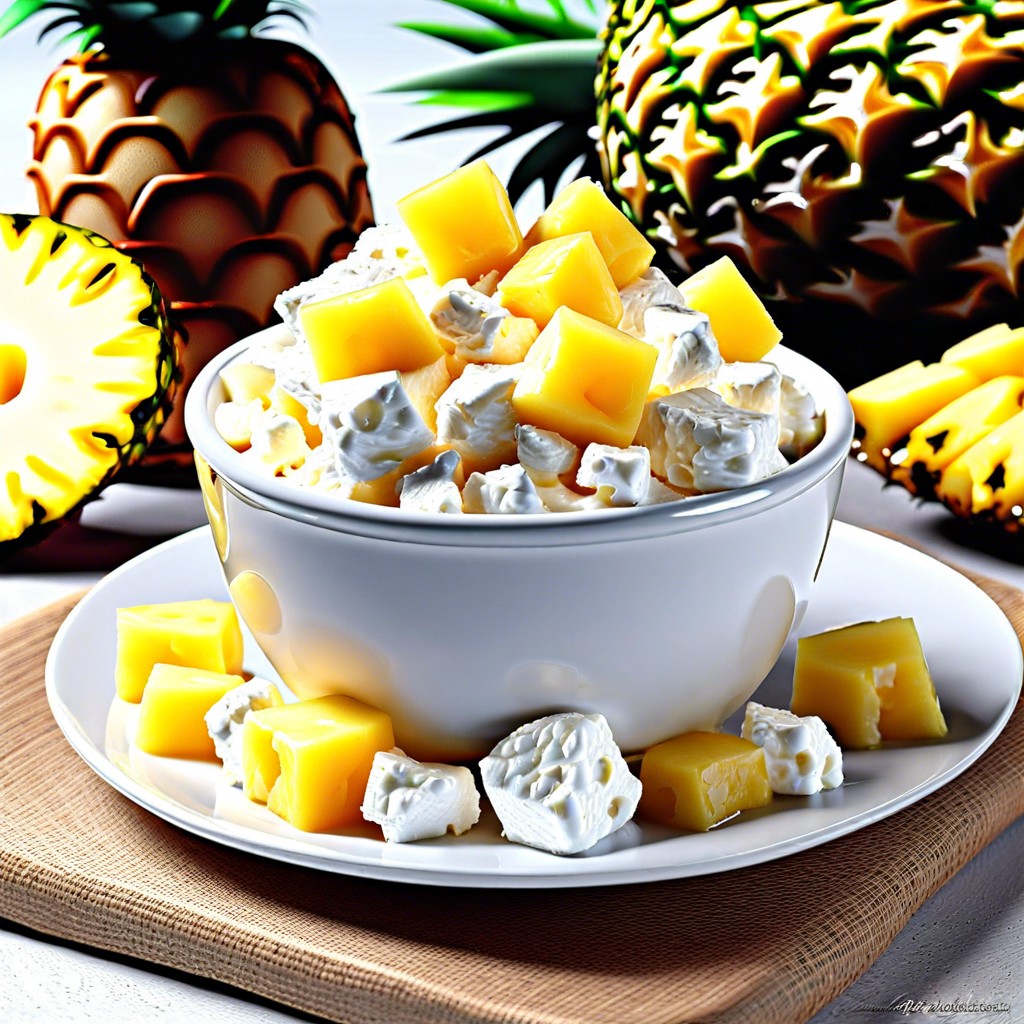
15 Frozen Snack Ideas to Chill Your Taste Buds
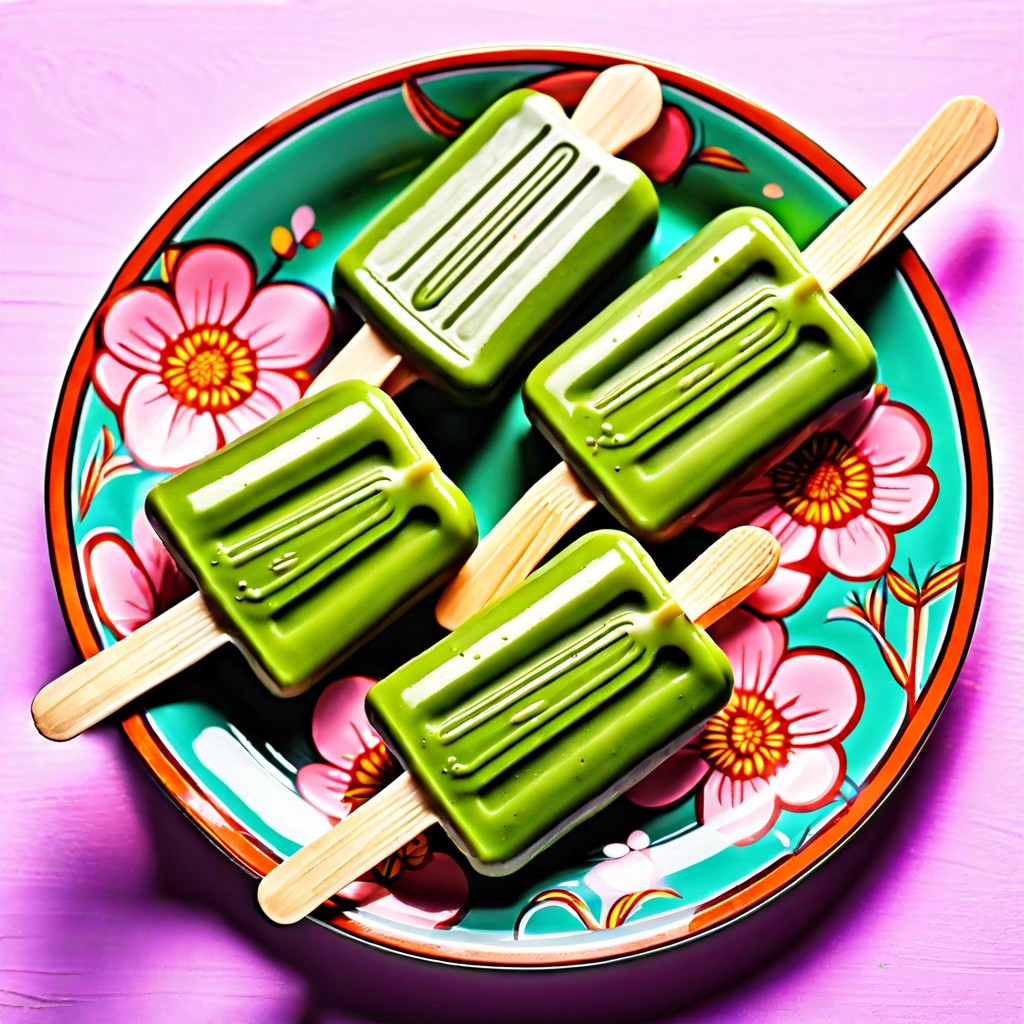
This article offers delicious frozen snack ideas to satisfy your cravings and keep your freezer stocked with tasty options. Craving…
15 Genius Fruit and Cheese Platter Ideas
Get ready to discover fresh and creative fruit and cheese platter ideas that will impress your guests and tantalize your…
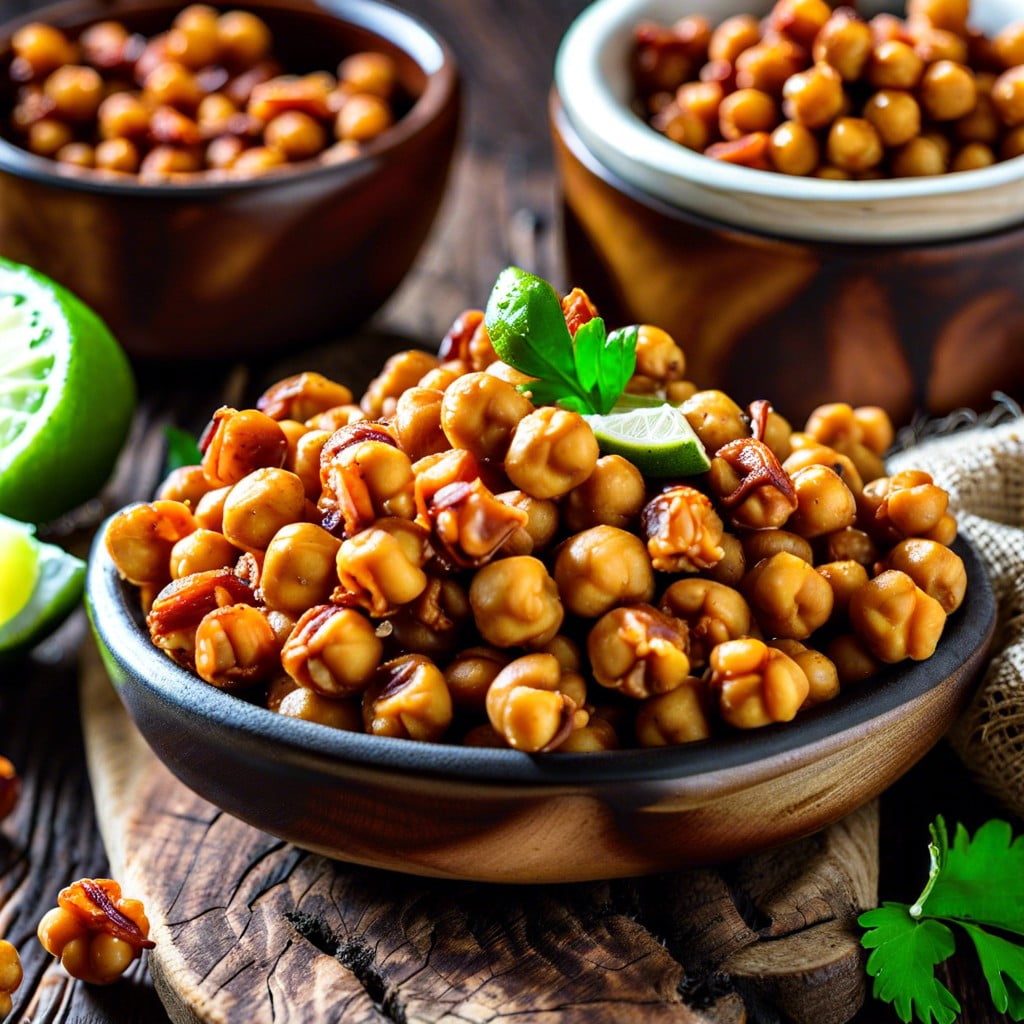
15 Cheap Healthy Snacks for a Tastier Life
Discover practical ideas for tasty and budget-friendly snacks that are actually good for you. Who says you need a trust…
15 Tasty Chick Fil A Board Ideas for Ultimate Snacking

Discover creative and delicious ways to incorporate Chick-fil-A favorites into your charcuterie board. Hold onto your waffle fries, folks! Today,…
15 Hot Finger Foods Ideas for Any Occasion
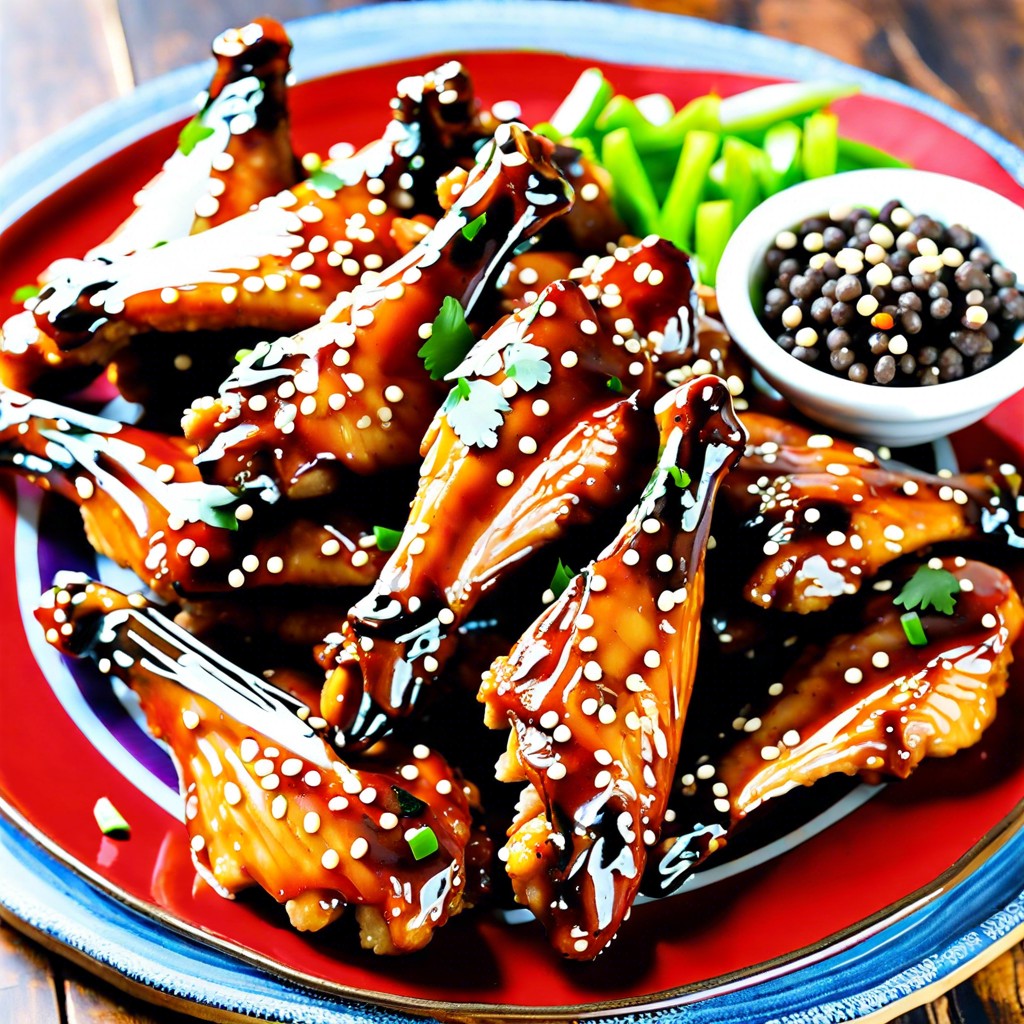
Get inspired with a variety of hot finger food ideas that are perfect for any occasion. Hot finger foods are…
15 Filipino Charcuterie Board Ideas
Give your charcuterie board a unique twist with mouthwatering Filipino flavors and ingredients! What if I told you that charcuterie…
15 Fun Winnie the Pooh Food Ideas for Any Occasion
Find creative and fun food ideas inspired by Winnie the Pooh and his friends to delight kids and adults alike…
15 Game-Changing Father’s Day Charcuterie Ideas
Discover unique and mouthwatering charcuterie board ideas to make this Father’s Day extra special. Father’s Day is just around the…
15 Delicious After Church Snack Ideas
Discover tasty and hassle-free after-church snack ideas that will satisfy everyone, from kids to adults. Ah, Sunday afternoons! The peaceful…
How to Build a Brick BBQ with Chimney for Ultimate Grilling
Learn how to build a brick BBQ with a chimney step-by-step, creating the perfect outdoor grilling station. Key takeaways: Materials…
15 Tinned Fish Board Ideas for Your Next Party
Discover innovative and mouthwatering ways to create a tinned fish board that’s sure to impress and satisfy. Have you ever…
15 Genius Teacher Snack Bar Ideas
Discover a variety of fun and easy snack bar ideas that will keep teachers energized and happy throughout their busy…
Coffee Table Height: Your Ultimate Guide to Perfect Living Room Harmony
Discover the best height for your coffee table and ensure it’s both stylish and functional. Standard Coffee Table Heights Most…
How to Grill Ribs on Charcoal for Juicy Perfection
Learn how to grill ribs on charcoal like a pro with step-by-step tips for mouthwatering results. Key takeaways: Prepping the…
15 Cheese Platter Presentation Ideas for Effortless Elegance
Get ready to transform your cheese platter presentation with these fresh, fun, and easy ideas that will wow your guests….
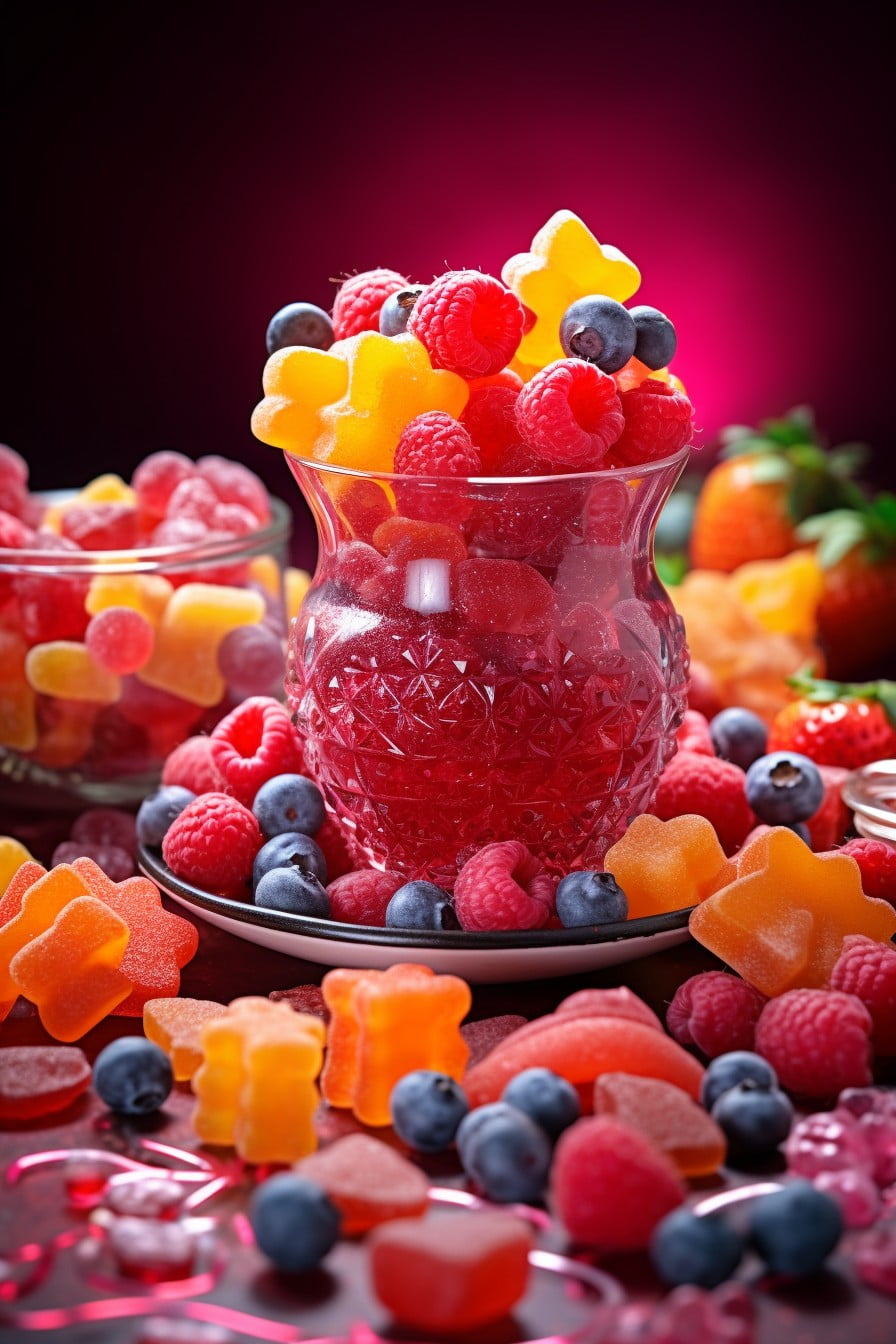
15 Brilliant Red Snacks and Drinks Ideas
Looking for delicious and visually striking red snacks and drinks to brighten your table? Red snacks and drinks are everywhere,…
15 French Charcuterie Board Ideas for Your Next Soiree
Unlock the art of creating an unforgettable French charcuterie board brimming with delightful and unique flavors. Forget what you think…
15 Best Coffee Ideas to Revolutionize Your Morning
Discover the best coffee ideas to elevate your daily brew from ordinary to extraordinary. Vietnamese Egg Coffee A creamy and…
15 Pasta Charcuterie Board Ideas You Need to Try
Discover clever pasta charcuterie board ideas that will wow your guests and elevate your next gathering. Who needs boring old…
How to Cook Pork Ribs on the Grill for Juicy Perfection

Learn how to cook perfect pork ribs on the grill with simple steps and tips for mouthwatering results. Key takeaways:…
15 Tasty Bible Study Snacks for a Fun Fellowship
Find creative and delightful snack ideas to keep your Bible study group energized and engaged. Looking for some fresh and…
15 Creative Waffle Charcuterie Board Ideas
Discover how to create a unique and delicious waffle charcuterie board that will wow your guests and elevate your brunch…
15 Ideas for the Perfect Slider Charcuterie Board
Transform your next gathering with these creative slider charcuterie board ideas that will spark joy and taste buds alike. Forget…
15 Clever Coffee Filter Substitute Ideas for Your Daily Brew
Discover creative and simple substitutes for when you run out of coffee filters to keep your morning brew on track….
London Broil Mastery: Juicy Secrets Unveiled
Curious about how to make a mouthwatering London Broil? Key takeaways: Definition and Cut Selection London broil isn’t a specific…
15 Cat in the Hat Snacks Ideas for Fun and Tasty Treats

Get fun and creative snack ideas inspired by “Cat in the Hat” to delight kids and celebrate this classic story…
15 Hocus Pocus Charcuterie Board Ideas
Discover unique Hocus Pocus charcuterie board ideas that will elevate your spooky gatherings with enchanting flavors and whimsical presentation. Who…
15 Stunning Charcuterie Board Centerpiece Ideas
Discover dazzling charcuterie board centerpiece ideas that will make your platter the star of any gathering. Charcuterie boards, oh how…
Where Does Starbucks Get Their Coffee Beans: Unveiling the Source of Your Cup
Discover the origins of Starbucks’ coffee beans and learn exactly where your favorite brew begins its journey. Regions Where Starbucks…
How to Get BBQ Sauce Out of Clothes Quickly and Easily
Learn quick and effective methods to remove stubborn BBQ sauce stains from your clothes. Key takeaways: Act Quickly Time is…
15 Best Bread for Charcuterie Ideas
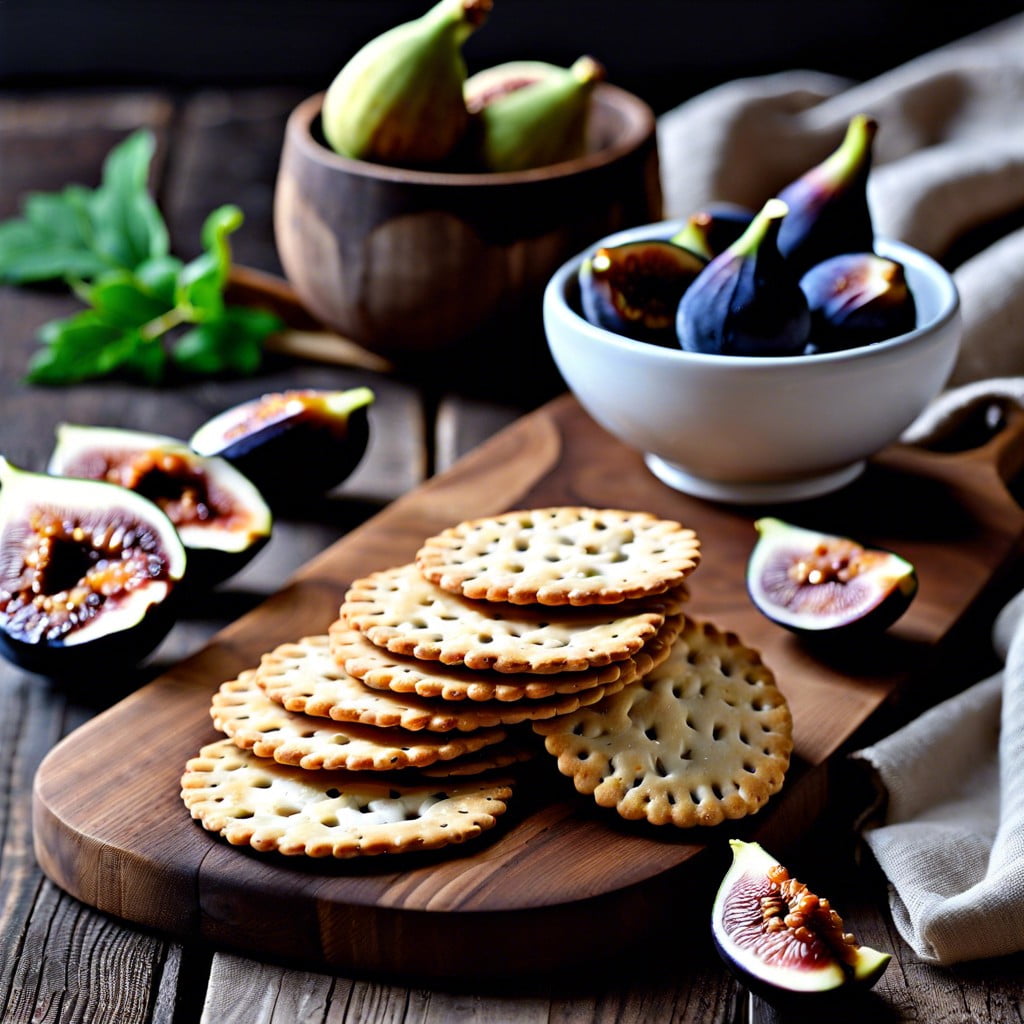
Discover the best bread choices to elevate your charcuterie board to new gastronomic heights, offering an infusion of flavors and…
15 Delectable New Orleans Appetizers to Elevate Your Party
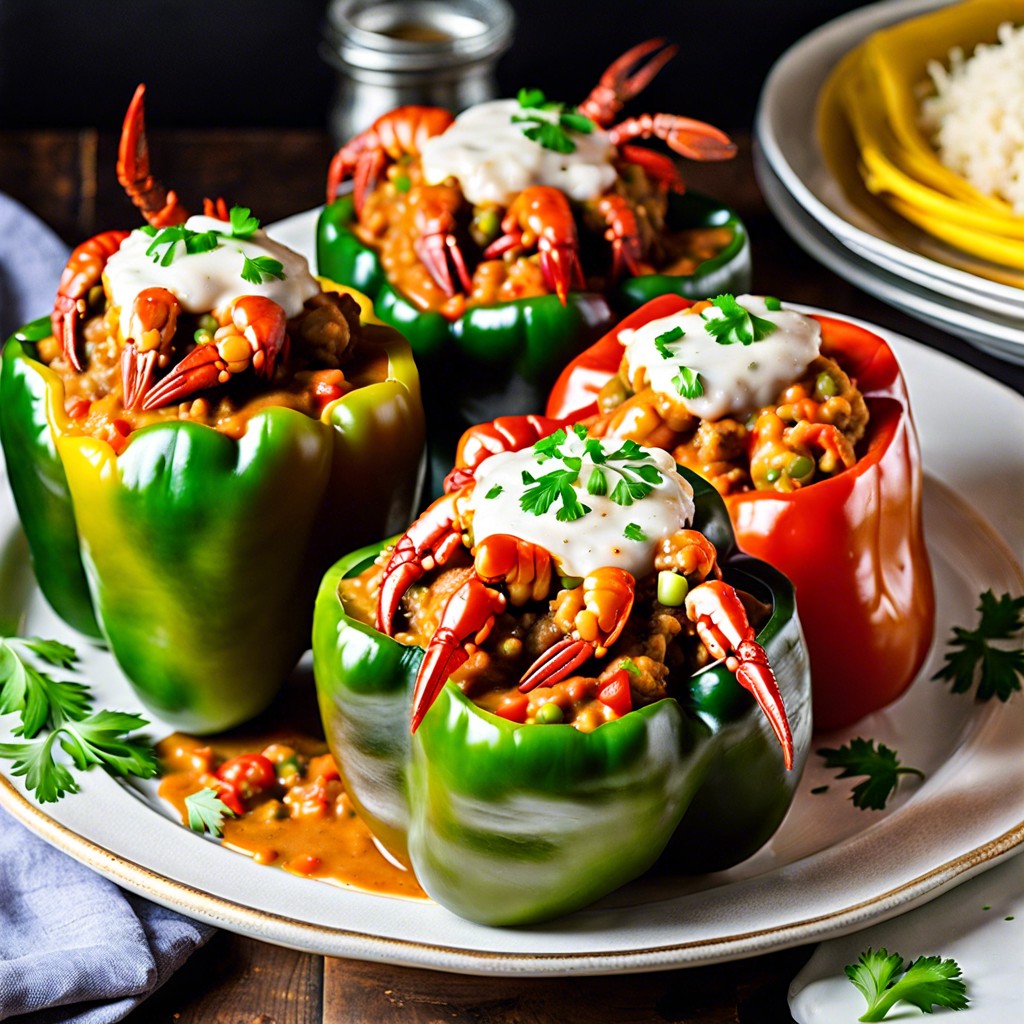
Discover a variety of mouthwatering New Orleans appetizers that will transport your taste buds straight to the Big Easy. Ready…
15 Charcuterie Wreath Ideas to Wow Your Guests
Discover creative and fun ways to turn your charcuterie board into a festive wreath that will wow your guests and…
How Many Calories in a Cup of Coffee: Your Guilt-Free Guide
Ever wondered how many calories are lurking in your daily cup of coffee? How Many Calories Are in Black Coffee?…
15 Vibrant Ideas for Your Wreath Charcuterie Board
Discover creative and festive wreath charcuterie board ideas that will impress your guests and elevate your holiday gatherings. Wreath charcuterie…
How Long to Grill Chicken Thighs on Gas Grill: Perfect Timing for Juicy Results
Learn the perfect grilling times to achieve juicy, flavorful chicken thighs on your gas grill. Key takeaways: Preheat and Prepare…
15 Jaw-some Shark Themed Food Ideas

Get ready to discover fun and creative shark-themed food ideas perfect for your next ocean-inspired party! Planning a shark-themed party…
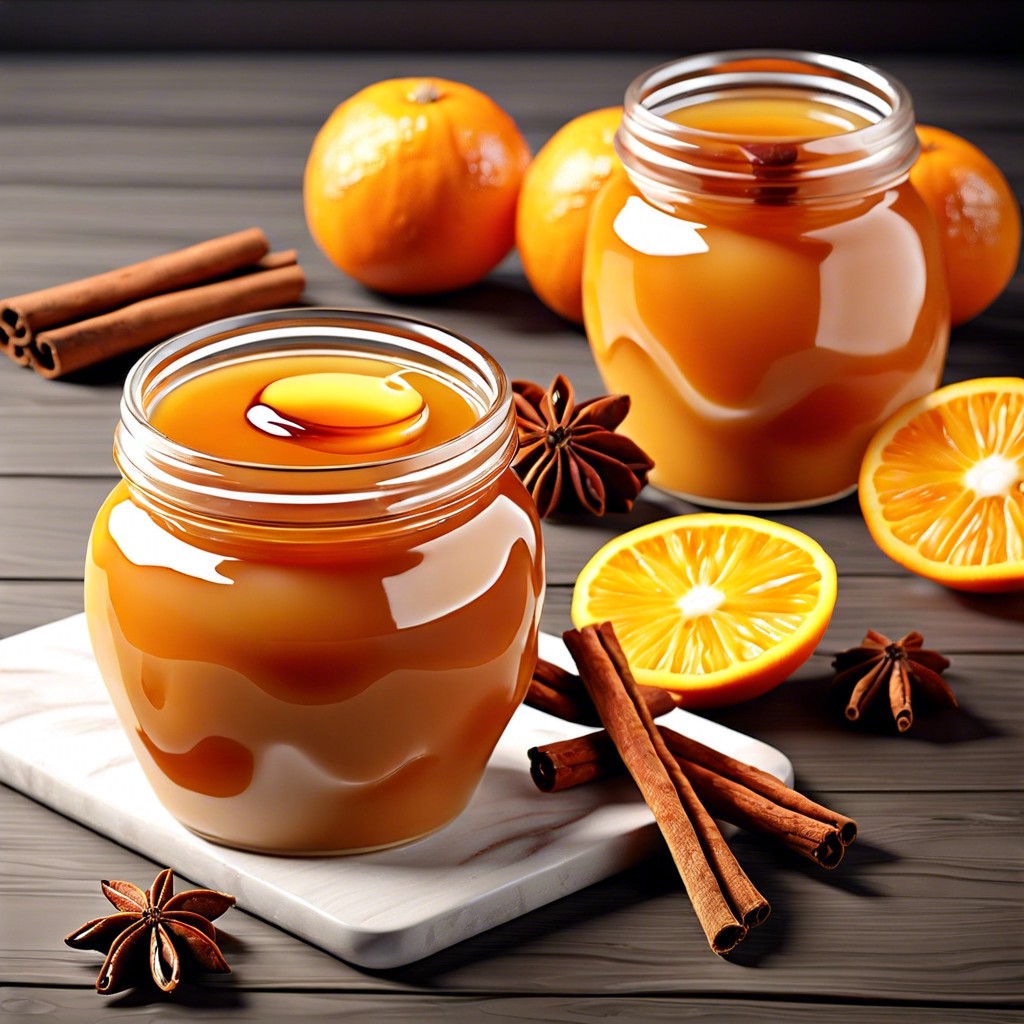
15 Irresistible Caramel Apple Charcuterie Board Ideas

Discover creative and mouth-watering caramel apple charcuterie board ideas that will wow your taste buds and impress your guests. Listen…
15 Ideas on How to Start a Charcuterie Business
Get ready to learn the essential steps and unique ideas to kickstart your charcuterie business effortlessly. Starting a charcuterie business?…
Can Coffee Cause Stomach Pain? Find Your Answers Here
Yes, coffee can cause stomach pain due to its acidity and caffeine content, which may irritate the stomach lining. Coffee…
How to Grill Burgers: Ultimate Guide for Juicy Perfection
Learn how to grill mouth-watering burgers with perfect char every single time. Key takeaways: Choosing the Right Meat Not all…
15 Black Theme Black Snacks for Color Party

Get inspired with creative and delicious black snacks perfect for a black-themed color party. Planning a color-themed party and bored…
15 No Pork Charcuterie Board Ideas for Guilt-Free Grazing
Discover creative and delicious ways to craft a no-pork charcuterie board that’s sure to impress. Ready to revolutionize your charcuterie…
How Long Does Coffee Last to Keep You Awake: The Real Buzz
Learn how long coffee keeps you awake and what factors influence its energizing effects. How Long Does Caffeine Last? The…
15 Barbie Charcuterie Board Ideas to Level Up Your Grazing Game
Get ready to learn creative and fun ideas to create a Barbie-themed charcuterie board that’ll dazzle at your next party!…
15 Smirly Cheese Board Ideas for Delightful Gatherings
Discover unique and creative Smirly cheese board ideas sure to impress and delight your guests. Forget everything you think you…
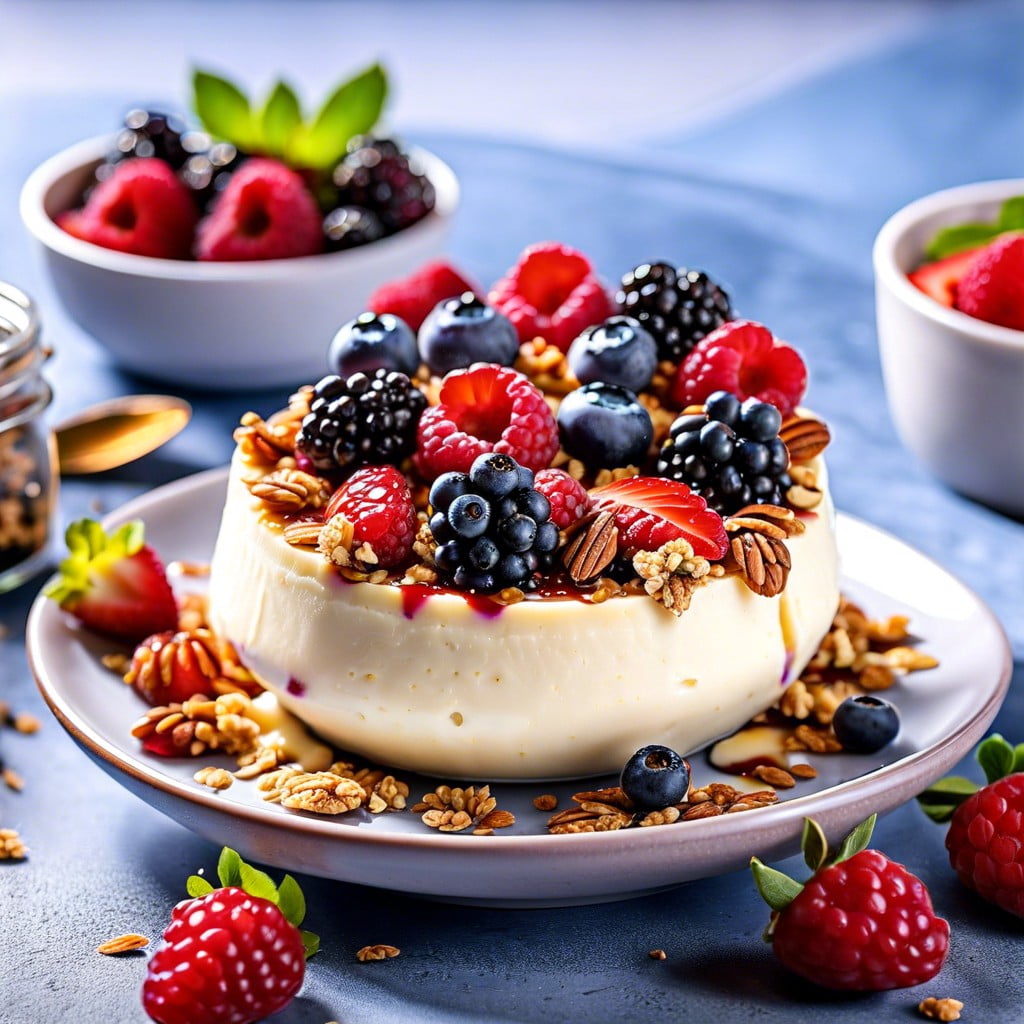
15 Blueberry Snacks Ideas That Will Delight Your Taste Buds

Discover fun and tasty blueberry snack ideas that will brighten up your day and satisfy your cravings. Think you’ve done…
15 Creative Shot Charcuterie Board Ideas
Discover how to transform your charcuterie board into a party game with fun, mouth-watering shot ideas that combine gourmet goodies…
15 High Calorie Snacks for Ultimate Energy Boost
Discover satisfying high-calorie snack ideas to fuel your day with delicious energy boosts. Looking for high-calorie snacks that won’t make…
15 Exciting Disposable Charcuterie Board Ideas
Discover creative and eco-friendly disposable charcuterie board ideas that will impress your guests and save you from washing dishes. Disposable…
15 Unprocessed Snacks Ideas to Satisfy Your Cravings

Discover easy and tasty unprocessed snack ideas that are perfect for any time of day. Ever feel like every unprocessed…
15 Bachelorette Charcuterie Board Ideas for an Unforgettable Celebration

Get ready to impress at your bachelorette party with these exciting and unique charcuterie board ideas designed for a fun…
Smoked Korean Short Ribs: A Flavor Adventure Worth Savoring
Smoked Korean short ribs are juicy, flavorful beef ribs marinated in a sweet and savory sauce, then slow-cooked to smoky…
Quick & Flavorful Fast Smoked Ribs for Busy BBQ Lovers
Get ready for the juiciest, most tender smoked ribs that cook faster than a squirrel on a caffeine binge! Get…
Smoked Nachos: Elevate Your Snack Game
Get ready for a flavor explosion with smoked nachos, where crunchy tortilla chips meet a smoky, cheesy, and meaty wonderland!…
Smoked Pulled Chicken Recipe: Easy & Juicy Delights
Get ready to drool over tender, smoky, and flavor-packed pulled chicken that’s perfect for sandwiches, tacos, or just eating by…
Smoked Pulled Chicken Breast: Effortless Juicy Delight

Smoked pulled chicken breast is a tender, flavorful poultry dish that’s slow-cooked and shredded, perfect for sandwiches, tacos, or just…
Vegetarian Smoker Recipe: Mouthwatering BBQ Magic

Get ready to rock your taste buds with this easy, smoky, and irresistible vegetarian smoker recipe! Ready to tantalize your…
Texas Smoked Brisket: Master BBQ Flavor at Home
Texas smoked brisket is a mouthwateringly tender cut of beef, slow-cooked to perfection in a smoky barbecue that melts in…
Master Finger-Licking St. Louis Style Ribs Smoked Perfection
Get ready to savor St. Louis style ribs smoked to perfection—meaty, flavorful pork ribs with just the right amount of…
Revamp Your Meals: Leftover Smoked Chicken Recipe

Turn your smoked chicken leftovers into a mouthwatering meal that’s easier than finding your missing socks! Got a mountain of…
Perfect Pork Rib Smoker Recipe for Ultimate Flavor
A mouthwatering guide to smoking pork ribs that’ll have you licking your fingers and coming back for seconds. Welcome to…
Smoked BBQ Beans: Flavor-Packed Comfort in a Dish
Smoked BBQ beans are a mouth-watering mix of beans cooked low and slow with smoky barbecue flavors for a delicious…
Smoked Spare Ribs: Your BBQ Game-Changer
Smoked spare ribs are juicy, flavorful cuts of pork that are seasoned, slowly smoked until tender, and perfect for biting…
Smoked Beef Brisket Recipe: Master Brisket Bliss
Smoked beef brisket is a tender, flavorful cut of beef that’s been slow-cooked over wood chips until it melts in…
Grilled Beef Steak: Master the Meat
Grilled beef steak is a delicious, juicy slab of meat that’s cooked over an open flame, delivering mouthwatering flavors and…
Pulled Pork BBQ Sandwich: Your Ultimate Comfort Bite
Pulled pork BBQ sandwiches are deliciously messy, tender shredded pork draped in tangy barbecue sauce, all snugged into a fluffy…
Grilled Salmon Recipe: Perfect Dinner in Minutes
Dive into deliciousness with this easy-to-follow grilled salmon recipe that’s sure to make your taste buds dance! Ready to cook…
Canned Pork BBQ Recipe: Easy Flavor Explosion
Transform your humble canned pork into a mouthwatering BBQ feast that’s sure to impress even your fanciest friends. Canned pork,…
Effortless Canned Beef BBQ for Quick Weeknight Feasts
Discover how to transform canned beef into a mouthwatering BBQ delight that’s smoky, tangy, and oh-so-satisfying. Got a can of…
15 Graduation Appetizers to Impress Your Guests
Get ready to wow your guests with these fun and tasty graduation appetizer ideas that will make your celebration unforgettable!…
Master Flavors with Xinjiang BBQ Recipe
Xinjiang BBQ is a mouthwatering Chinese grilled meat dish famous for its bold spices and smoky flavor, making your taste…
Smoky BBQ Recipe: Elevate Your Grill Game
This smoky BBQ recipe transforms simple ingredients into a flavor-packed, finger-lickin’ delight that’ll make your taste buds dance. Get ready…
Mussels BBQ Recipe NZ: Fresh, Simple, Delicious
Dive into a flavor-packed BBQ recipe where New Zealand mussels meet a zesty marinade, perfect for grilling and impressing your…
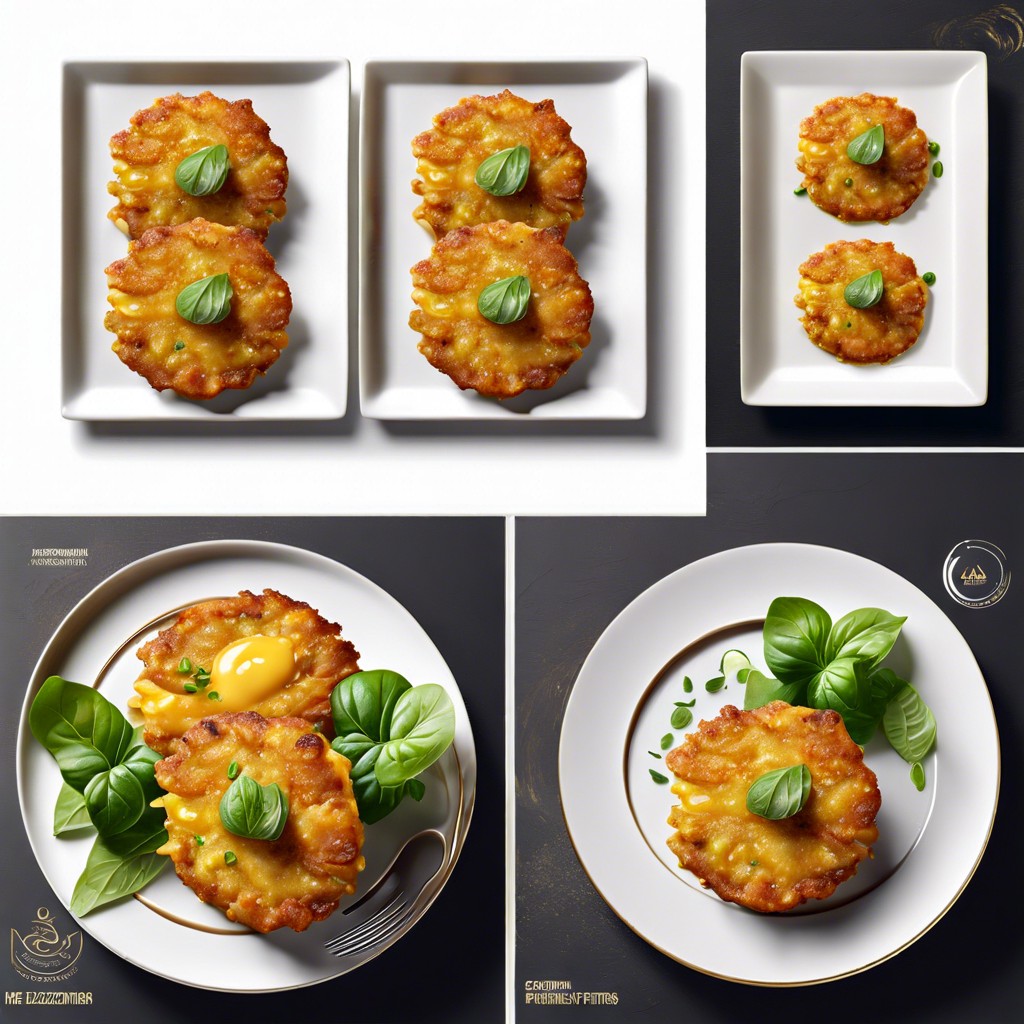
Tantalizing Filipino BBQ with Pineapple Juice Magic
Filipino barbecue with a twist of pineapple juice brings a sweet and smoky flavor straight to your grill, tantalizing your…
British BBQ Recipe: Elevate Your Grilling Game
Fire up your grills for a British BBQ feast that’s all about juicy meats, tangy sauces, and lovely charred veggies,…
Hickory BBQ Recipe: Elevate Your Grill Game
Get ready to indulge in smoky, savory heaven with our finger-lickin’ hickory BBQ recipe that’s perfect for lounging on a…
15 Sizzling Ideas for a Spanish Charcuterie Board
Get ready to build an extraordinary Spanish charcuterie board that will impress your taste buds and your guests. Creating a…
Master NC Style BBQ: Southern Comfort on Your Plate
North Carolina-style BBQ is a deliciously tangy and smoky pulled pork dish that’s all about the vinegar-based sauce and the…
Juicy Beer Can Chicken BBQ Recipe for Epic Weekends
Beer can chicken is a flavorful and juicy BBQ dish where a whole chicken is cooked upright on a partially…
Greek BBQ Recipe: Savor the Flavor on Your Grill
Craving a Greek food adventure? Dive into mouthwatering BBQ flavors with juicy meats, zesty herbs, and that Mediterranean magic! Hey…
Weber BBQ Recipe: Finger-Lickin’ Flavor Made Easy
Get ready to wow your taste buds with this easy, smoky, and downright delicious Weber BBQ recipe! Got your Weber…
Effortless Charcoal BBQ Recipe for Tasty Grilling
Get ready to rock your taste buds with a smoky, delicious charcoal BBQ recipe that’s simple yet packs a flavor…
Mongolian BBQ with Noodles: Quick, Delicious, and Easy to Make
Mongolian BBQ noodles are a delicious stir-fry dish featuring sizzling meats, fresh veggies, and savory noodles cooked on a hot…
Indian Vegetarian BBQ Recipe: Spice Up Your Grill Game
Grill up some mouth-watering, spice-loaded Indian vegetarian kebabs that’ll make your taste buds dance and cows breathe a sigh of…
Unleash Flavor: Ultimate American BBQ Recipe
Get ready to delight your taste buds with this mouth-watering, smoky American BBQ recipe that’s sure to impress at your…
Keto BBQ Recipe: Savor Flavor Without the Guilt
Juicy, smoky, and totally mouth-watering, these keto BBQ dishes are low-carb delights that won’t bust your waistline but will blow…
Master Your Grill with This Tasty Chinese BBQ Recipe
Dive into savory heaven with Chinese BBQ, a culinary joyride featuring tender, marinated meats that are grilled to perfection and…
Indian BBQ Recipe: Spice Up Your Grill Game
Get your taste buds dancing with this Indian BBQ recipe that’s bursting with smoky spices and juicy, flavorful goodness! Ready…
Healthy BBQ Recipe: Easy Grilling for Guilt-Free Feasts
Get ready to savor a guilt-free BBQ feast with these delicious and healthy recipes that won’t sacrifice flavor for fitness!…
Quick BBQ Recipe: Your Tasty Midweek Hero
Turn your backyard into a flavor fiesta with this speedy BBQ chicken recipe that’s finger-lickin’ good and ridiculously easy to…
Pinoy BBQ Recipe: Juicy Grilled Perfection Awaits
Get ready to tantalize your taste buds with Pinoy BBQ, an irresistible Filipino-style grilled pork that’s sweet, savory, and oh-so-satisfying!…
Southern BBQ Recipe for Finger-Licking Delight

Get ready to cook up some mouth-watering, finger-licking Southern BBQ that’s so good it’ll make you want to slap your…
Turkey BBQ Recipe: Juicy Flavors Awaits
Grill up some fun with this easy and zesty BBQ turkey recipe that’s juicy, flavorful, and perfect for your backyard…
Filipino Pork BBQ Recipe: Your New Backyard Hero
Filipino pork BBQ is a delicious, marinated grilled pork dish bursting with sweet and savory flavors that’s perfect for any…
Master Japanese BBQ: Elevate Your Grill Game
Dive into the savory world of Japanese BBQ, where tender meats meet mouthwatering marinades for a flavor-packed grilling adventure. Hold…
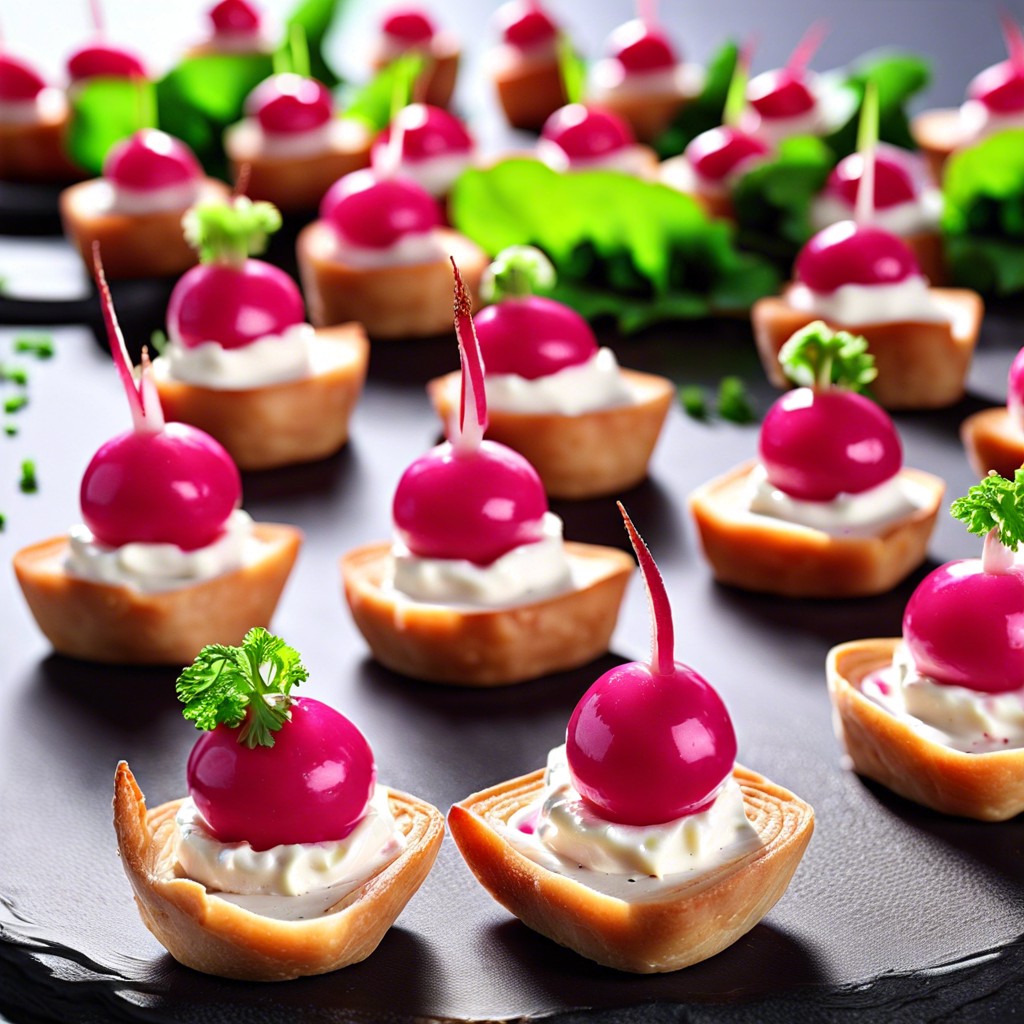
15 Tasty Ideas for What to Put on Crackers
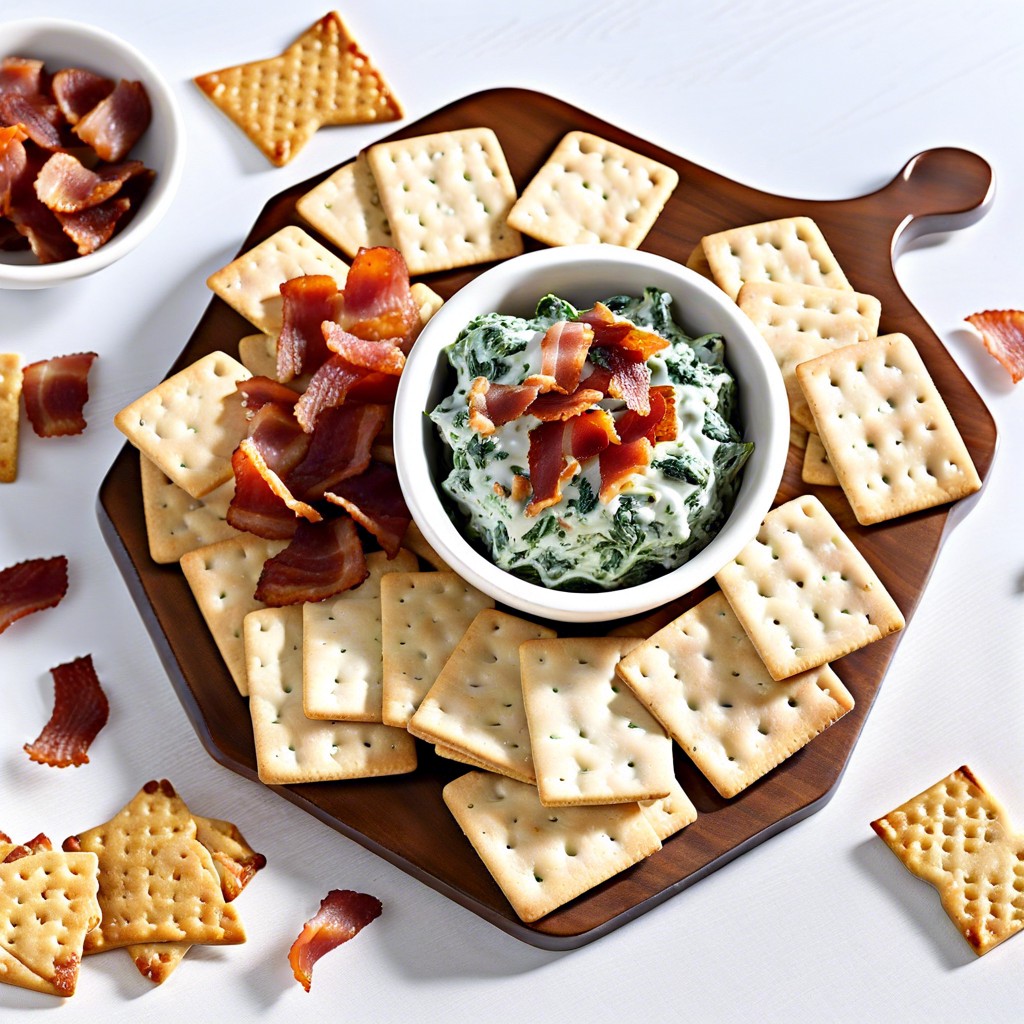
Get ready to discover delightful and tasty toppings for your crackers! Let’s face it, we’ve all slapped a piece of…